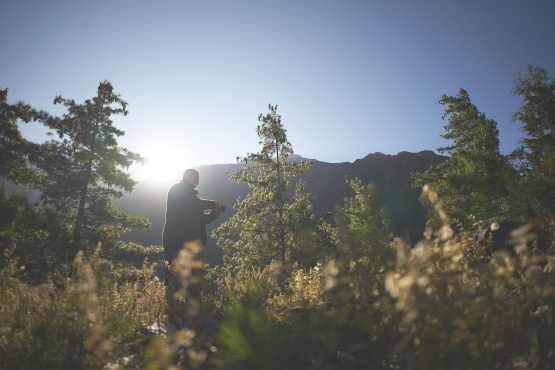
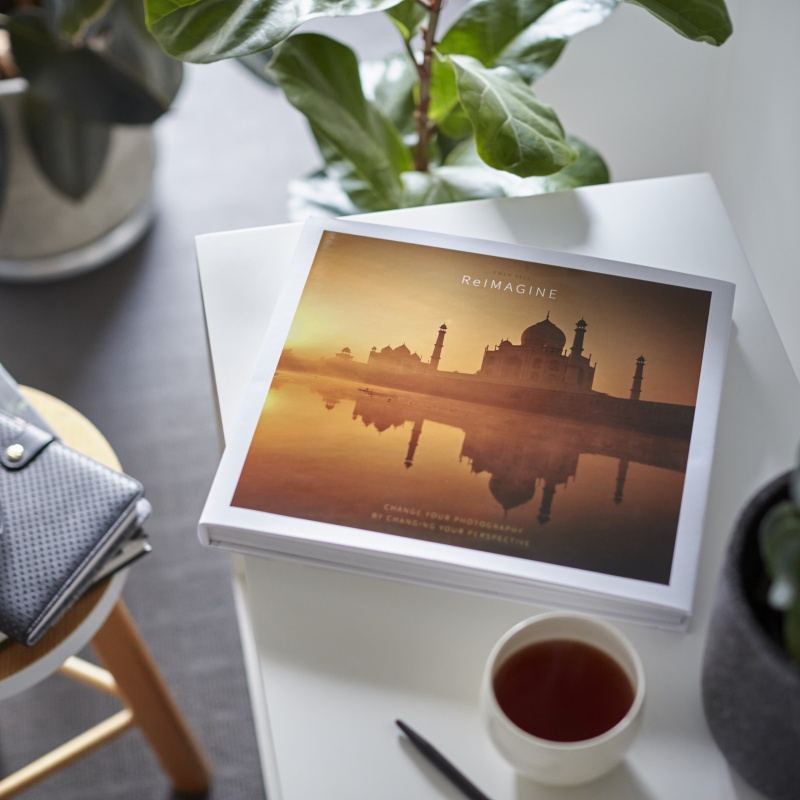
I’ve written about the “Angle of the Light” a few times on this blog and in magazines, but the most persistent challenge I see for new photographers is the idea of shooting bang into the light. Partly due to the antiquated notion that photos are better “with the sun over your shoulder”, and partly because it takes a bit of practice to get a handle on the complexities of exposing with your light source in the frame.
Ironically most of us have tinkered with the idea quite a lot, but without really thinking about it. Sunsets are the most common example of being tempted to turn the lens towards the sun. As the fading light is softened through the atmosphere the sun becomes a modest ball of colour instead of the usual punch of light. Under these conditions we find it relatively easy to manage the varying exposure levels of the sun, typically under-exposing a little to allow the colours of the sky and clouds to avoid being washed out.
At other times of day the challenge of light bending through your glass can demand a little more skill to manage. Harsh highlights and shadows can present great complexity when building a composition, which is both good and bad. I like a little drama and love the unexpected effects of light bouncing into a room or across a landscape. Not knowing exactly which elements will pull through and which will succumb to the exposure is part of the fun.
The key is experimentation, to play with varying exposures and see how they can emphasise one or two elements in the frame over others. As you under expose a scene and the shadows turn to black, will you bring into play some new details that were lost in the highlights? Or can you bring up the exposure and allow some previously lost details to emerge from the foreground? The correct exposure will change from one scene to another, and from one perspective to another.
Choosing to play with complex light and shooting into the sun is a choice to slow down your creative mind and take the time to experiment. You’re not working with a pre-defined exposure, you’re tinkering with an idea.
RAW Advantage
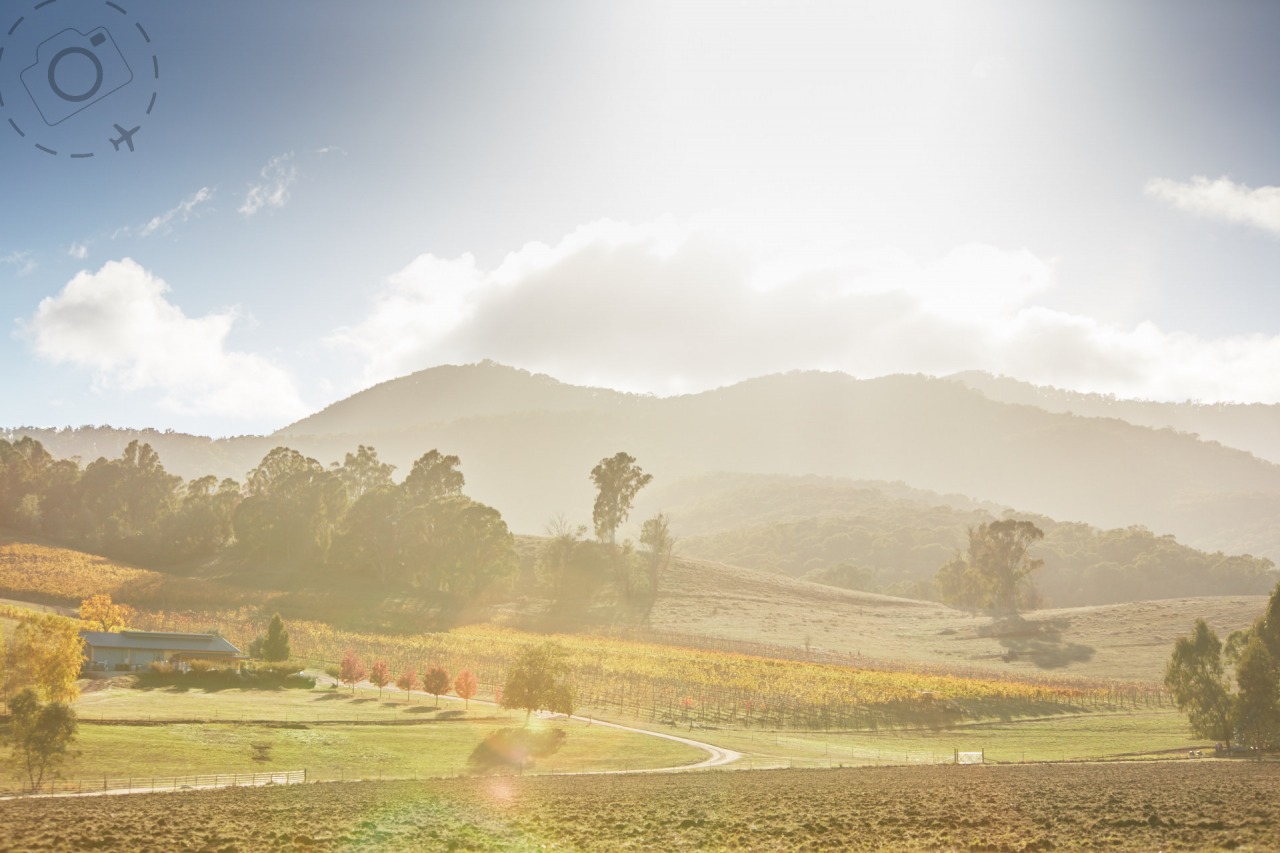
As camera technologies have gotten better so have our options for manipulating the light. The remarkable dynamic range of a full frame DSLR coupled with ever better control within RAW files give you incredible room to overcome exposure uncertainty. Once you get the exposure in the ballpark you can refine the image in processing to express your original intentions, or push the treatment towards alternative expressions. Knowing just how far you can push a RAW file once you get home may change your creative process when on location shooting the light.
Processing is the key, bringing out shadow detail in a balanced way without blowing out your critical highlights. I say “critical” highlights, because letting some parts of the frame blow out is definitely an acceptable technique.
The goal here is to be comfortable experimenting with exposure and pushing those highlights to the edge of breaking, or beyond. Identifying that your key subjects can be properly exposed while letting others blow out is the key to experimenting. You are not trying to pull every part of the frame into a “balanced” exposure. Shooting into the light is all about harnessing that imbalance to bring attention to your main subject.
The greater the complexity of lighting the greater the opportunity to experiment. Tinkering with this idea on a dull day or partially cloudy sun is not going to reveal it’s full potential. It’s one of those times when “go hard or go home” makes sense.

Persistence and Balance
For many people the challenge will be persistence, to keep trying even though it feels like you’re failing. It’s a little too easy to come up short on your creative goal, and quickly decide for yourself that the technique doesn’t work. If you get it wrong the first few times, keep going and keep trying.
The problem here is finding a balance between incident light and ambient light that suits your style, and that doesn’t break the composition for you. Too much light blaring into the lens is the most arduous of obstacles; when a flood of light and flare removes all detail instead of just selectively isolating your subject. Learning to dial-down the dose of light is the first step towards keeping a handle on your compositions.
Controlling the amount of light and contrast is simply achieved by picking an angle across the scene. The more you point away from your light source the less harsh that contrast will be. At 90 degrees to the light you get the best colours (and most manageable contrast), while shooting with the light directly *behind* you removes the contrast entirely, resulting in a flat feel to the image overall. That is the opposite of what I’m advocating.
The biggest difference between professionals and amateurs is their willingness to shoot into the light, and their experience in controlling the effects. Practice leads to creative skill. Professional photographers use the idea of shooting into the light a lot for portraits, food photography and commercial work. “Backlighting” is the term you will have heard of before, and it’s a variation on the theme. Typically this works best when shooting a little off the angle of light, so you’re not shooting at 0 degrees into the sun, but a little off it at 30 degrees for instance.

Wide and Bright
Landscapes are also open to this technique however, and even more surprising it can work wonderfully at very shallow depth of field. We typically think of landscape photography as soft, gentle and generous is focus. But it can take on a more dynamic feel when shooting in the golden hours and using a wide aperture. One of my favourite lenses is a 50mm f/1.2 which is my go-to lens for portraits. It’s also unparalleled in DSLR terms for isolating a single detail in a landscape, such as a lighthouse or boardwalk, and filling the immediate foreground with bokeh rich abstractions.
Shooting at f/1.2 does tend to flood the sensor with too much light of course, so typically I get better results at the end of the day when the brightness of the sun has dropped off a little and my maximum shutter speed of 1/8000th of a second is close enough to get a good exposure at ISO 100.
One of the effects of shooting into the light is to reduce the saturation of colour, but not evenly across the spectrum. Some hues drop out before the others as you angle in, giving you a more modest colour richness and quirky variations which is often appealing to me. If you aim for deep dark rich tones then this style will not work for you. If you like to dirty up the scene a little, then dropping out excessive colour richness is a good trick.
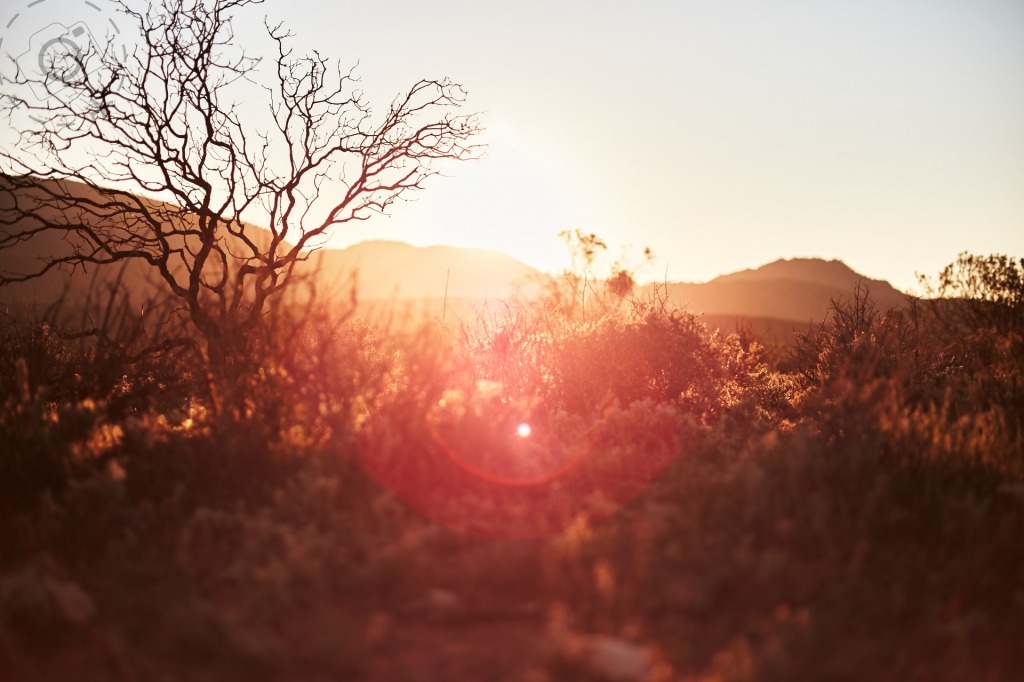
The other advantage to using a low f-stop when shooting into the light is it changes the way lens flare hits the sensor. At f/8 you can expect flaring spots to be a little bit crisp and well defined. They can look very obvious as a result. The very same shot at f/2 however will make that flaring diffuse, giving a more etherial feel to the flaring and something I find more aesthetically appealing.
If you want to experiment with shooting into the sun for landscapes, I suggest you start with the lens wide open.
Flaring is not the same on every lens of course, so not only does the choice of f-stop effect what you see in the final shot but your choice of lens plays a big part as well. As a general rule, the faster the lens the more pleasing the bokeh, and more pleasing the flaring with the aperture wide open. I get a nicer flare from my 50mm at f/2 than my 70-200mm at f/2.8. It’s personal preference, but worth remembering to experiment with lenses as well as with angles. If you only have access to an f/4 lens, then this technique may not yield the depth of aesthetics that a faster lens will offer.
End of the Day
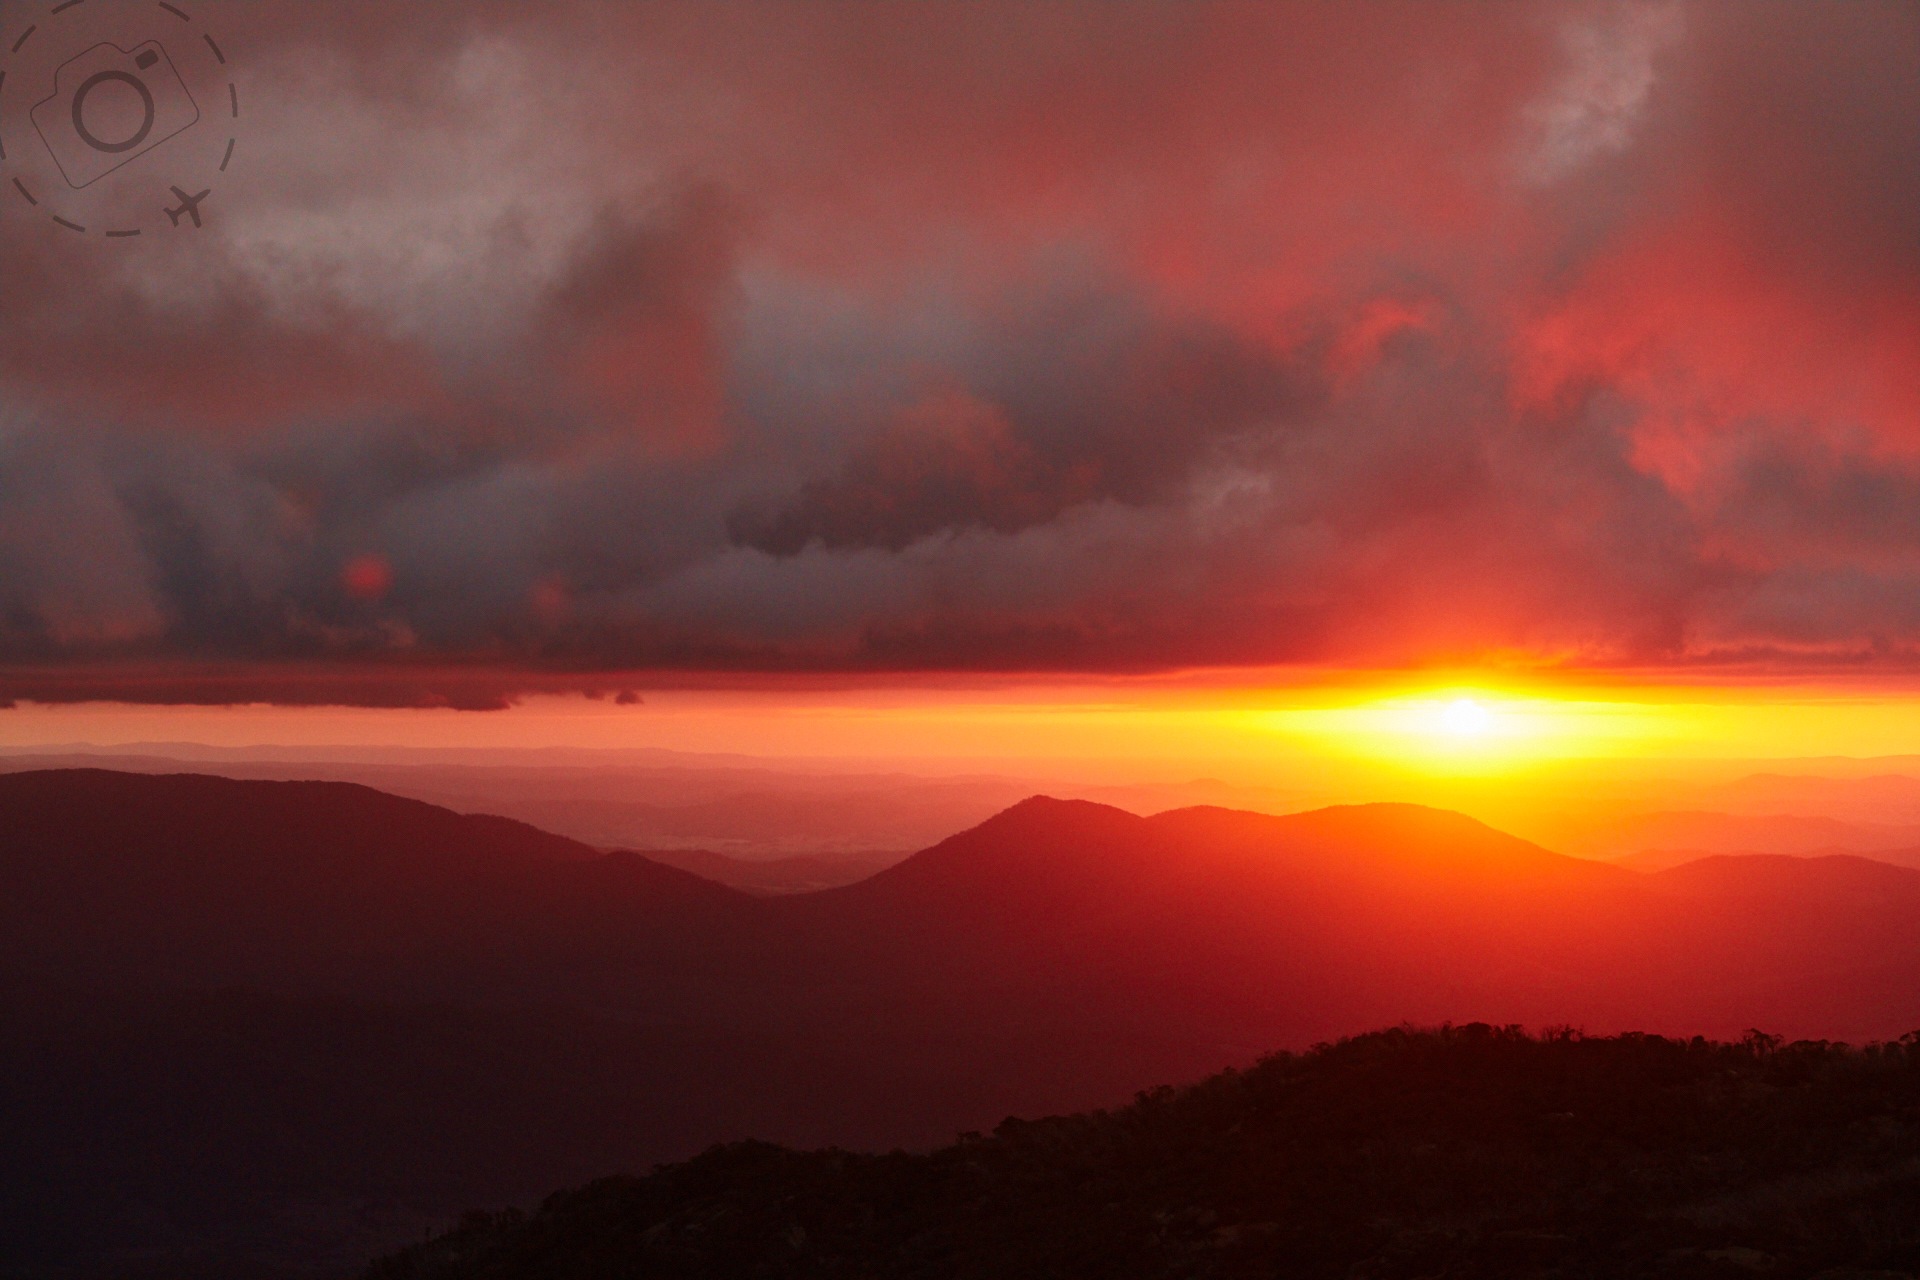
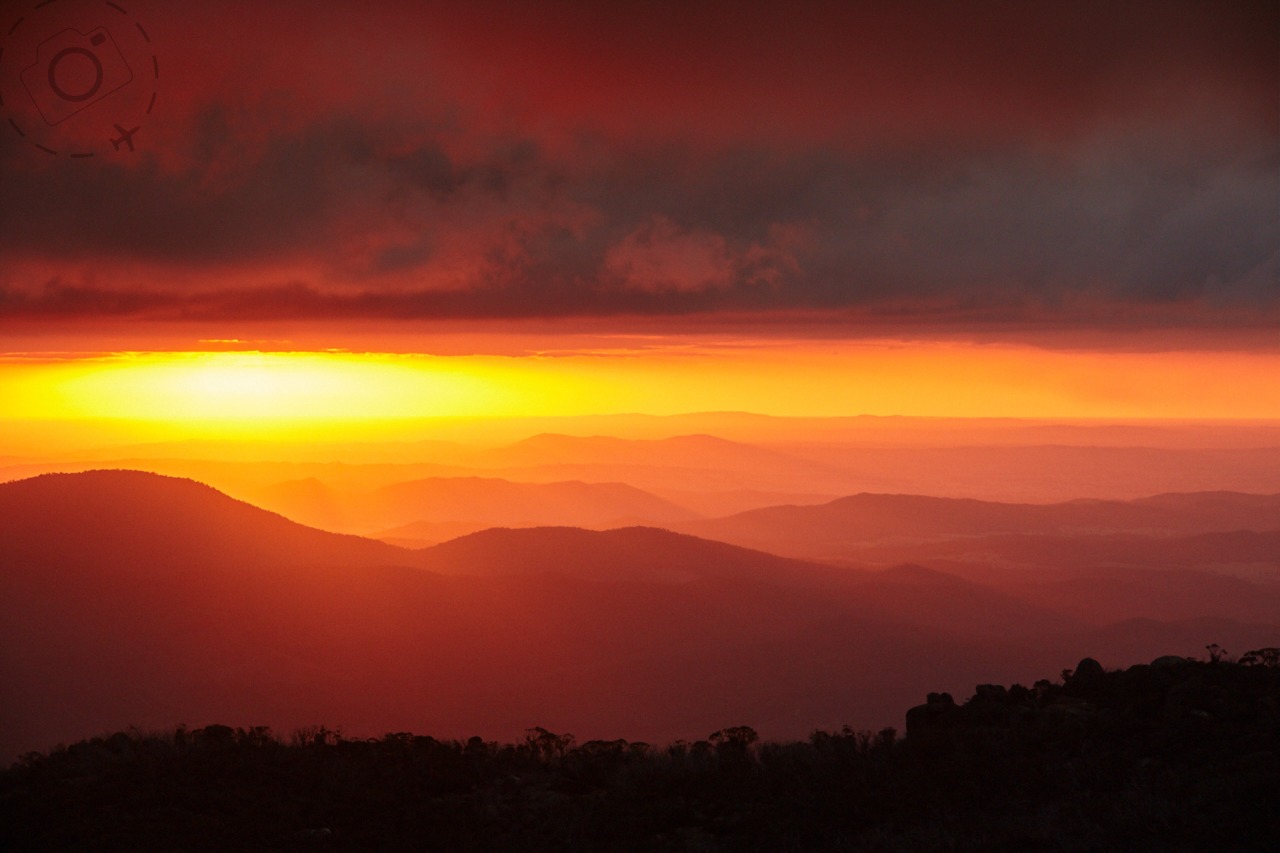
On a recent shoot in Victorian High Country we visited a sunset lookout at Mount Buffalo called The Horn. It had been a bleak and grey day with nothing much exciting in the way of light. As we headed up the road I could see a glint of colour on the horizon beyond the national park. Just a hint of sunlight was hitting through a break in the weather, but enough to make it interesting. My seldom used 70-200mm suddenly got a chance to shine.
This wasn’t your typical sunset of course. There was no beach with palm trees to silhouette and no endless sky filled with blue, orange and purple. There was a big wide expanse of dark grey, a few ridges folding towards the sunlight and a splash of colour bursting out from a hole in the clouds. It was still a complex shot on account of several exposure zones ranging from brilliant direct sunlight to near black heavy sky. I picked my exposure for the middle range, the hills that are catching the sunlight instead of the sunlight itself.
It’s been a long time since I have enjoyed a sunset quite this much. That moment at The Horn, with a rain storm threatening to crash down from behind us, was precious and rare and unexpected. We hadn’t even gone chasing a sunset, because we had no expectation that the day would end any better than it started. We were just checking out a location.
Back on my desktop I took those images and thought about how to process them to perfection. I didn’t want to corrupt what was a lovely moment, I wanted to keep it real. I did want to smooth out the range of light in specific sections of the frame though, to tame the sunset itself and bring up the detail of higher cloud cover which otherwise wears heavy in the composition.
This is the dance we make between shooting and processing. Knowing that you have options when shooting into the sun, when working with difficult light that traditionally was too hard to handle, gives you that little bit of confidence to tackle it in the first place.

Keep Reading
Join Ewen's newsletter for monthly updates on new photography articles and tour offers...Subscribe Here

