I’m a very lucky guy. I get to spend two weeks in the Outback with a gang of enthusiastic photographers every year, teaching them what I know about photography. We indulge in landscapes and wildlife mostly, but there’s also a couple of key stops on the route where the night sky becomes our canvas. The basics of star trails is well documented, and years ago I shared my “sunset” technique for those wanting a dazzling sharp silhouette against which to record celestial motion.
Today I’m writing about how to make better sense of the captures once you have them on your computer. For a primer to Star Trails you can read about my Star Trails in the West on this blog post below:
https://ewenbell.com/blog/Star_Trails_at_Sunset
In The Park
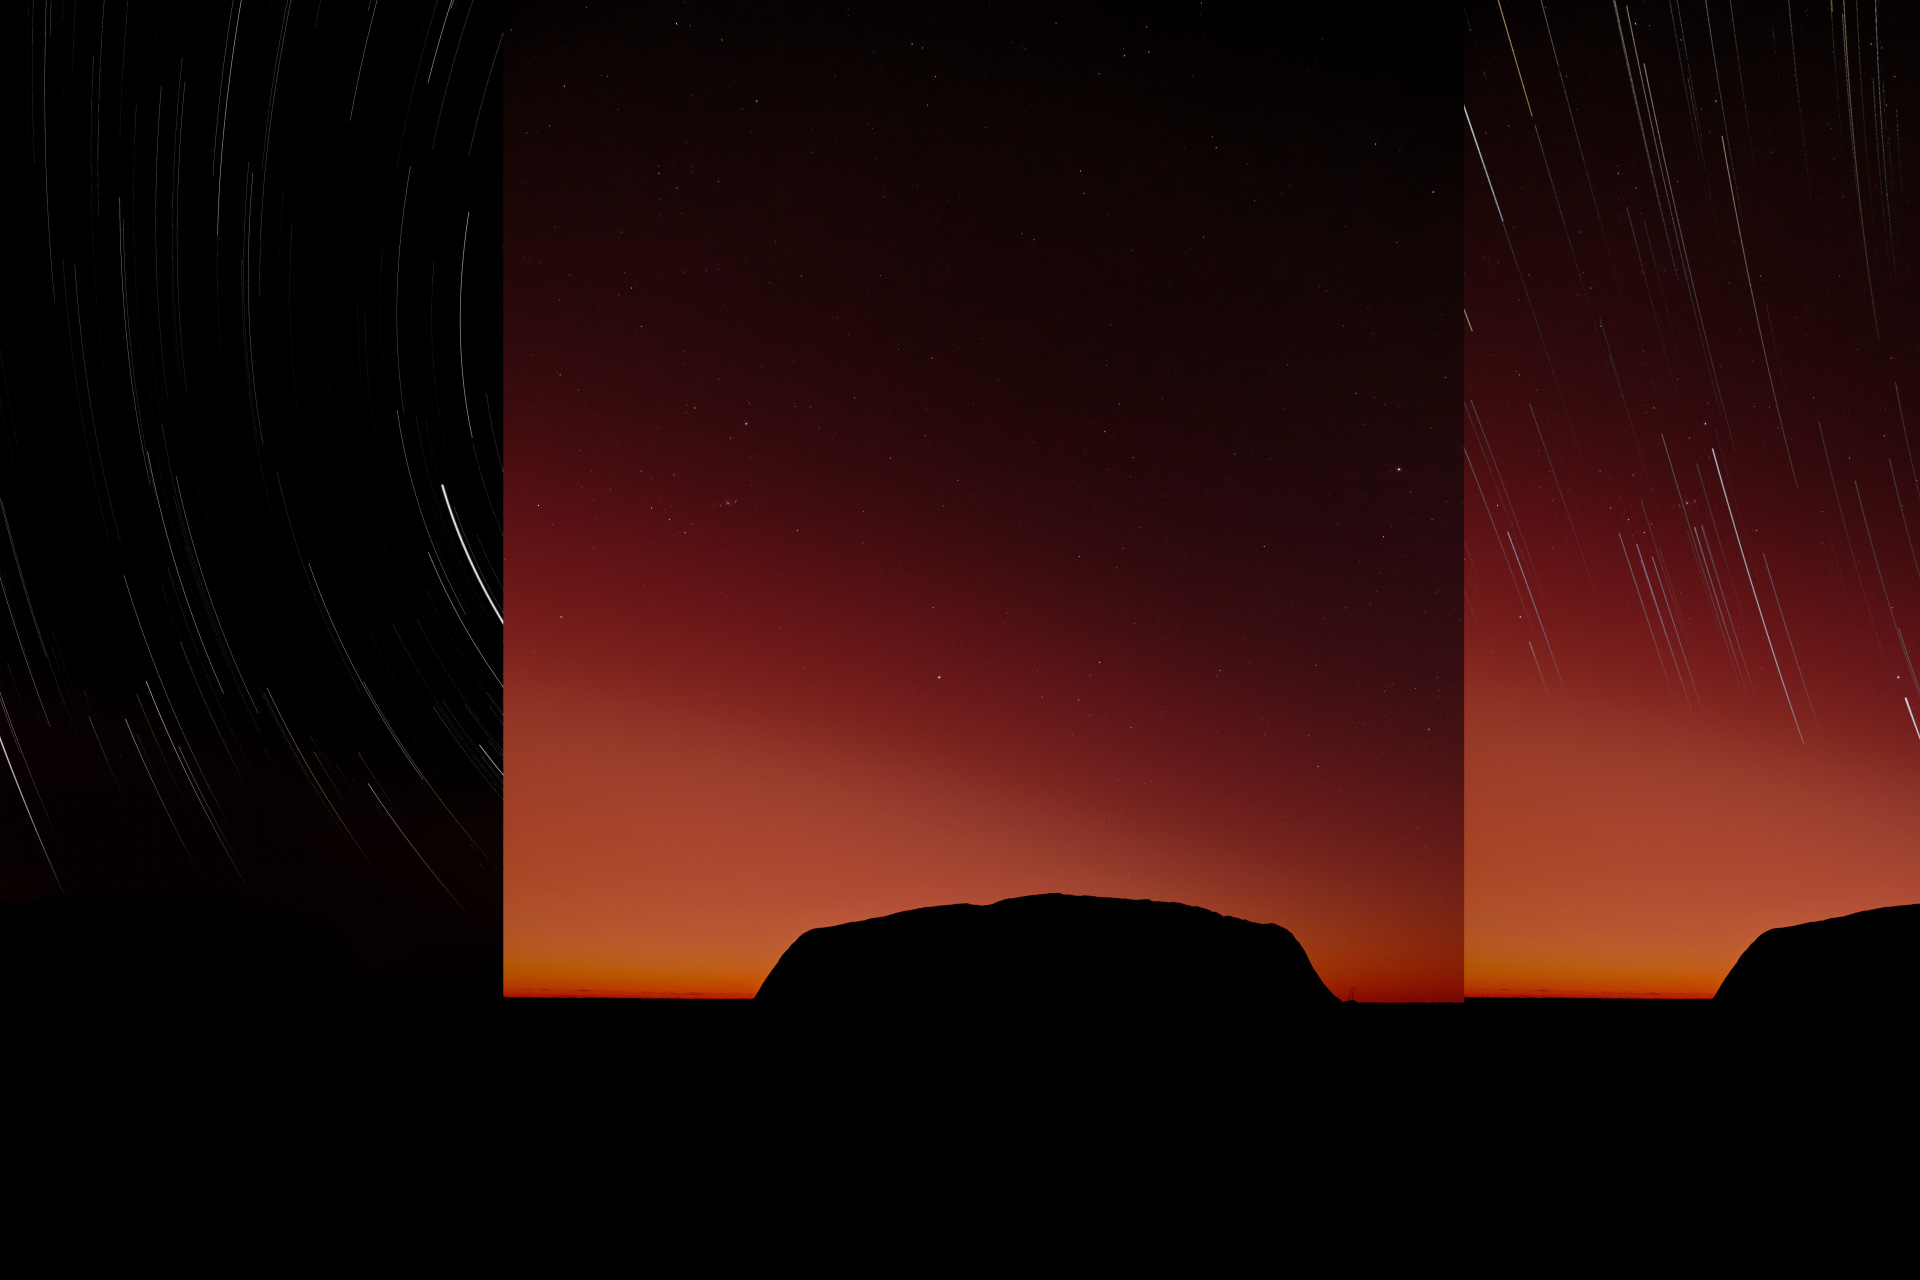
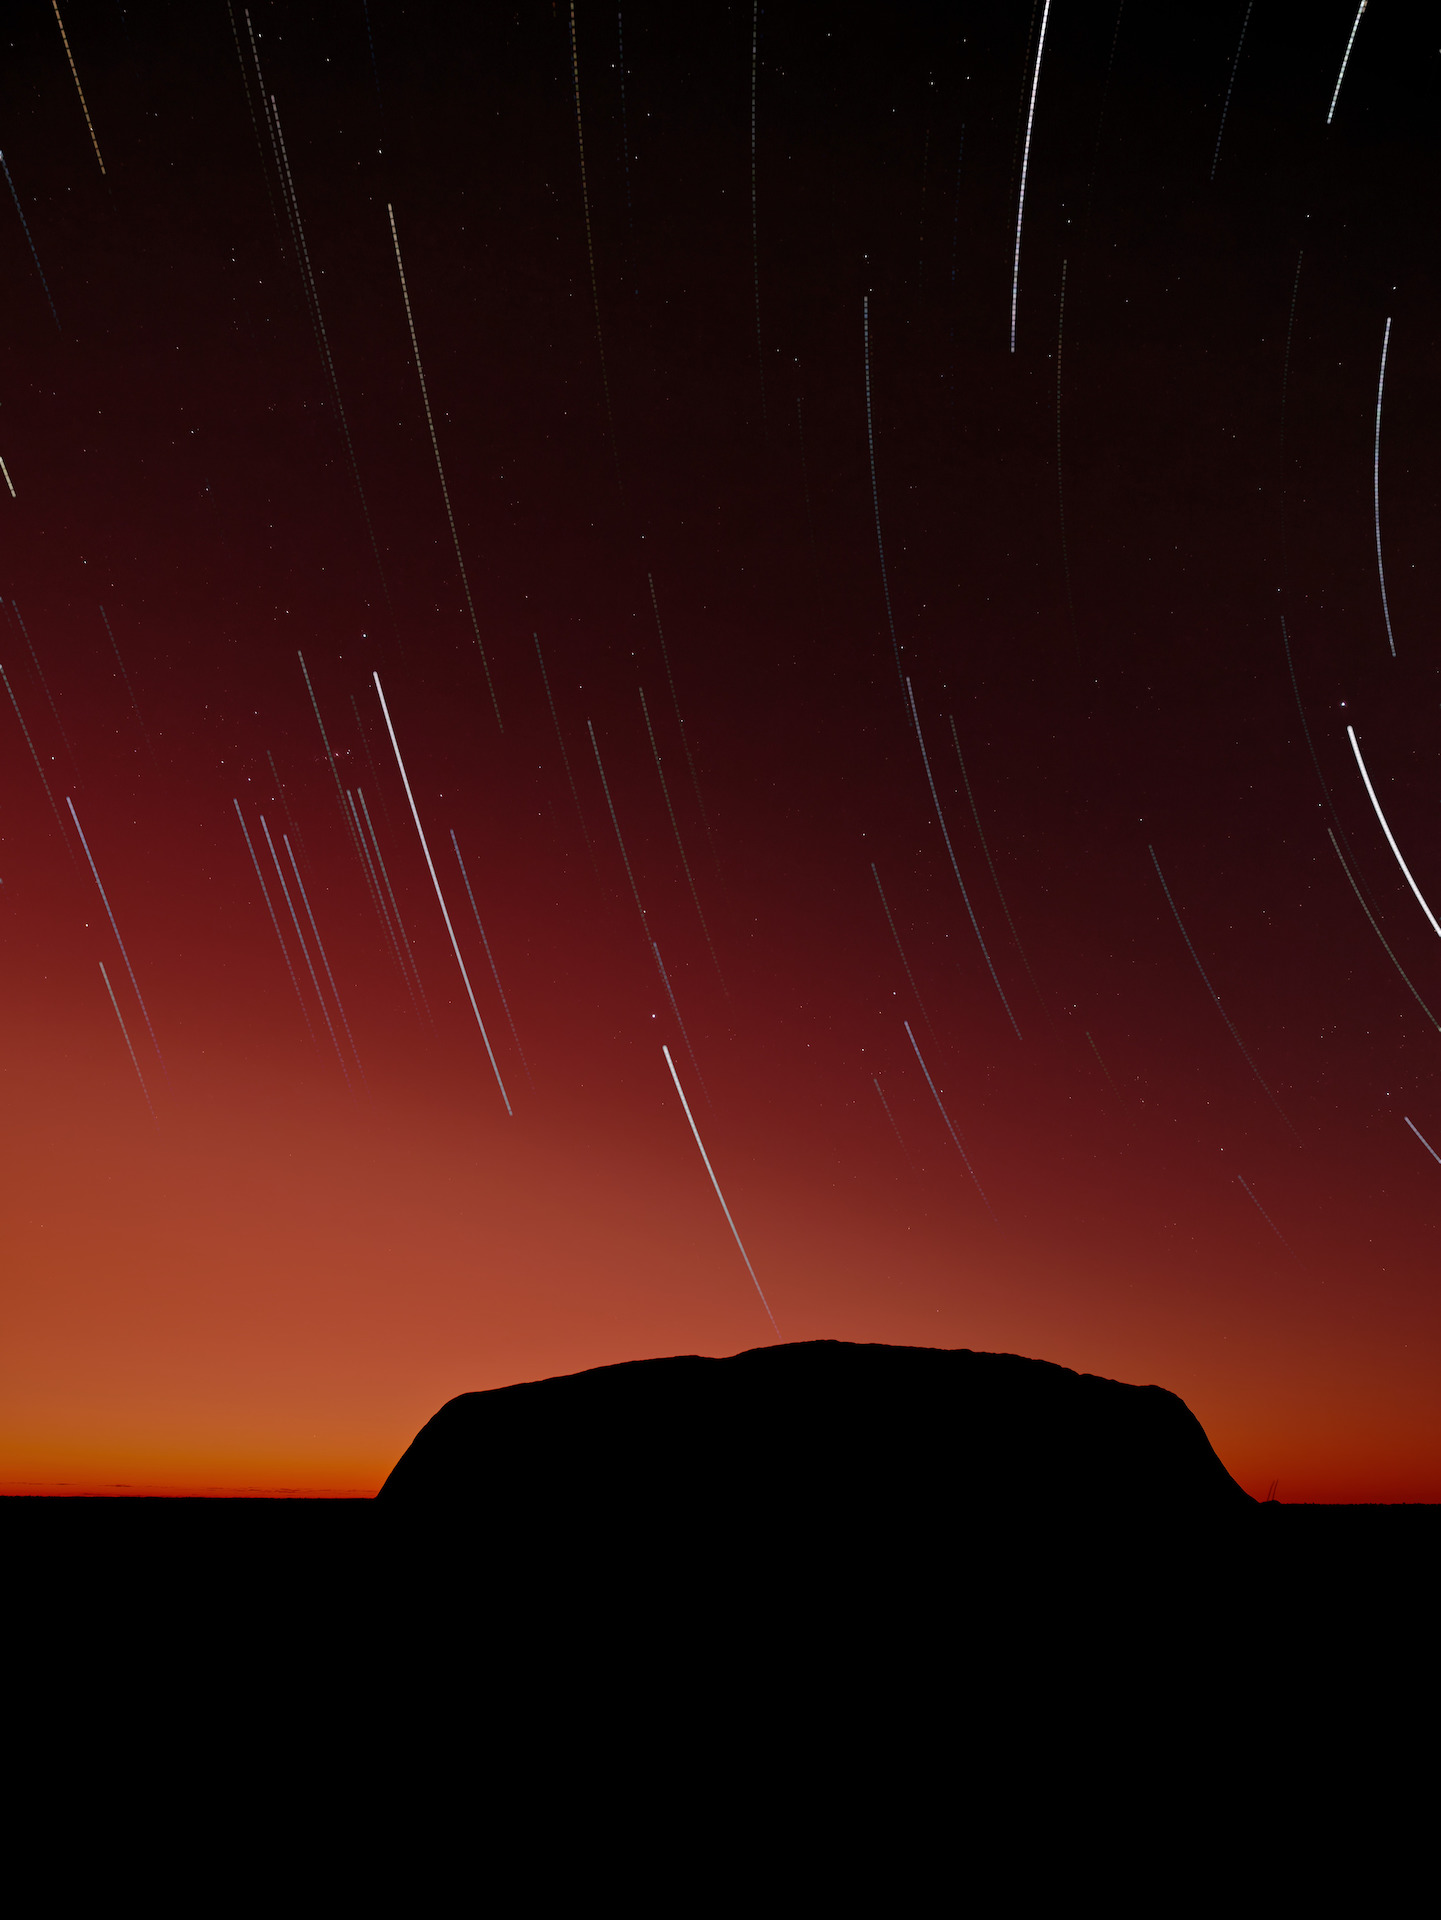
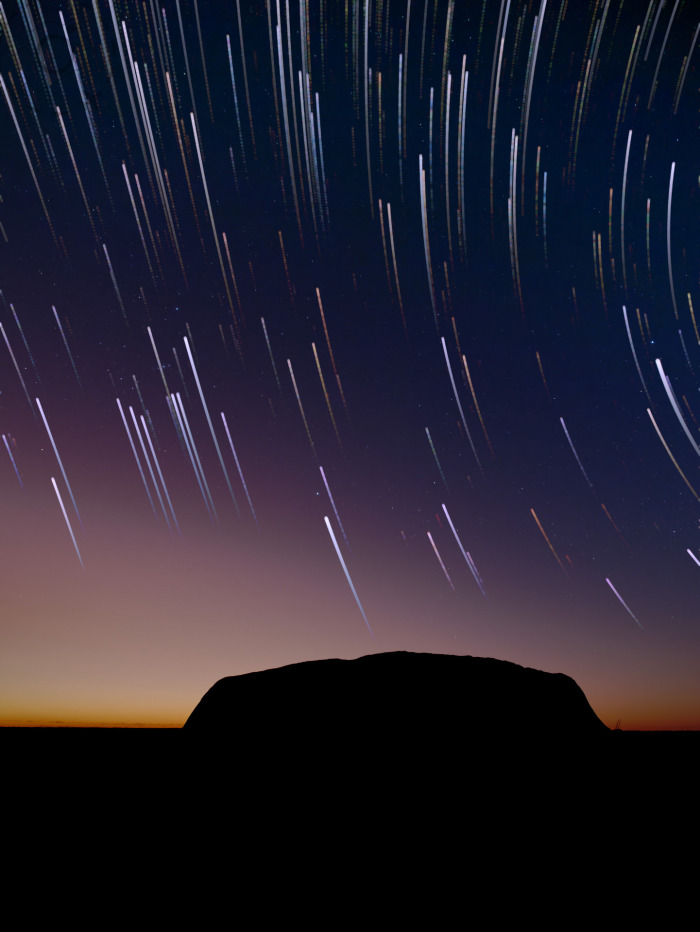
The example I’m sharing today was captured at Uluru Kata Tjuta National Park, a magnificent place to visit for photographers and civilians alike. Uluru itself is a stunning subject for photography, day or night. A warning though, you need a permit to enter the park after hours and the rangers do make checks during the night to kick out anyone who shouldn't be there.
This trail is a little bit unique in that I’ve captured it portrait instead of landscape. You need a pretty wide lens for Uluru, and my composition here was taken with a 20mm perspective. On the LUMIX GH6 you need a 10mm lens for a 20mm equivalent perspective, and the Leica 10-25mm f/1.7 lens delivers exactly that. This lens has one other major advantage for shooting stars; direct manual control of the focus. There’s a slip ring on this lens that deactivates the AF and lets you retain full and precise control of where the focus sits.
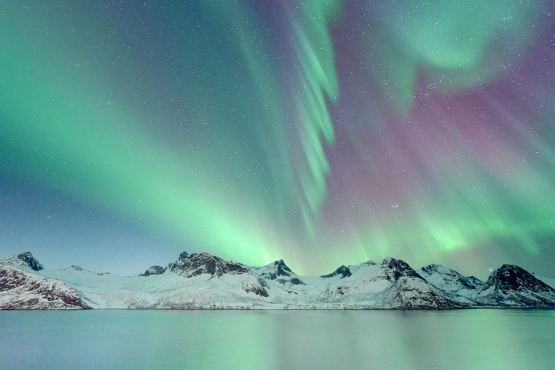
I much prefer a manual lens for night photography than autofocus, because cameras typically struggle to lock onto subjects in such low light. If you can read off the barrel where the focus is set then life becomes much easier. Most mirrorless lenses these days don’t give you that benefit. The focus and the rings are decoupled, relying on electronics instead. An old fashioned manual focus lens is excellent for Auroras or the Milky Way.
In The Dark
It always surprises people just how little exposure is required for a star trail. My suggested settings are 1/30th of a second at f/5.6 and ISO 800. I want to underline the fact that you don’t need a FAST lens for star trails. You do for Milky Way and Auroras, but not for star trails. You can mix up these basic settings for yourself of course, and in the case of my LUMIX GH6 it’s possible to shoot a time-lapse sequence with a 60s second exposure which means half the processing later. A lot of cameras are limited to 30 seconds and that’s fine. You still get what you need.
For most cameras these settings will produce what at first appears to be a completely black frame. On closer inspection it isn’t *completely* black. When you zoom into the image you’ll start seeing tiny traces of the stars as they move through 30 seconds of sky. It takes a lot of trust the first time out to believe this will work, because your eyes are telling you “it’s way underexposed I can’t see anything!” You’re going to stand out there in the dark and cold, with the camera clicking over every 30 seconds for a total of at least an hour. Maybe two if you have the patience.

In The Darkroom
Once you have one or two hours of star trail, plus a bright frame captured from the exact same position, you need to assemble them. I start with RAW files and do a little tuning on them. I still use StarStax to do my trail assembly, a free download, but this application stacks JPG files and not RAW. You will want to fine tune the RAW files anyway, to balance your exposures and apply any creative leaning with regard to colour balance or saturation, or removing unwanted flashes of light in the night. Stars do have beautiful colours, and they can be very pronounced when shooting trails.
Until recently I have used Capture One for all of my work, for the past two decades in fact. At the time of writing this article Capture One still had not released support for the GH6, six months after the camera was released, and had failed to deliver the promised support three times in a row. So I was using DxO PhotoLab 5 instead. It’s quite similar in many ways, just not quite as polished on the interface and not as good on noise reduction. It's worthy option of you're looking for something cheaper than Capture One and with better support for a wider range of cameras. For star trails the results are just fine, and you can quickly get the job done.
I start with one of the trail frames and zoom in. I’m looking for detail, and looking to see how many minor stars I can drop from the frames. I don’t want too much traffic in the scene. I want a few trails elegantly reaching across the scene, rather than chaotic scribblings of the universe. Less is more. I’ll repeat that because it really is important. LESS. IS. MORE.
It’s critical to get the RAW treatment as close to correct as possible. If you try to fix it up later by pushing about the exported JPGs then you’re going to get into trouble. Stars are very high contrast objects in the night sky, and it’s very easy to crush the finer tones that will ensure a quality result when you assemble the trail. The more you dim down your original exposures the less you’ll have to dim down the RAW file in treatment. Conversely, if you have over-exposed on the night then you’ll need to go harder on the RAW file to remove errant objects.
Get the exposure as close to correct as possible. Failing that tweak the RAW file. The last resort is manipulation of the JPG as this has the least data to work with.
Removing the stars that aren’t necessary is the goal when tuning your RAW files. The trick is to remove the dimmer stars without degrading the brightness of the hero stars. That takes practice. You may want to crush down the “shadows” and then pump up the “highlights” for example. Ideally you want to remove any light that is below your bright stars, without dropping the wider exposure levels.

Soft and Bright
Anything that adds contrast to your final conversion from RAW to JPG will have a negative impact on your final assembly. Harsh and jaggy trails result when you crush the tonal range.
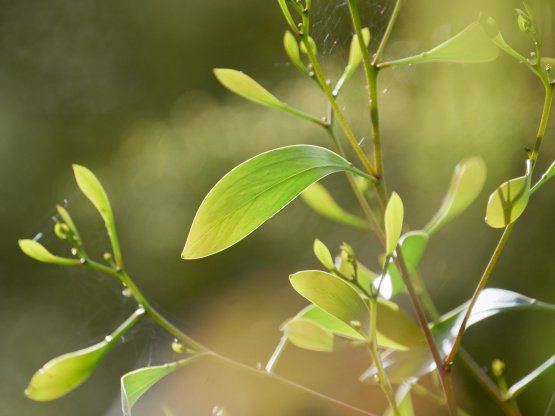
You might think they’re just little streaks of light across the sky, but they do contain subtle detail and a lot of tonality. Ironically this is one situation where a sharper lens is less advantageous. I've seen a few people on my workshops get wonky with their focus in the dark, and the defocused trails are fluffy and vibrant. Defocusing a star makes it fatter and a little bit brighter – it's an artefact that we use to precision calibrate lenses for astro photography. Aesthetically speaking I like a little softness, but I do not recommend attempting to shoot trails off-focus on purpose in case you get more wonky than you wanted :)
Pixel packing is the other factor that impacts the fine lines of star trails. Compare a full-frame DSLR with only 12MP against a GH6 with 25MP; the latter has a lot more pixels packed into a much smaller area, so the resulting images of the stars are much finer. The trails are literally skinnier in the final image, because the pixels are smaller
Out of focus low density cameras give you fat trails, but accurately focused high resolution sensors do not.
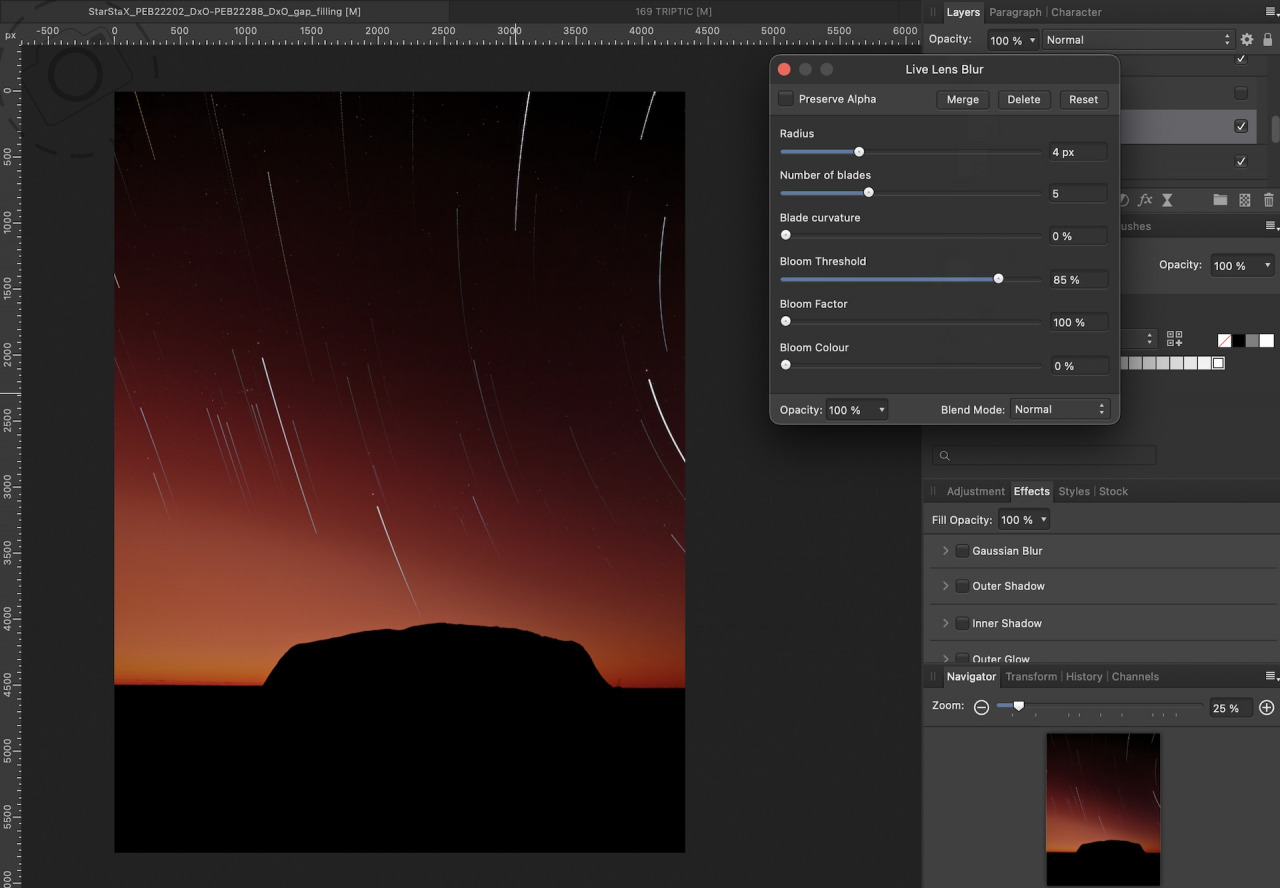
[ Adding blur to a layer in Affinity Photo ]
One alternative is to defocus your trail frames after capturing. Most RAW processing tools are really good at enhancing sharpness, but pretty useless at removing it. Photo editing tools like Affinity Photo or Photoshop do have specific tools to apply defocusing/blur, but that means going through each file one by one (or batching) before stacking the trail. Ideally we want to manage the blur while still working with RAW data.
It turns out that hidden away in DxO PhotoLab 5 there is a dedicated blur tool, which pops up as the very last option when you apply a local-adjustment. So I make a full-page gradient, and give a very gentle nudge to the blur setting. Less than 10 points of blur are enough to soften my trail without wiping out all the other details.
DxO PhotoLab lets me optimise my RAW captures then output a full set of star trail JPGs, ready to shunt into StarStax, plus my bright frame. I could use StarStax to merge the bright frame with the trail, but often I want to tweak that step a little to suit my mood. I use Affinity Photo to merge the trail and silhouette into one final image.
If you haven’t heard of Affinity before, they are an excellent software company that offer exceptional value. I use Affinity Publisher instead of Adobe InDesign, and Affinity Photo instead of Photoshop. They cost between $50 to $100 for a license, and there’s no ongoing subscription. It's been three years since I handed over my money and I'm still getting value out of it. Keep an eye out for their sale discounts, but even the full price is amazing value. They even issued updates when the M1 macs came out, so I can run native without spending any more moola. Affinity Photo is great software for stacking, stitching and manipulating.
I did try running my full-resolution star stack in Affinity, as they have a dedicated built-in function for this task. Putting 120 frames at 25MP each onto my Macbook Air proved to be beyond the limits of practicality however. It did complete the job eventually, but sooooo slowly that it’s easy to recommend you stick with StarStax for the heavy lifting. I brought the finished trail stack together with my bright frame into Affinity Photo, and did a few tweaks from there. This techniques allows me to play with some of the defocus tools in Affinity as well, such as Lens Blur or Field Blur. I can also apply masks to tinker with the levels on the trail itself, small tweaks that negate the need to go back to the RAW files and start over.
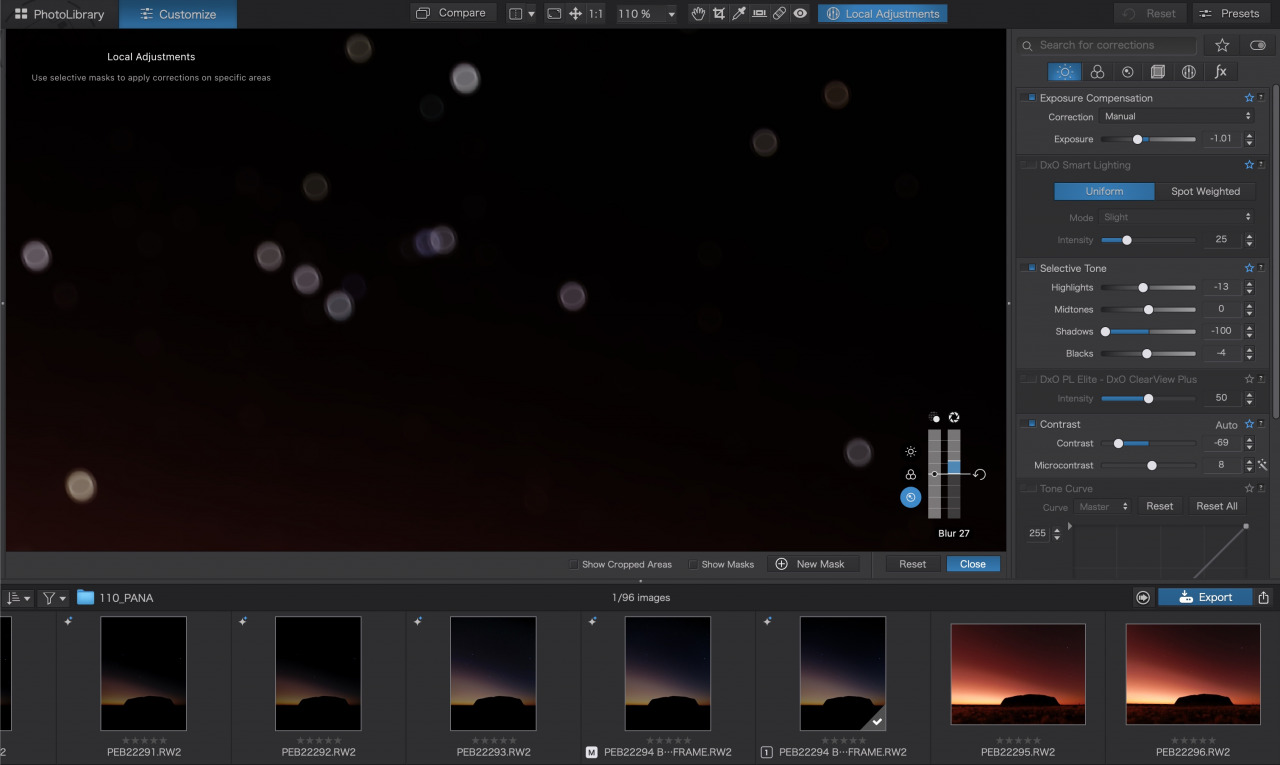
[ How much blur is too much blur in DxO PhotoLab 5? ]
Iterations
The emphasis here is on SMALL tweaks. If you didn’t get the original trail in the ballpark, and find yourself going hard on the levels when merging, then you need to consider going back and starting over with a better RAW treatment. If you push the JPG files too far, you end up with a jaggy trail that is missing in critical tonal range. The solution is how you process the original RAW files, and maybe a little defocus to bring back a touch of analogue fluffiness.
Don’t expect to get it right the first time. Expect to reassess and try different treatments. This is an aesthetic challenge that demands a technical touch. Give yourself a few run-throughs before calling the job done.
There is one more factor in play with our Uluru star trail that I haven’t mentioned yet. Most of my “sunset trails” are taken at Sunset, as the name suggests. This requires a view to the west. The problem with Uluru is that our preferred outline of The Rock, the iconic shape we see from the “sunset viewing carpark”, happens to be in the east instead of the west. That’s why Uluru itself appears to change colour so much at the end of the day, as the last light of the day paints up the facade with warm hues of the sunset taking place on the opposite horizon.
My star trail assembly of Uluru is not sunset, but sunrise. Which presents a whole other bunch of problems. First of all, it means that I have to arrive at the location around 5am to get in an hour of stars. Second, it means that as dawn approaches the sky is getting brighter. Thirdly, this year we also had a slither of moonlight climbing on us to the left of the scene. All these factors combine to make the night sky a little brighter than ideal, and there are significant differences in how much brighter between 5am and 6:30am. The net result is that my stars are not so bright in the final assembly.
Creative Spark
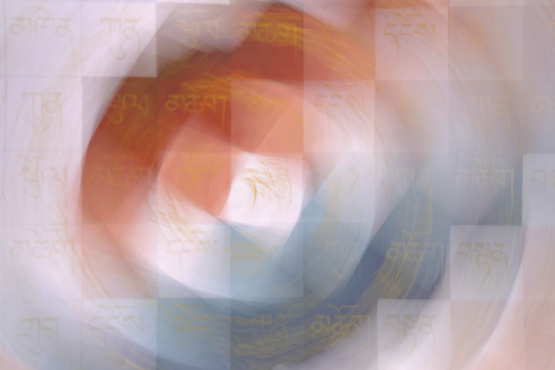
All of the variables emphasise that photography is art not science. The cameras are marvellous objects of technical ingenuity, but the humble photograph itself remains an expression of our own free will and creativity. You’ll notice in my Uluru sunrise I have leaned into the warm tones of dawn, choosing an almost monochromatic splash of orange, red and yellows for my bright frame. I could have corrected this back to blues and gold, but my creative voice found comfort in those hues that stand so proudly on the Indigenous flag.
The next consideration is how much of the colour tone from individual stars I should bring through. Stars actually range from very red to very yellow to very blue – very few are anything close to white. Some of the colours get lost a bit lower to the horizon, where the starlight must pass through more of the earths atmosphere before reaching my lens. Some can end up a dirty brown tone after so much manipulation. I went for a hint of colour this time. I also went for just a smidge of defocusing, enough to let the smoothness of tone take over.
The big problem with "dropping out" some of the stars is that reducing the exposure also has the side effect of shrinking the less bright stars just a little. You end up treating the RAW files to make the bright stars look good, and in the process the dimmer stars turn into dots instead of a smooth trail. Creatively, that might suit you or it might not. See below an example of one treatment where I went for extra puffy in the stars but also emphasised those trails which are dotty.
Frequent Flyer
It’s been five years since I first got a chance to capture Uluru and the stars above. The park rangers were very kind to facilitate a permit process at the time, and in the years since the trial of such permits has proven successful. I notice that a few dedicated landscape photographers have followed this path for their tours or for themselves. It’s a special experience to capture images inside the park after dark, and a very special privilege. I offer my gratitude to both the parks service in NT and the Anangu people who have allowed us to visit year on year and share what makes Uluru Kata Tjuta such a special place.
Back in 2017 my first star trail above Uluru felt like I had climbed Mt Everest. Such a technical shoot, with layers of logistics and a step into the unknown. Since then I’ve been lucky enough to return many times and share this experience with my groups.
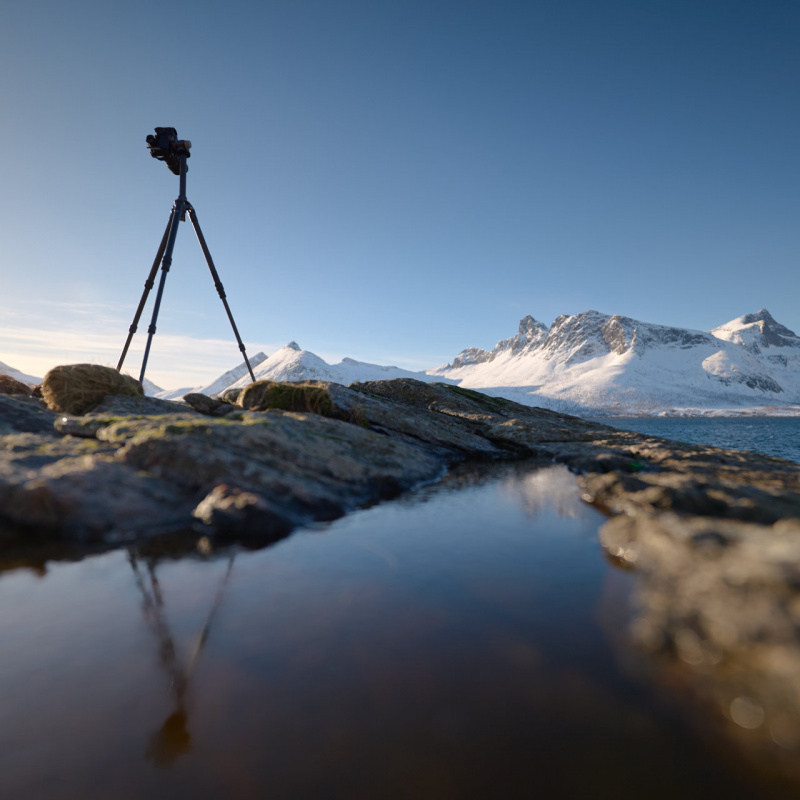
Until this year, however, my luck with chasing new captures of the stars above Uluru had run out. Many times I have offered up my own tripod so that someone in my group could get their photo instead. It’s frustrating when a guest arrive with a flimsy tripod that isn’t fit for purpose, but if they’ve travelled half way across the world then I have no choice but to assist them. Another time I failed to switch off the in-camera stabilisation and instead of a nice arc of stars I got a series of wiggly worms that looked more like a scribbly gum wasp than “Dark Emu”.
This year I finally overcame both of these hindrances. And for good measure I decided to shoot this trail portrait instead of landscape.
What amazes me most about the past few years is that EVERYONE on my trip has been able to complete this super technical challenge successfully. It took me so much effort and planning to work out the original logistics, yet now we simply rock up in the van, let the cameras roll in the dark, then head home for brekky and a decent coffee after another perfect sunrise. It almost feels too easy.
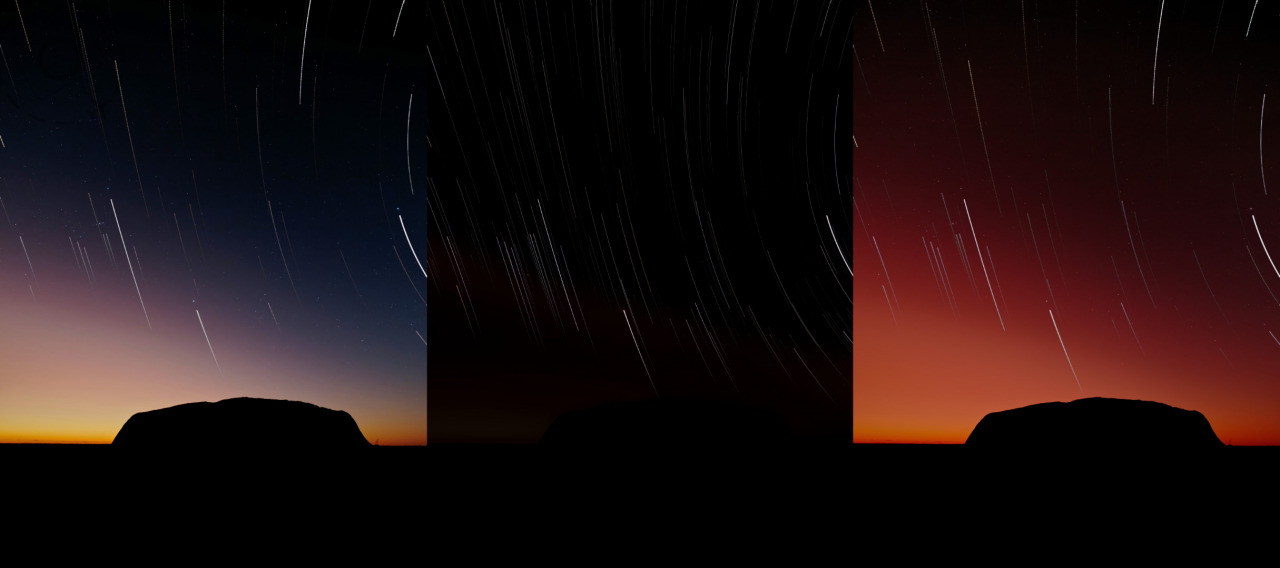
The next day I get to see everyone’s laptops and their stacks, and they’re all different. That’s the special part for me. I see some gorgeous interpretations, and so many variations on the basic concept. In a group of 8 people there are always 8 totally unique star trails and each one with it’s own creative identity. I enjoy watching my workshop guests move forward and find their voice with a camera. It makes me feel like I’ve done something worthwhile.
Their success is my success, and in the case of Uluru, every star is something to smile about.
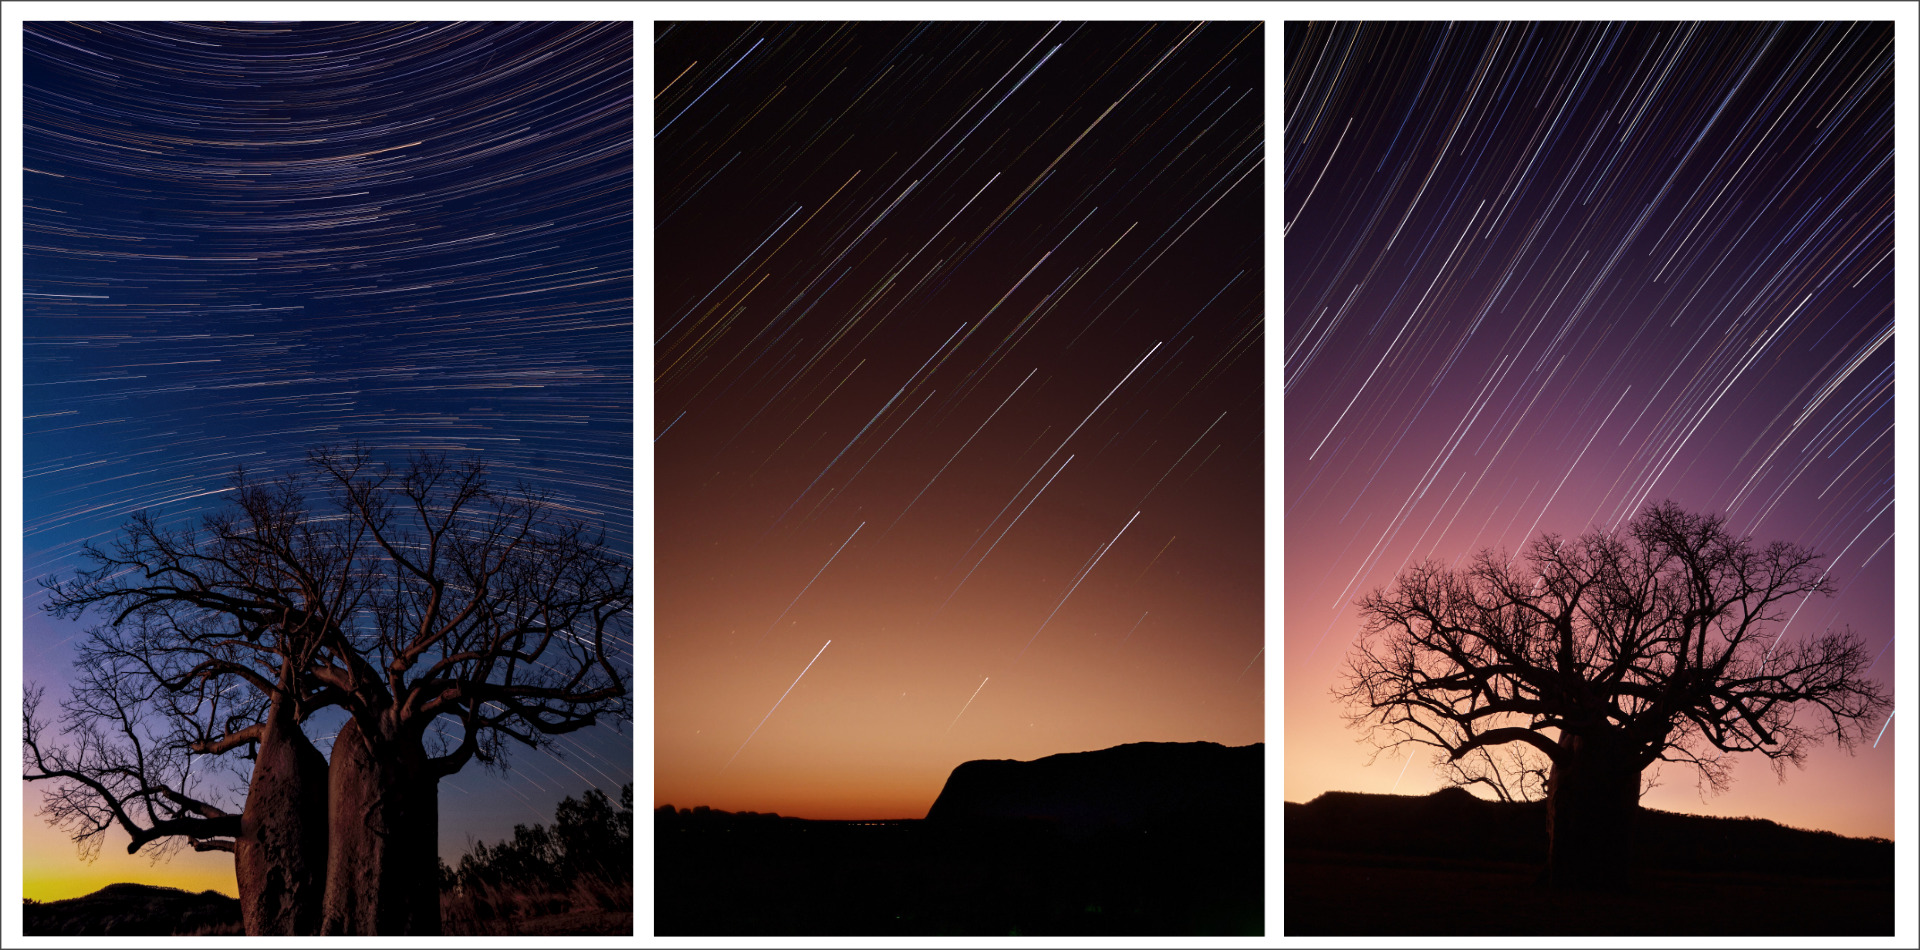
[ Star trails captured by Paul, Gary and Senoke ]

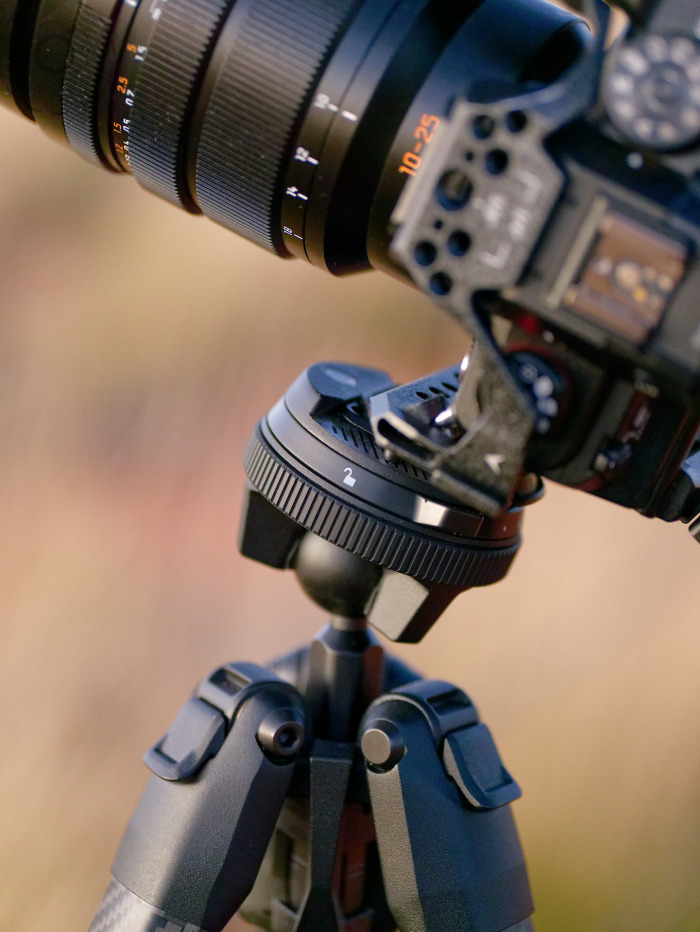
[ GH6 with the 10-25mm f/1.7 + Peak Design travel tripod + Smallrig Black Mamba ]
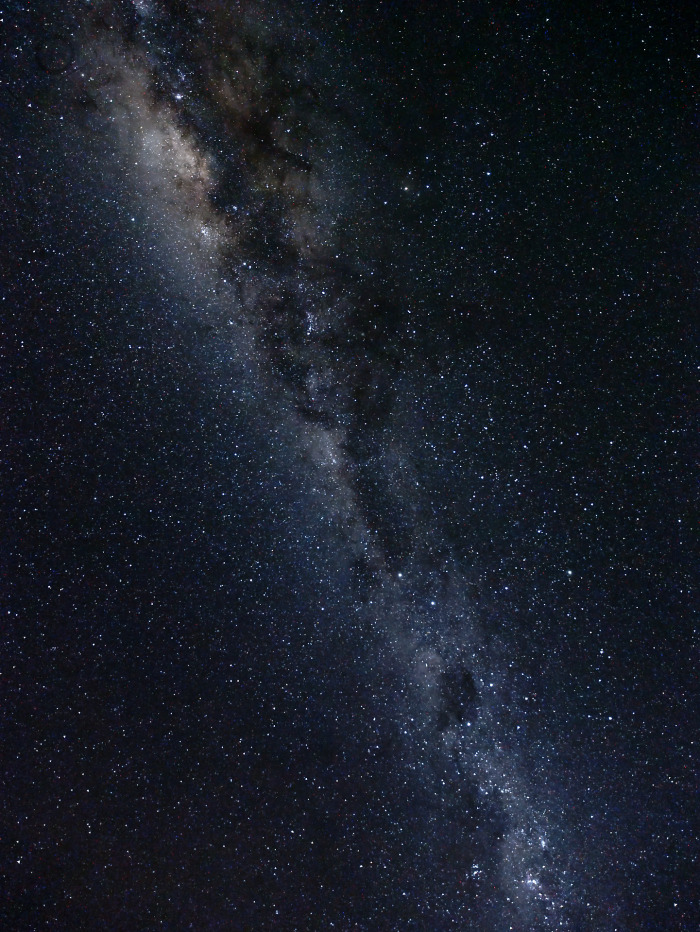
[ Milky Way and The Dark Emu / GH6 + 10-25mm f/1.7 ]

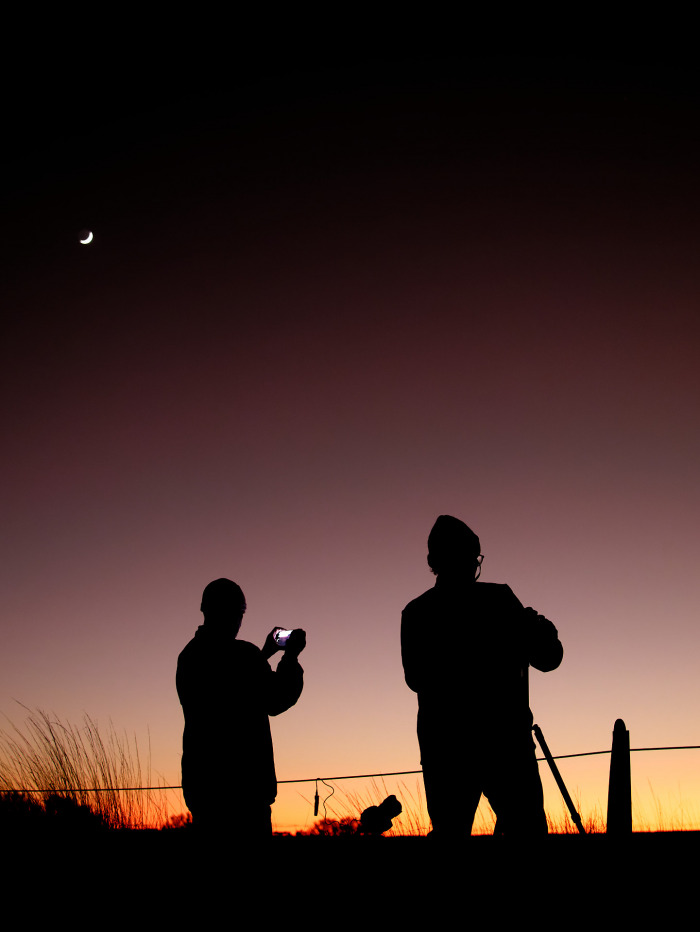
[ Moments before sunrise ]
[ When the stars begin to fade ]
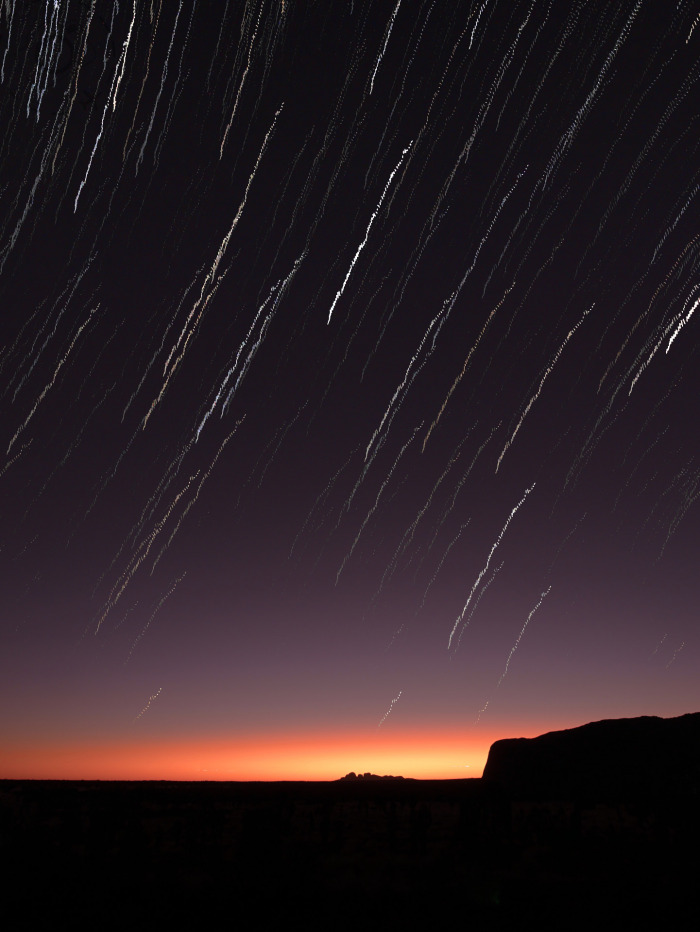
[ What happens when you forget to disable image stabilsation? ]
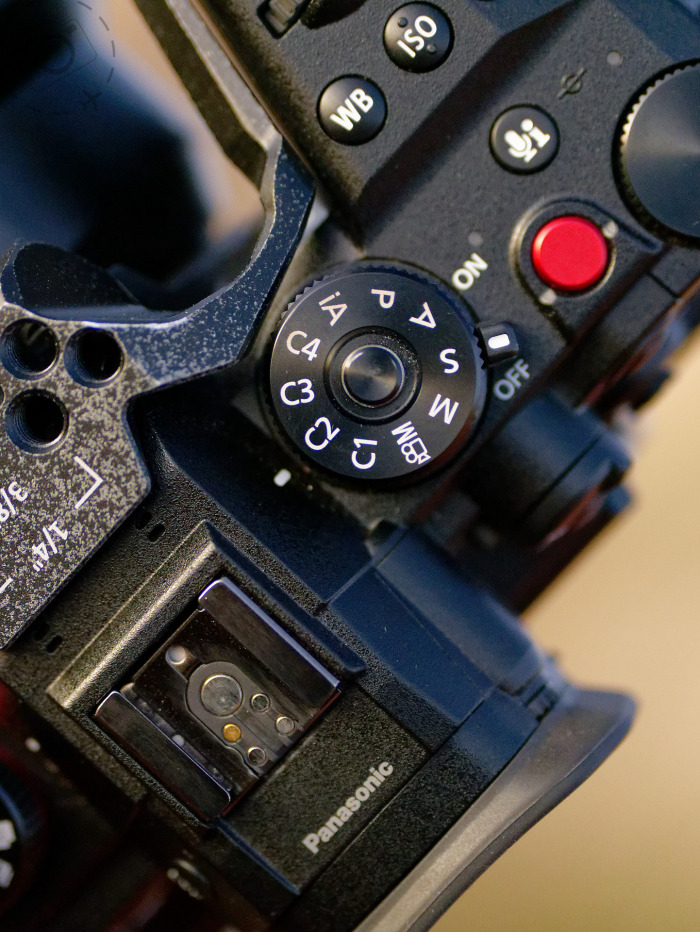
[ Save your star trail configuration into a Custom Setting ]
Read more about custom settings and the custom dial for LUMIX cameras here:
ewenbell.com/blog/Make_The_Custom_Dial_Work_For_You