PATIENCE
The first thing you need for panning is a tonne of patience. Getting the exact combination of movement and chaos to suit your aesthetic is a path forged through failure. Repetitive failure at that. Over and over again you will capture frames that are just a little bit out, or more commonly just totally not even close. This is a technique that will test your capacity to keep going despite the lack of reward.
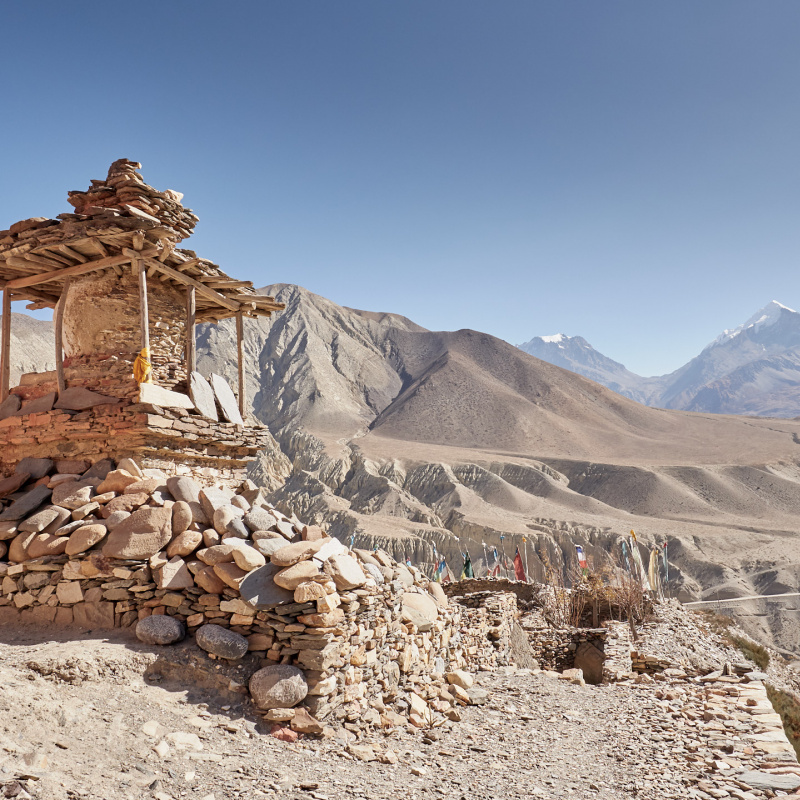
You can tell that a session panning at slow shutter is going well when you start to feel pain in your feet, calves or lower back. That's a clear sign that you're putting in the required effort. I'm in Kathmandu today and after covering only 100metres in 2 hours I have a tonne of raw files to review... and hopefully one or two keepers. We shall see.
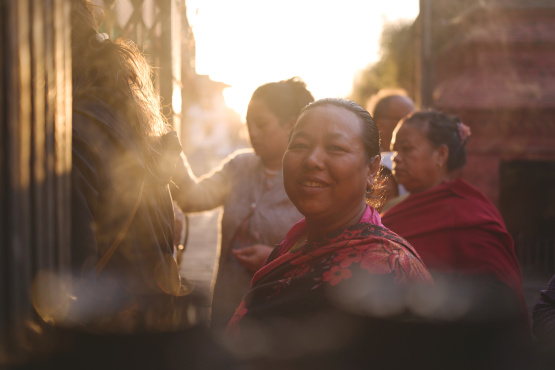
I simply want out in the afternoon to stretch my legs and check out another part of Kathmandu that I don't walk around very often. But then I got distracted and before long the sun had gone down and I still hadn't eaten lunch. Asan Bazar is one of those little gems that makes the old part of Kathmandu special. It's not there for tourists. It's where locals go shopping for a bargain, and on weekends the streets around Asan swell with families, friends and motorcycles. For photographers there is a lot to work with, and often too much.
A touch of low winter light was still kicking about when I first arrived. That's what tempted me to drag out my camera, the crowd surging along the street backlit from above. I only brought one lens for this walk, the Sigma 20mm F2. It's wicked tiny and very very light and I forget I'm even carrying a camera sometimes.
At first I'm a little unfocused with my compositions. I came out for food, not photography. My brain is flicking between contemplating momos and constructing a better photo.
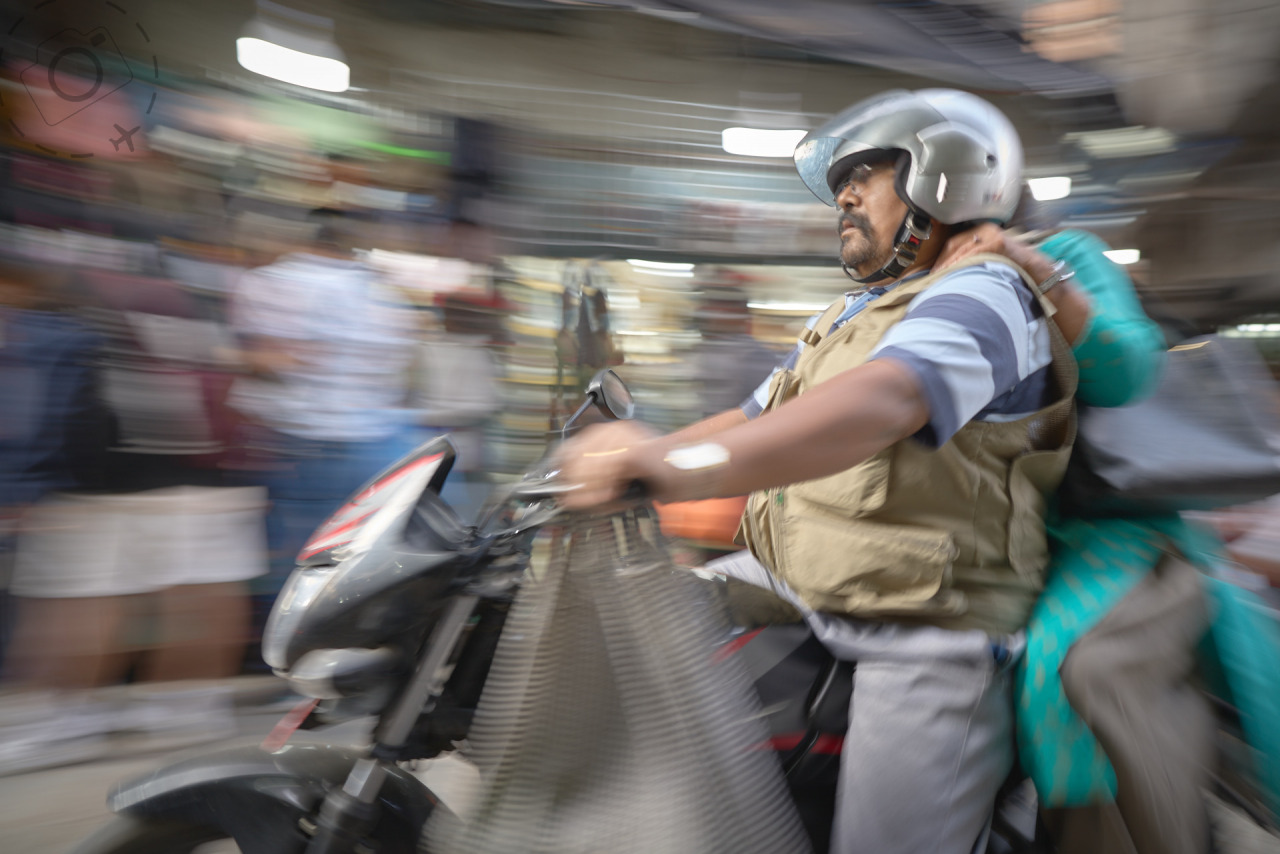
With such a wide lens you have to work a little to control the scene. It pulls in a lot, which means lots of options to compose with. On the streets of Kathmandu my first tendency is to dive headfirst into the most chaotic moments and then work the shallow depth of field at F2 to extract a little detail. I took a few shots, and a few more, but wasn't feeling the love. Too much chaos to build separation for strong characters, and that backlight was turning soft on me as the clouds came in. And that's when I decided to switch it up and work some slow shutter.
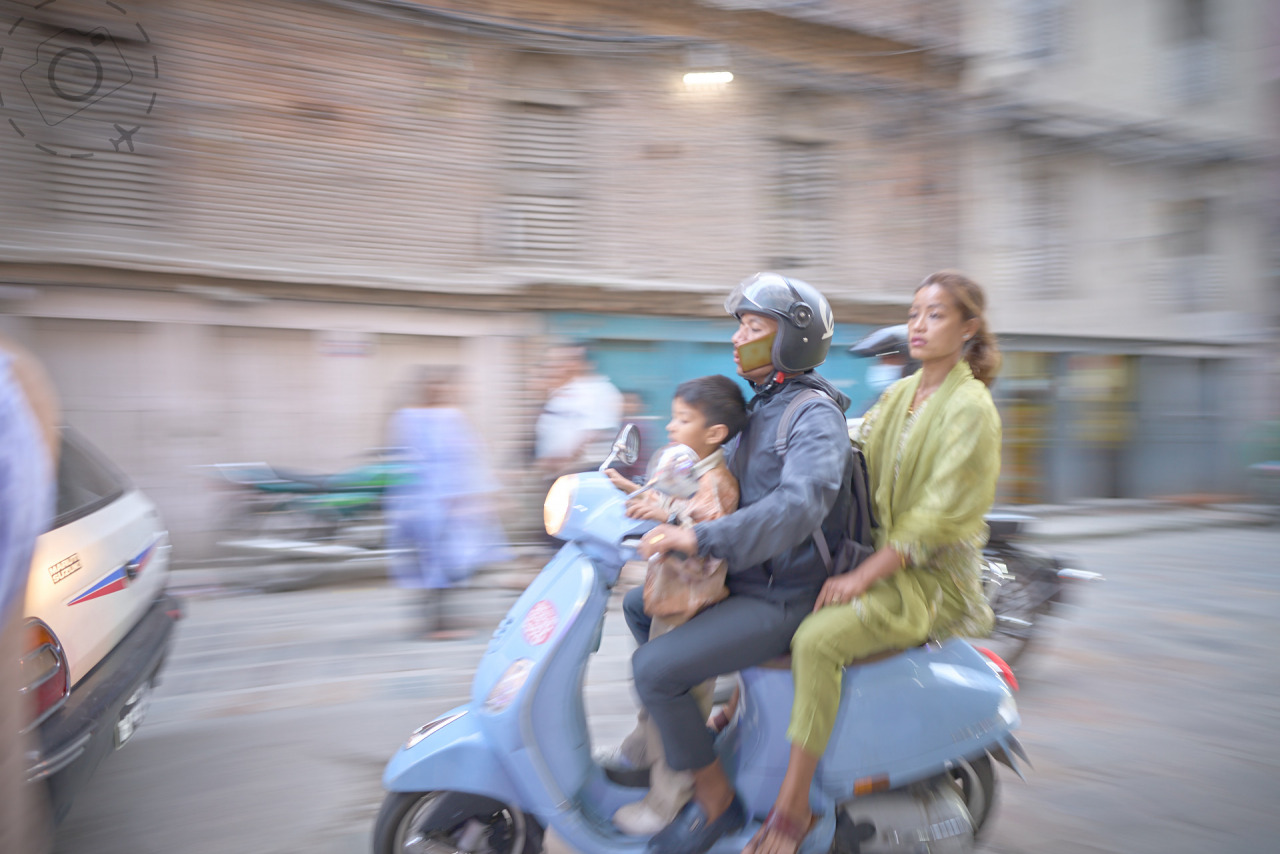
The advantage to this technique is that you're not limited to a wide aperture to stay playing. Any f-stop will let you give this a crack. The separation comes down to differences in movement between your hero subject and everything else. A bicycle or motorcycle rolling by at constant speed is an ideal candidate.
Having dropped myself deep in the middle of the chaos, I found myself struggling to get enough clear space to execute panning. I liked the idea of people blended into the scene, but often I could see the bikes for the pedestrians. Such an intense street scene also is prone to traffic jams, so often the bikes would come to a complete stop. Constant speed makes this technique a lot easier. If they stop and star, then that's a problem. So I took a lot of rubbish photos, but every now and then I got a nice mix of subjects to attempt shooting.
The next problem is that with handheld slow shutter photography, you end up with a lot of blurry shots. Panning requires that you rotate the camera in sync with your subject. That's why constant speed is so important. You're trying to plan the camera at just the right speed. Too fast or too slow and you just get blur everywhere. So you and up with a lot shots that didn't work. Don't worry about it. I just keep shooting and keep practising and hope that somewhere through that hour or two my technique was up to the challenge.
SHUTTER SPEED
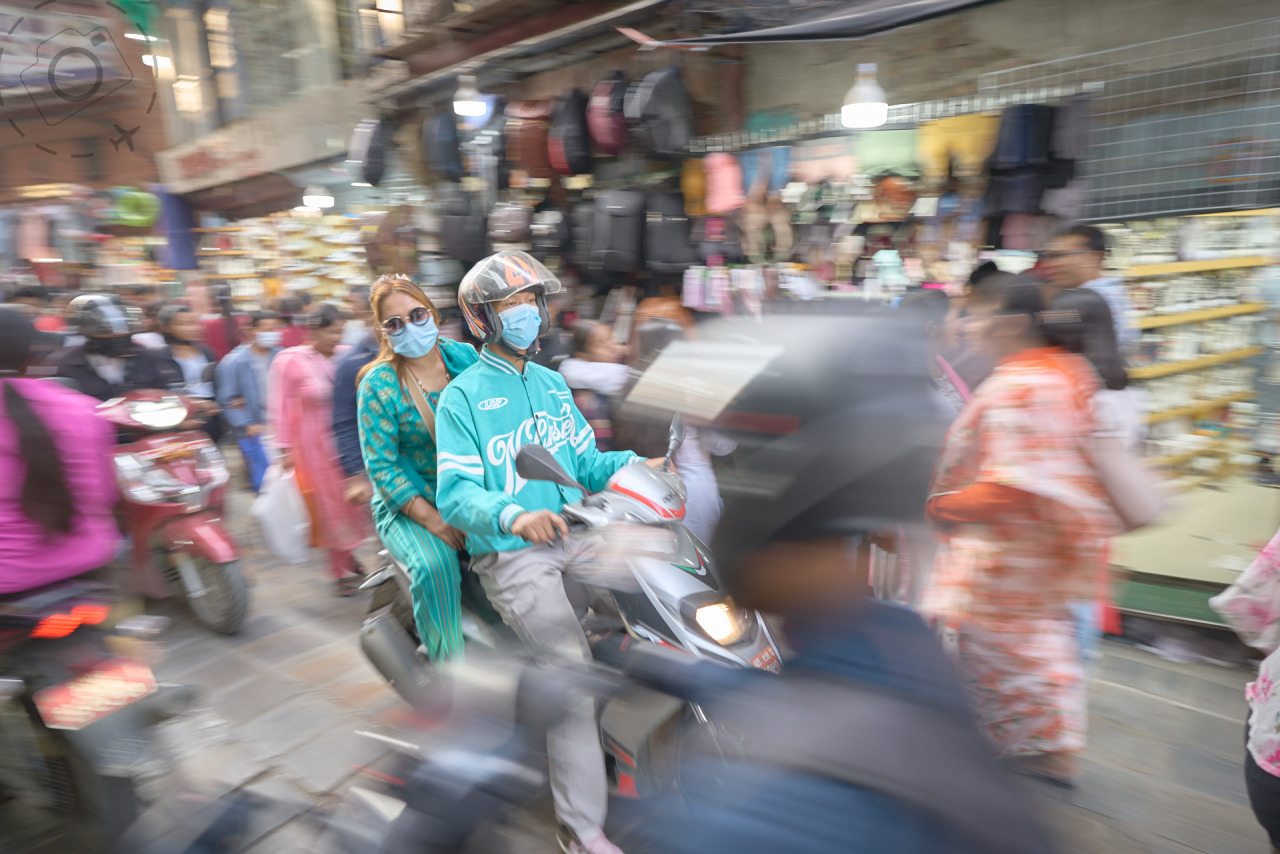
For quick moving subjects 1/30th of a second is a great place to start. That's fast enough to give you a chance of getting a subject sharpish, but slow enough that the background turns streaky. If you use a faster shutter and the scene doesn't blur enough, it just looks like you're not very good at photography!
One this street the bikes weren't going fast enough to get decent blur even at 1/30th. I had to push harder and user an even slower shutter. Which means I'll end up with an even smaller hit rate. That's just how it is sometimes!
The other challenge with panning is that you end up spending an hour or more for the sake of just one shot. Even if you have a dozen keepers, how many of the same style do you really need? I think they're a great inclusion for an editorial set, and anything that captures a sense of movement and a dynamic moment is a bonus. But you may not end up with an entire exhibition full of them.
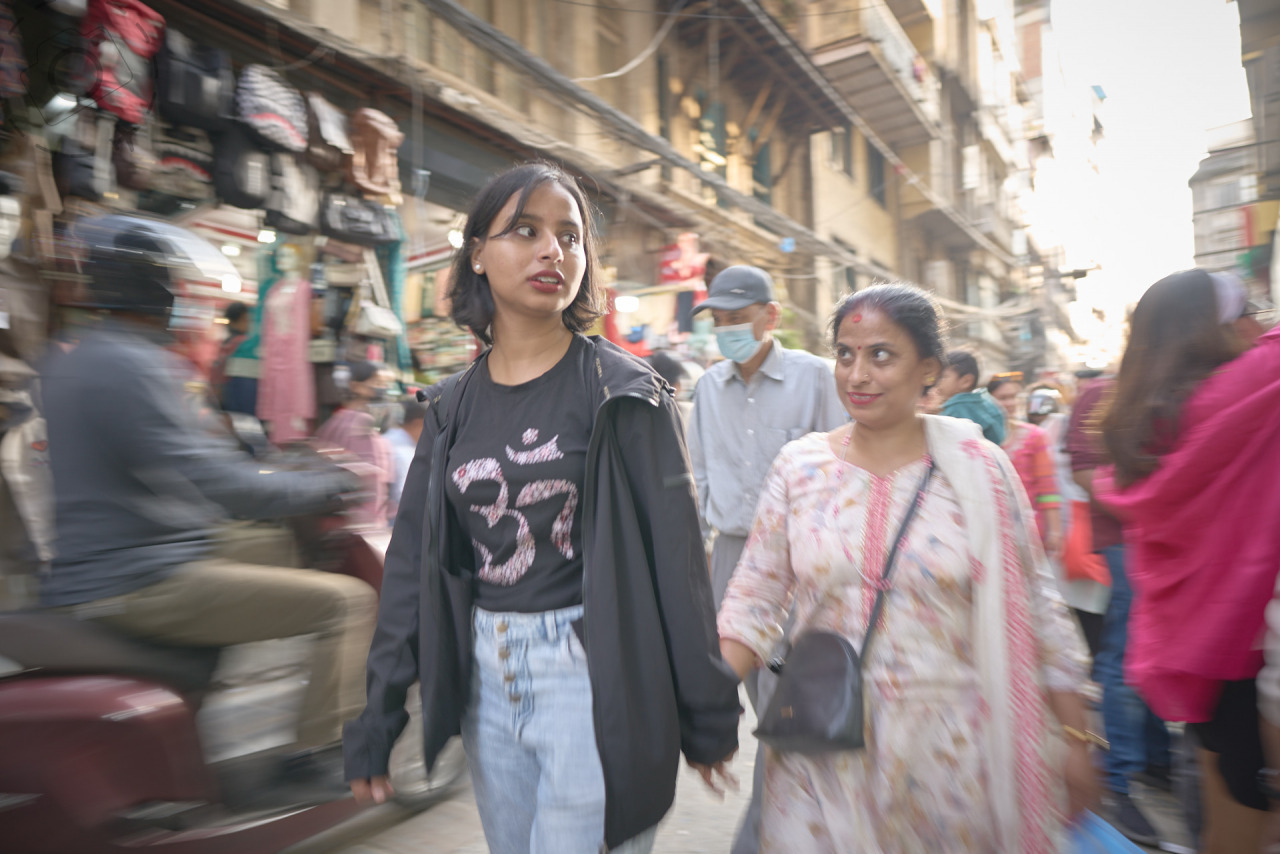
Panning on bikes is hard. Panning on people it's almost silly. But I tried anyway. The street was filled with fabulous colours, bright fabrics and fascinating people. Most of them are generous with a smile, especially when your looking at them walk down the street. That eye contact is important for me, I don't want to be sneaky or try to "steal" the shot.
Once you find a spot where there is frequent and reproducible motion to pan with, you have a chance to deep dive and give this a go. Nothing worse than picking a street corner where a bicycle goes past every 10 minutes instead of every 10 seconds. You want ample opportunity to practice.
DETAILS
once you've picked a spot to shoot, here's a few things that really make a difference to your success.
The first is to decide whether to shoot with autofocus or not. On my older DSLR gear the speed of AF wasn't always capable of locking on quickly enough. It's not such an issue if shooting at F8 for example, but if the light is sorry and you're at F2 then being out focus would be a shame having nailed the panning speed. If you're subjects are moving through the exact same section of road each time then you can get a focus lock and switch to manual. Locking down the focus just removes one variable from the chaos of the moment.
In my case the subjects were all over the place, so I had to rely on AF. Most mirrorless cameras are pretty good for focus though. I've done this technique on the LUMIX S5 and Sony ZV-E1 with no drama.
The main issue with focus is picking a good spot for composition. If you shoot dead square to the subject, that can look nice. But often you miss that moment, by just a little bit. Even with very high continuous burst you might miss that exact moment. Also, I find compositions with the subject still moving towards me to be very pleasing. You see their face and expression and it's a more connected image. Side-on or just a little towards you are good to aim for. The view from behind, after they've passed you, is not so appealing.
You may want to move the focus zone for the AF to match your direction too. If the subjects are coming from left of screen, move the focus a little to the left so you're locking on before they've crossed the centre of the frame. If you leave the focus zone in dead centre of screen, you'll end up with subjects that are already "leaving the frame" instead moving "into the frame".
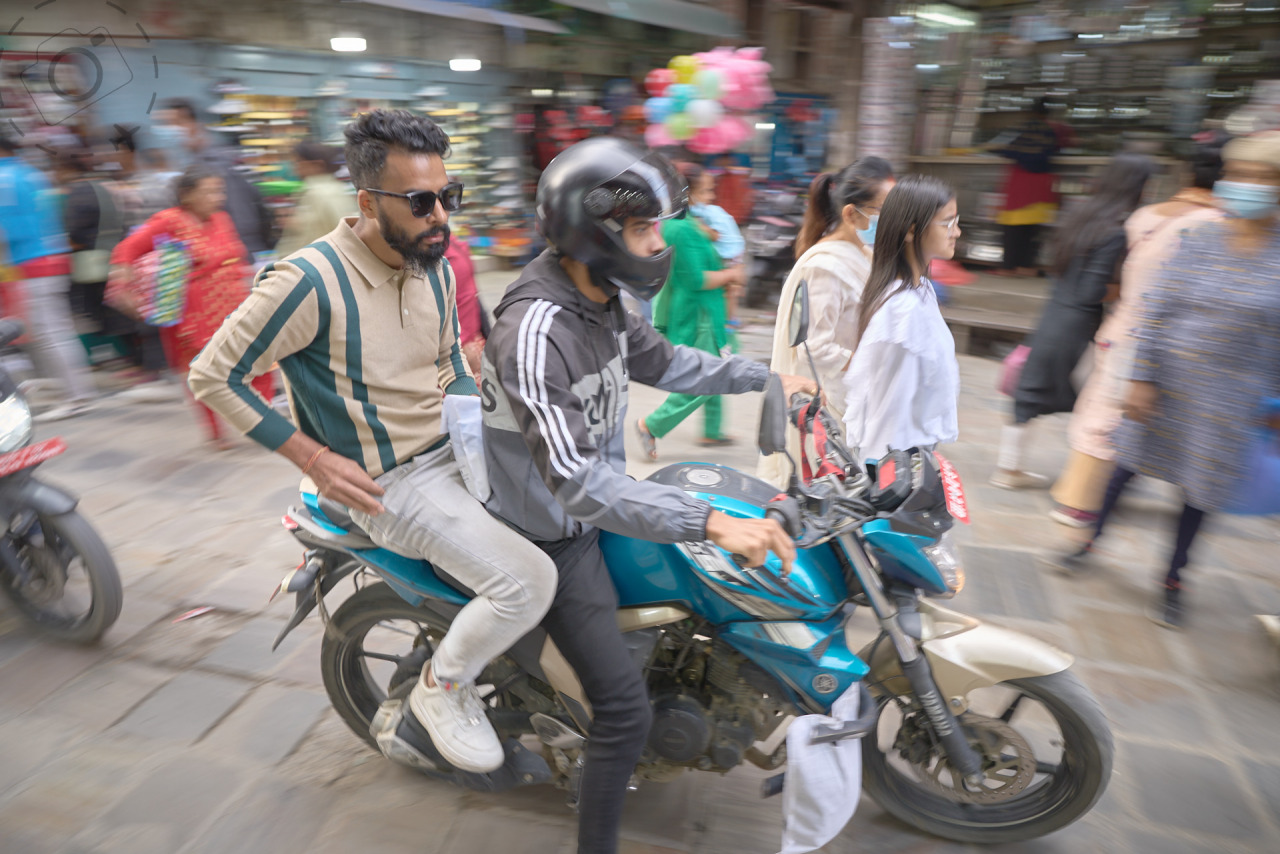
And when I say “in focus”, keep in mind that part of your subject may be sharp while the rest of the bike or torso may not. The relative speed, the angular motion to match with the camera, at the front of the bike is different to rear. So you’re not just trying to get a bike sharp, but you’re aiming for the face of the person ideally. If you have more than one person on the bike, then often you’ll find either the driver or the passenger is sharp, but rarely both unless you’re nailing the side-on angle. This stuff is tricky huh!
A high speed continuous burst helps too. Usually it's the first frame or maybe the second that nails it for me, but sometimes it's further along than that. Having lots of frames captured very close together can be the difference between a perfect shot and missing out by just a little bit. I cannot believe how often I managed to get my subject sharp, only to discover they blinked their eyes at that exact moment, or turned their head to look at a shop window, or a pigeon flew across the scene and spoiled the frame. Whatever your maximum burst speed is, that's probably the one you want.
My basic camera setup is pretty simple, and I use one of the custom memory settings to keep it on hand, ready to jump in when I see an opportunity like today. I’m shooting on Shutter Priority starting at 1/30th of a second, with auto ISO so the aperture and ISO can jump about as needed to match the light. I have a generous sized AF box, and the touch screen configured to let me tap to move it left or right depending on which way the traffic is flowing for my compositions. High speed is set to maximum, and we’re shooting RAW as always.
WIDE PLEASE
The final consideration here is what lens to shoot with. I prefer wide, and in tight streets you may need to be very wide. You need a little breathing room in the compositions so the motion blur effect has room to paint in around your subjects. 35mm is often good, or maybe 24mm. In this occasion I found the 20mm was marvellous too.
I prefer wide because it's going to give you room to get it right. Imagine trying this with a 200mm telephoto, and suddenly the level of accuracy required when moving the lens is much much greater. So that's why for street scenes I like to keep around the 24mm mark, more or less.
One more consideration here is just the nature of the street scene in your background. Sometimes a range of popping lights and vibrant streaks really add to a scene. Heavy and dark backgrounds don’t appeal to me so much though. I want a little life to match the dynamic vibe of the panning blur. My last stop for shooting today was a wider street I found on way back to the hotel, with some lovely textured timber and old fading paint. it made for a beautiful canvas and in the fading light I shot a few hundred more frames that I’ll likely have to delete later anyway.
Returning to my hotel room my camera bag feels heavy from the weight of 2477 frames waiting to be downloaded. Would there be anything worth keeping amongst the haul? Would at least some of the more interesting moments have made it onto the “in focus and not blurry” list? Some of the bikes scooting past me are more valuable than others – like when a family of four is squeezed onto a bike, or the army solider with a twirly moustache pedalling past, or the kid with a puppy hugging it all the way down the street. Will any of my favie moments have proved successful today?
It took a while to dig through 34gig of RAW files. I dropped them into Capture One and took a shower while the laptop indexes them all. Once indexed there’s no lag when jumping from one frame to another. There are AI tools these days that will collate the best pics based on how much is in focus – But I wonder if those tools understand just how little “in focus” I’m actually happy with here? Regardless, that process of reviewing the images is really valuable to help you improve your technique for next time. It’s important to pay attention to exactly what kind of “not quite right” you ended up with. Is your AF repeatedly missing? Are you moving too fast? Are you waiting too long before committing the shutter?
AM I REALLY BAD AT THIS???
It’s totally normal to feel like you’re really bad at this. Don’t worry about feeling like that, it’s a normal reaction to spending hours taking photos only to end up with a stack of not quite right pics. Today I took 2477 images and barely a dozen of them were worth keeping. I spent more time in the hotel room deleting rubbish than I did on the street capturing rubbish! I’m planning to make the most of my time here in Kathmandu, so I’m going to pop out tomorrow and try again! There’s always room to improve!
– Ewen
Enjoy more pics from Nepal here:
https://ewenbell.com/bycountry.php?region=Nepal


Keep Reading
Join Ewen's newsletter for monthly updates on new photography articles and tour offers...Subscribe Here