Keep It Simple
Most star trails tend to focus on the celestial pole, that section of the night sky around which the sky rotates. It makes for a powerful composition on its own, or to compliment a strong silhouette elsewhere in the frame.
But there are a few things about shooting the celestial pole that I'm not so keen on.
In the southern hemisphere our celestial pole occurs in a densely packed section of the sky, the Milky Way. It's busy up there. I've used the "bright frame" technique a lot in recent years to take advantage of the heavy traffic around the celestial pole, but deep down my desire for composition leans towards a more elegant and less busy style. Too many stars make the trail messy in my view.
This is especially an issue when working with the elaborate profile of boab trees in Western Australia. Their branches reach into the night sky like tendrils in search of water. They are delicate in detail and easily scrambled when a busy horde of stars crash through the branches. The shape of the trunk and it's bare branches is exactly what I want to highlight, so I have to be cautious to complement my hero in the frame with stars, instead of competing with it.
Creative Gravity
Composing a trail around the celestial pole also tends to lead to serious compromise on all of your creative options. You end up shooting a flat scene across the horizon instead of getting funky and pointing upwards through a tree or setting up for its best profile. The celestial pole becomes a heavy object in your creative path that takes over the shot, at the expense of the landscape and it's charms.
I call it "creative gravity", because it pulls everything towards that one element. The solution is to look at ways to step away from the pole and let other sections of the sky come into play. In particular the fading light to the west provides a compelling alternative.
Shooting west in the twilight offers a special palette of colours. Yellow, orange, purple and blue are all potential backdrops to the trail that will follow as night descends. I like my trails to rest over a generous "bright frame", that single foundation image which lifts the final image and helps to smooth out the definition of each trail.
There is no better bright frame than the twilight sky as the last flush of colour retreats.
Not only do you get a great foundation image but you get the best possible chance to nail your composition to perfection. Instead of poking about in total darkness trying to nudge you camera into the right spot, you have a glowing sky against which to line up what will or won't be present in your composition.
Slow Light
There’s a major added bonus for people wanting to experiment with star trails but don’t have expensive camera gear to throw at the challenge. The twilight bright frame can be shot at conventional apertures and doesn’t need extreme ISO capability. You can capture this trail with a smaller DSLR and still get it right.
Aiming for a low density collection of trails also reduces the demands on the lens itself. You can shoot the trail to roll over your twilight bright frame at f/5.6 or even higher and still get the perfect result. This means you don't need to own an f/2.8 lens to get something amazing. Any wide lens will deliver both the bright frame and the trail that rolls across it.
In my previous star trail guides I have emphasised the joy of a fast wide lens. Getting a “galaxy map” at f/2.8 and capturing the richness of the Milky Way. I still love a good shot of the universe in its grandeur, but appreciate that sometimes our camera gear simply isn’t up to the task.
I believe anyone can capture a graceful star trail, whether you have a full frame DSLR, an entry level DSLR or even a mirrorless camera. If you can shoot wide at f/5.6 and turn of the autofocus then you’re in the game.
Kimberleys
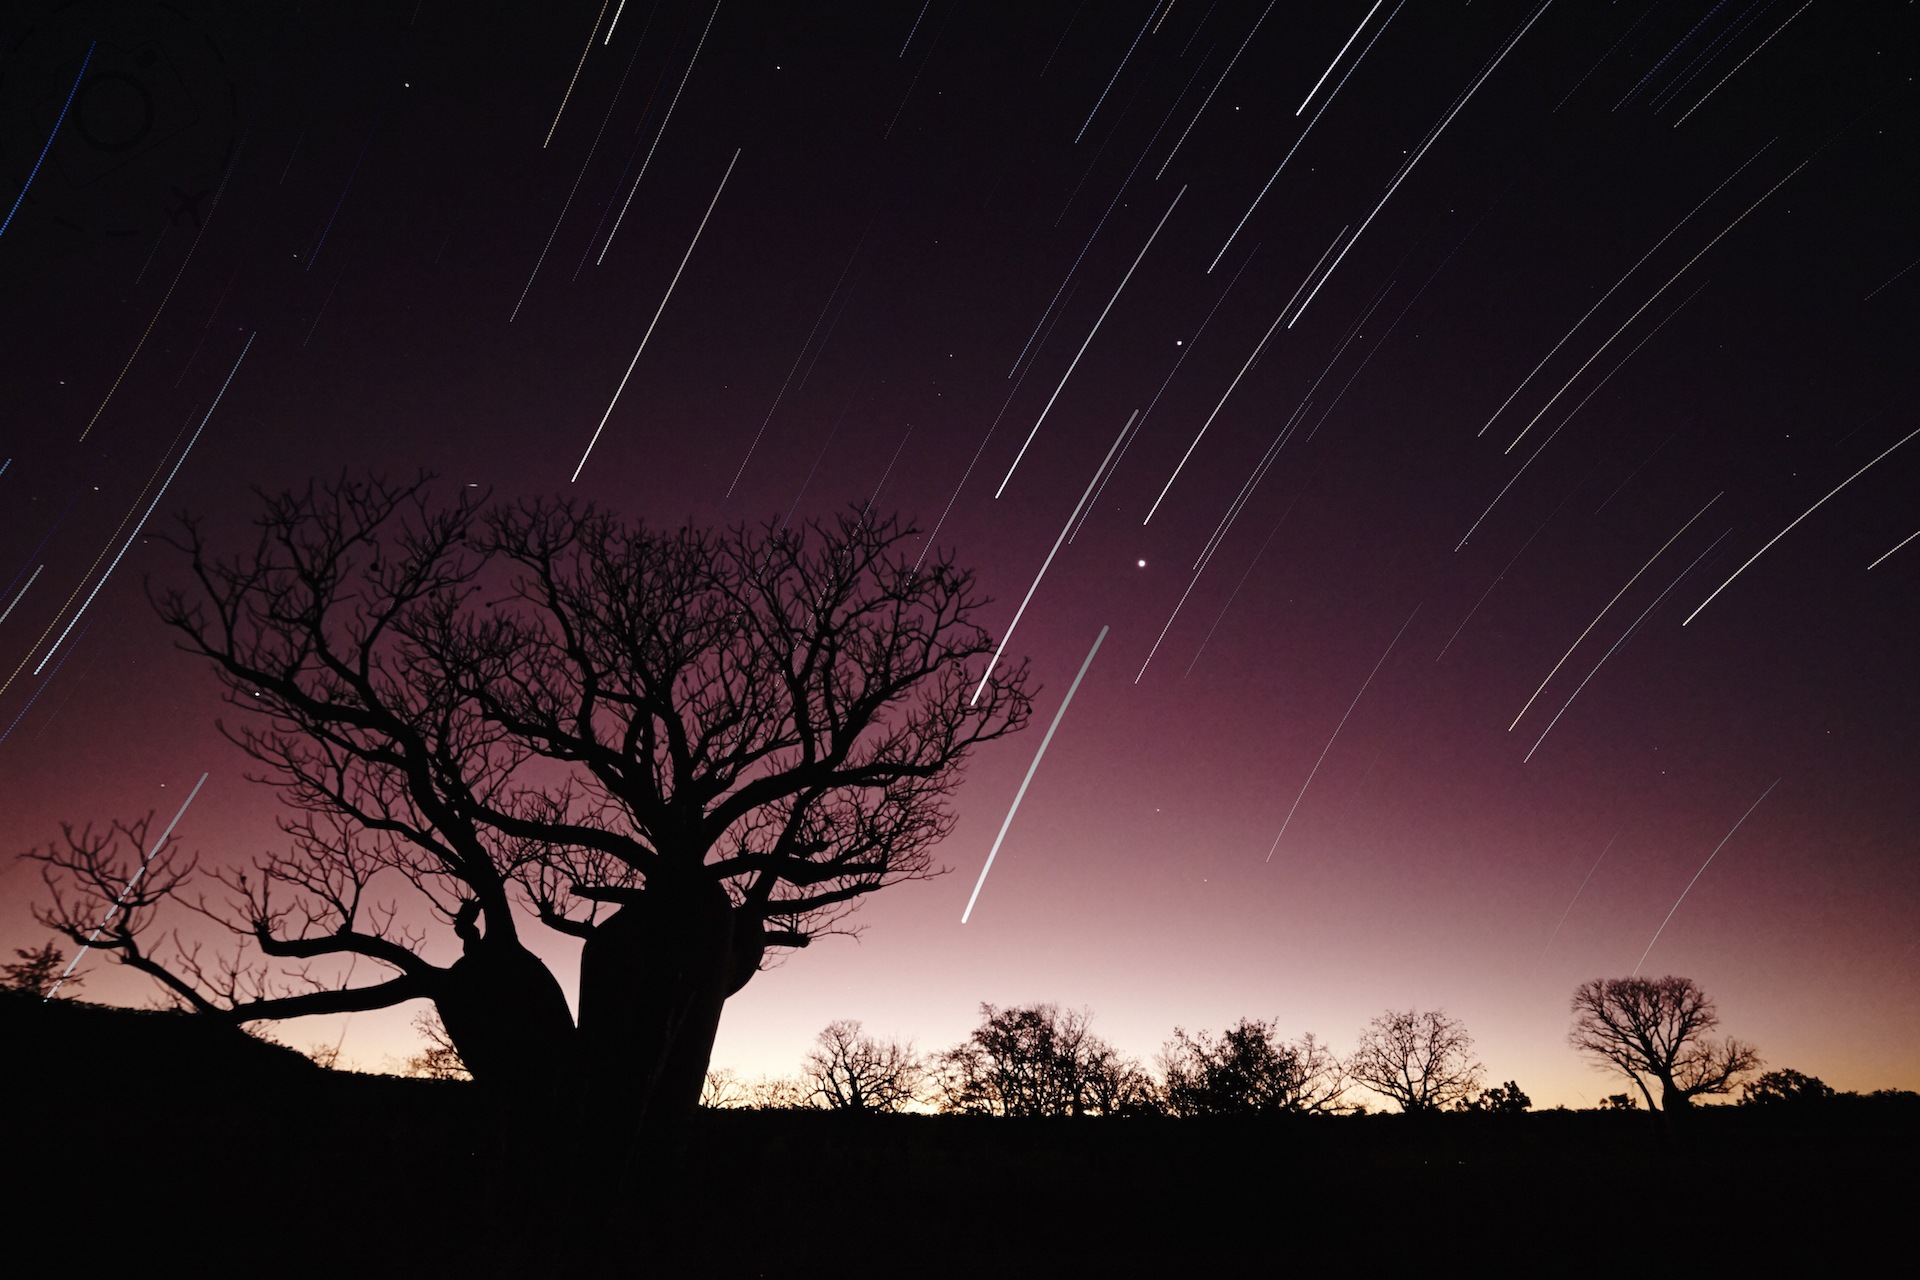
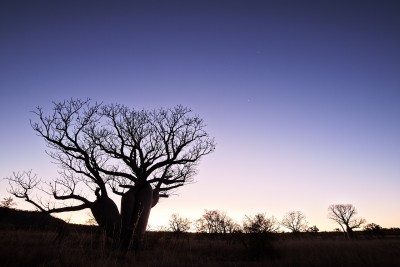
What triggered me to write this feature was a gorgeous old boab tree in the Kimberley region of Australia, a triple trunk grand old fellow that I've visited many times in the last decade. Shooting this tree alongside the celestial pole means you miss out on the best profile of the tree, the three connected trunks. Shooting south reveal a modest profile that looks the same as any other boab. Shooting west, however, yields a bold and fascinating profile that evokes an ancient landscape.
On this particular night the planets of Venus and Jupiter were high in the sky alongside my tree when twilight arrived.
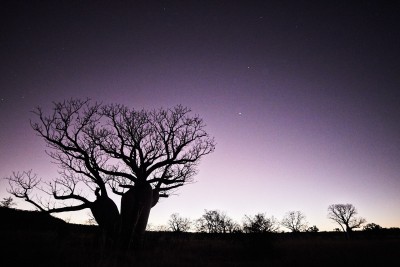
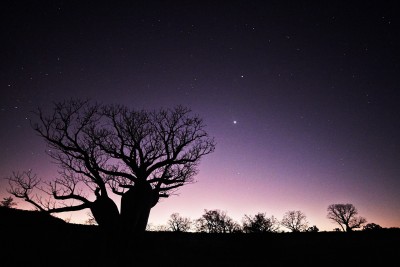
I decided this might make a nice time lapse, and ultimately it proved one of my favourite trails ever as well. I hadn't moved my tripod since the twilight glow, so once darkness was upon us I switched the camera to capture just the trail. After that it was merely a matter of processing and stacking back on my laptop the next day.
It was that cascade of twilight colours that caught my eye initially, and as I always advise people, "let the light guide you".
Having a subtle but generous canvas of hues makes all the difference for me. It is that very canvas that I think of when I reflect on sunsets in the Kimberley. Other places in Australia look different at twilight, some can be orange with smokey air, or muted by humidity, or the horizon itself masked by mountains so you never see that bright kick of colour after sundown. Every sky is unique, and for me the Kimberly sky is clean and vast.
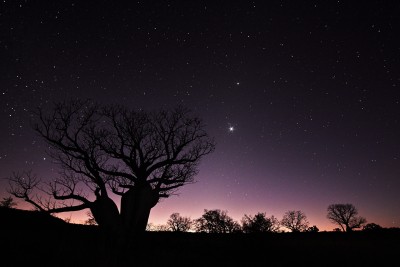
Having a touch of that particular twilight sky blended through with the march of stars overhead makes the combination delicious to my mind. The final frame shown above is an expression of my experience that evening, and expression is what I'm striving for.
Go West
This bright frame doesn't work when heading east because there is no intensity to that part of the naked sky at night fall. The horizon is dull and your foreground has no contrast to drop into a silhouette. Shooting west presents the most intense colours and contrast.
In the absence of the celestial pole there's another advantage for photographers, a faster rate of movement across the sky.
In only one hour facing west I capture longer trails than two hours facing south, because the stars are moving further in the same period of time. With an 18mm wide angle you get a hint of the concave pole to the to left of frame, and the north pole below the horizon to the lower right. I like the collection of stars and their presentation in this section of sky, especially when tuned down so that only a handful pop out above the exposure of the twilight frame.
When I first began shooting trails I was drawn to the Milky Way and it’s impressive ocean of detail. It’s the most incredible part of the sky when shooting a galaxy map for sure, but for star trails it can be overwhelming. I used to avoid the seemingly empty western sky, afraid to miss out on all those other stars. My creative mind now faces in a different direction.
There is immense character to the western sky. If your star trail composition doesn't match up nicely with the celestial pole then spare some consideration for a twilight bright frame and the movement of the heavens above it.
The Technique
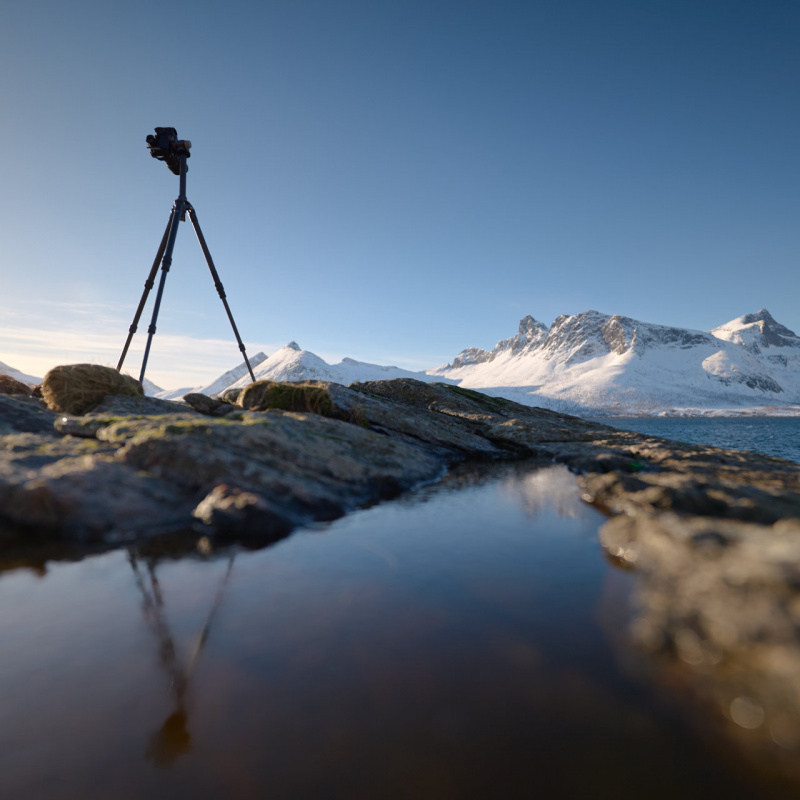
Now down to brass tacks, and how you capture and compile a star trail. The key to this process is to have a very stable tripod that wont budge during an hour or more of captures. You pick out a place to shoot the post-sunset light to the west, ideally with a pretty boab tree or other hero silhouette, and then wait for the stars to appear before shooting the trail itself.
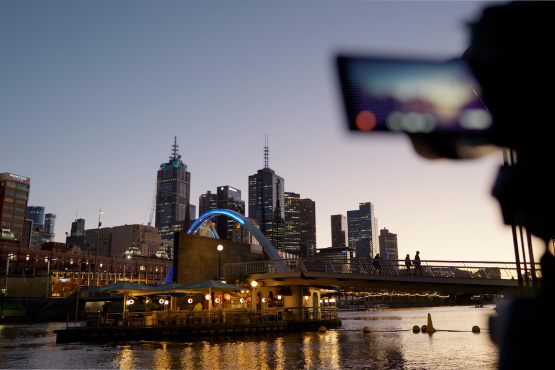
We don’t aim to shoot one frame of stars as they move across the sky, rather a series of shorter frames that have less noise and can be stacked later on. If your camera has an inbuilt time lapse mode or intervalometer, then you can setup to take 30 second frames around f/5.6 and an ISO of 800. These frames will look black, and only when you zoom in will a handful of stars be evident in the frame. That’s all you need however.
Alternately, if you have a cable release you can lock it off with the camera in continuous shooting mode, having set the camera to manual exposure at your preferred f-stop and a 30 second shutter. What matters here is an unbroken sequence of frames and a very dark night. I like to avoid any degree of moonlight too as it interferes with my silhouette and the landscape. Light from cities and even a camp site are something I like to rule out as well.
Importantly you need to turn off the autofocus on your lens and set to focus on infinity. This usually works well at f/5.6 with plenty of margin for error.
I take those 30 second frames as RAW files and fine tune them a little before outputting the final JPGs that will form my trail. My processing simply cleans up any noise or sticky pixels, defines the level of contrast and refines the exposure to allow more or less of those stars to come through. I often do several revisions of the same RAW files before settling on the “volume” of stars that trail across my twilight bright frame.
With an hour or more of trail frames, plus my twilight shot full of colour and contrast, I’m now ready to stack up the frames. This process is a simple algorithm that adds any light to the stack that is brighter than layers beneath it. Because the stars are spinning around constantly you don’t get “over exposed” sections of sky, you just get a continuous trail. StarStax is my stacking tool of choice, it’s free and it means I don’t need to own a copy of Photoshop.

Keep Reading
Join Ewen's newsletter for monthly updates on new photography articles and tour offers...Subscribe Here

