When I started my journey into 4K production I was looking for gear that would enable me to do more things, and do them better. Smoother motion. Advanced focusing. Superior camera angles. That path was simply not sustainable for my budget or the size of apartment we live in. Eventually my brain swung back the other way, and now it’s a simpler life that beckons. I say this a lot, but "Less is more".
Expanding your collection of gear is a path that most of us find hard to resist. Especially when starting out. You’re learning a craft and you see new cameras and new lenses and new accessories and you think maybe I could be a better photographer if I had some of that gear? There are times when the gear is going to limit you of course. Hard to shoot wildlife without a decent telephoto for example. But too often the extra gear we accumulate just adds extra complexity, and ultimately distracts you from the craft itself.
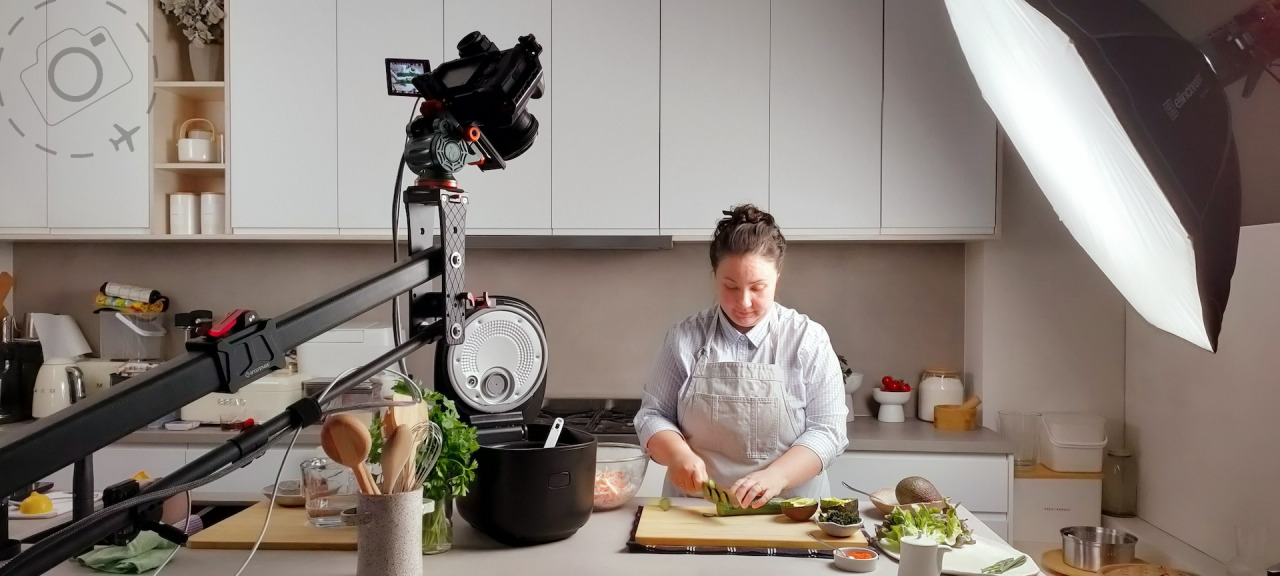
Let’s take a look at what happened when Shellie and I started filming broadcast quality recipes in our kitchen studio. Our studio space is modest to the point of tiny, but we still employ some chunky gear that neither of us would dream of packing for a travel shoot.
There’s a mini-dolly for example (picture in your mind a miniature skateboard, but with a Gitzo ball-head on top) which lets us roll a camera about on the kitchen bench top. Great for transforming a static scene with dynamic camera movement. Plus we have a mini-crane, that is genuinely massive in comparison to any other piece of gear we own. Craning out a camera gives us unique flexibility for both static setups and camera motion. But it’s hard to drive a camera once you hoist it 10ft in the air, so we need a wireless focus control and an external monitor clipped onto the crane. We use the LUMIX app on my phone to start and stop the action.
But wait, there’s more! External monitors are useful not only for an awkwardly positioned camera, but equally useful for better access to focus and composition when rolling about on a mini-dolly too. Since we’re already taking a live feed from the camera to a 6” monitor, we go one step further and use a wireless transmitter to send a live feed to a nearby iMac so the talent on set (that would be Shellie again) can see what I’m seeing too. We’re capturing on two cameras at all times, so that’s now two transmitters and two Mac screens following the action.
And don’t forget we need studio lights for studio work. A pair of 200W continuous LED lights are our bread and butter for kitchen work, with one mounted onto a counter-weighted c-stand and the other popped up on a smaller stand, ready to push in close for backlighting or illuminating the set. Add to this a basic set of tripod sticks with a levelling bowl and fluid head, just for those occasional times when we need to setup off bench. Now you have a fairly complete account of our major equipment.
Let’s review that list shall we, because everything looks more substantial as bullet points:
* Video Tripod with levelling bowl
* Satchler Fluid head
* iFootage Mini-crane with fluid head
* Mini-dolly with ball head
* PD Movie Wireless focus
* Feelworld 6” external monitors (x2)
* Inkee wifi transmitters
* 27” iMac (x2)
* Xiaomi Battery packs
* Smallrig Camera Cage (x2)
* Amaran 200D CLED lights
* Elinchrom 90cm Octabox and adaptor (x2)
* Kupo C-Stand
* LUMIX S1H (x2)
* 35mm and 50mm f/1.4 lenses (x2)
* A draw full of cables, tools and spare connectors
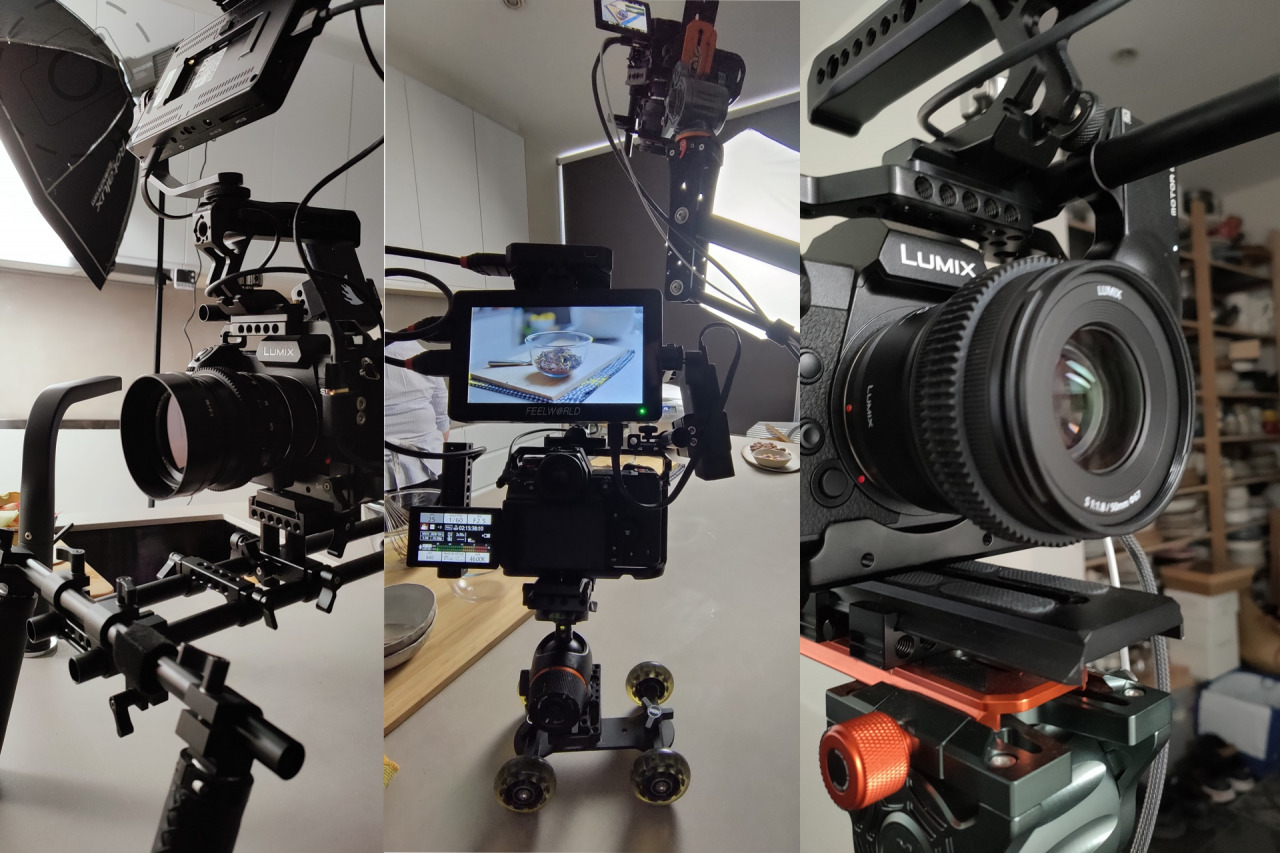
And that’s just the gear we *do* use. There’s even more stuff that I bought but have since removed from our setup. I’ve got a lot of cage-rigging in particular. Bits of tubes and attachments that let you extend from the basic camera cage and build-out for more elaborate cinematic setups. Gosh we love that word don’t we? CINEMATIC! Easiest way to make anything sound fancy is to add cinematic to the name. If we really were shooting for a movie production then maybe we’d need a little more control over the camera, and the lighting. Maybe.
My favourite genre of YouTube video is reviews for gimbals that people buy then never use. So far I have two but maybe one day I’ll reach the height of “cinematic” and own an entire cupboard full of them. I do actually use my DJI Ronin every so often. Not so much for running around on location or filming out the back of a motorbike, but instead for setting up a smooth camera motion for close-ups of products. Stuff I could do by hand if I try really really hard and accept that most of the footage I capture will be unusable once I look more closely on the edit desk.
Even the edit desk has gear, so we need to list those upgrades. Until we started shooting video I didn’t even own a desk! My entire stills photography world could fit into a laptop. Those days are over now.
An external 4K reference monitor that is tuned to Rec709 is a must when grading a 4K video project. Mine sits off to the side on a swing arm, which is extra gear as well. I do both the editing and grading in Davinci Resolve. It’s setup for cutting a project, before you get into the meat of the edit, is just brilliant. Better still, I bought the “Speed Editor” keyboard that has an excellent jog-dial, reliable USB linking and a next to useless bluetooth feature. The Speed Editor was on sale with a free license for Davinci Resolve at the time, and actually this bit of kit has been a game changer for me – it not only saves time but turns your entire editing workflow into a far more efficient and effective process. The Speed Editor also takes up a bit of space though, so it stays at home when we’re travelling.
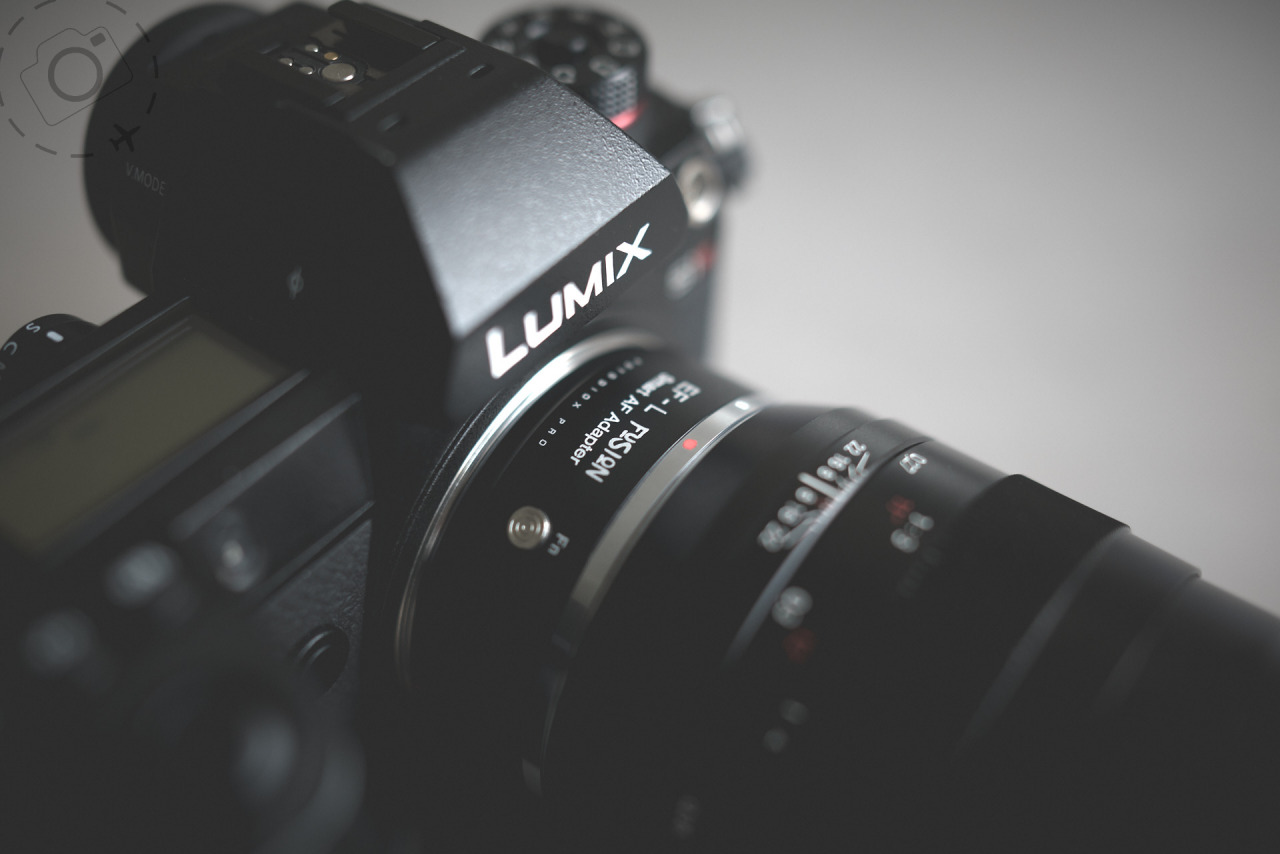
The one thing I haven’t delved into so far is the cameras we shoot video with. From the very beginning we were lucky enough to have access to a pair of LUMIX S1H cameras. I already had a bunch of L-mount lenses plus I had a handful of older DSLR manual lenses from Zeiss and Schneider. One of my early acquisitions was some affordable L-mount adaptors by Fotodiox (see link below), which brings new life to my older lenses. Little purchases like spare L-mount adaptors make life easier on a shoot.
https://ewenbell.com/blog/EF_to_L-Mount_Adaptor_by_Fotodiox
The S1H at the time was a uniquely beautiful beast. Approved by Netflix for production work, it was certainly good enough for me. Capturing 10-bit 5.9K in VLOG gave me a powerful amount of detail when editing back down to 4K, plus a seriously well supported log-gamma that plays nice with any industry standard NLE (such as Davinci Resolve) and pretty much any hardware I could plug in. Even my cheap external monitors have built-in LUT support for the Panasonic VLOG profile, so you can see a half decent translation of the log based footage in real-time.
Because 4K was already the standard for delivering online content, I needed that much or better for our studio work. Capturing a little extra at 5.9K simply means I have room to apply dynamic zooms and punch-ins during the editing process – and that makes a huge difference both for final delivery and planning the shoot. When we first started on this journey I was working hard to bring camera movement to the filming process, and that didn’t always work out so great. Once I learned to let the S1H do some of the work for me, I could shoot everything in 5.9K then apply movement in Davinci Resolve instead. This makes the shoot day so much more effective, gives me better footage to edit with, opens up tonnes of new possibilities for the edit and raises the bar for quality.
But what happens when we go travelling in Nepal for two months?
Most of the gear listed here is totally impractical on the road. At least for my level of production. Even the gimbal is a pain in the neck, weighing much more than a drone and occupying an awkward amount of space to pack. My first serious efforts to film quality content on the road were with the LUMIX S5 instead of the S1H. It’s much lighter, uses the same L-mount lenses, yet still delivers powerful features such as VLOG and dual native-ISO for low light captures. It’s a mini-S1H and it’s marvellous. The stabilisation inside the camera was very good too.
But switching from studio to travel requires a totally different mind set.
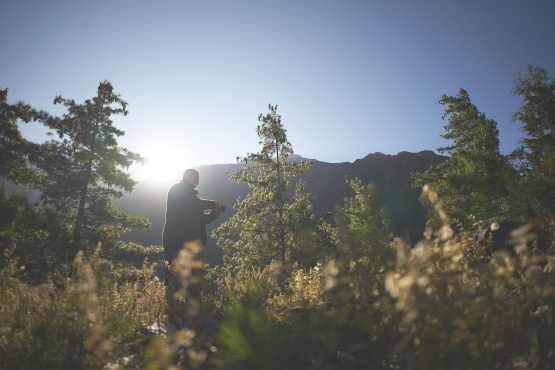
In the studio we create the light and the scene we want, when we want it. Shooting on the road is not like that. Travel photography is all about being ready for the moment. You’re waiting for the right combination of elements and you need to be ready to shoot when it happens. In my case I largely “let the light guide me”. When the light is being nice, that’s when I’m drawn into the process and begin shooting. Working with natural light means the character of a scene is defined by that light as well. We don’t want studio lights to set the tone – we want what is genuine, distinctive and real.
It turns out you can do a lot with a 35mm lens and a LUMIX S5. Sometimes it’s nice to have something wider, and occasionally something longer. So maybe more than one lens is better if you want to cover a wider range of scenes, but the minimum bar is set very low. You don’t need a big kit. Not only is the S5 super light, but there’s a special range of prime lenses from Panasonic that match the S5 for style, performance and weight. They’re all f/1.8 primes and are about the same size and weight. 18mm, 24mm, 35mm, 50mm, and 85mm. It’s easy to swap out one for another without having to recalibrate a gimbal.
Yeah you’re right, I’m not carrying a gimbal anyway! The stabilisation in the LUMIX S5 was excellent in most situations (maybe not ideal when shooting 24mm wide angle from a bus as it sways around corners in the Annapurnas), and I could go home with as much 4K 10-bit footage as my cards could hold.
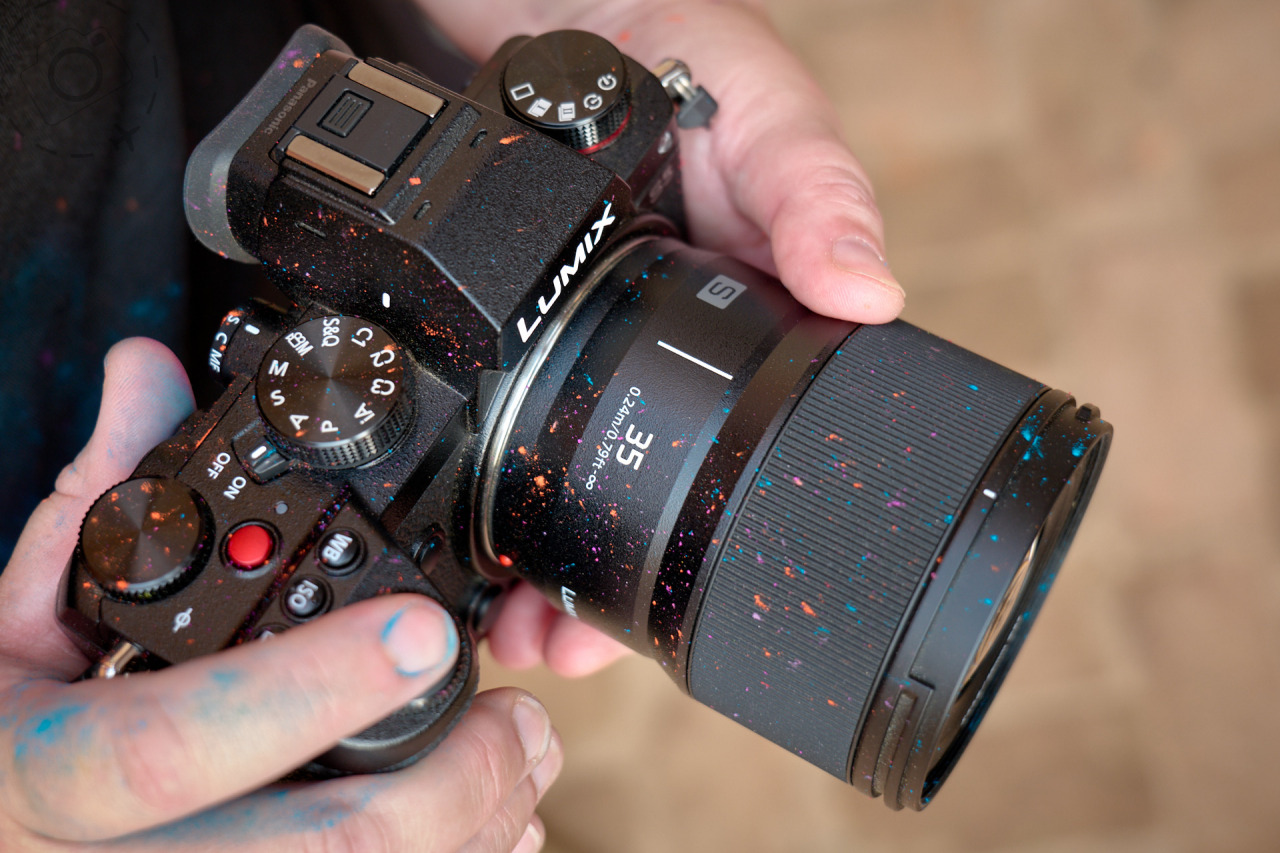
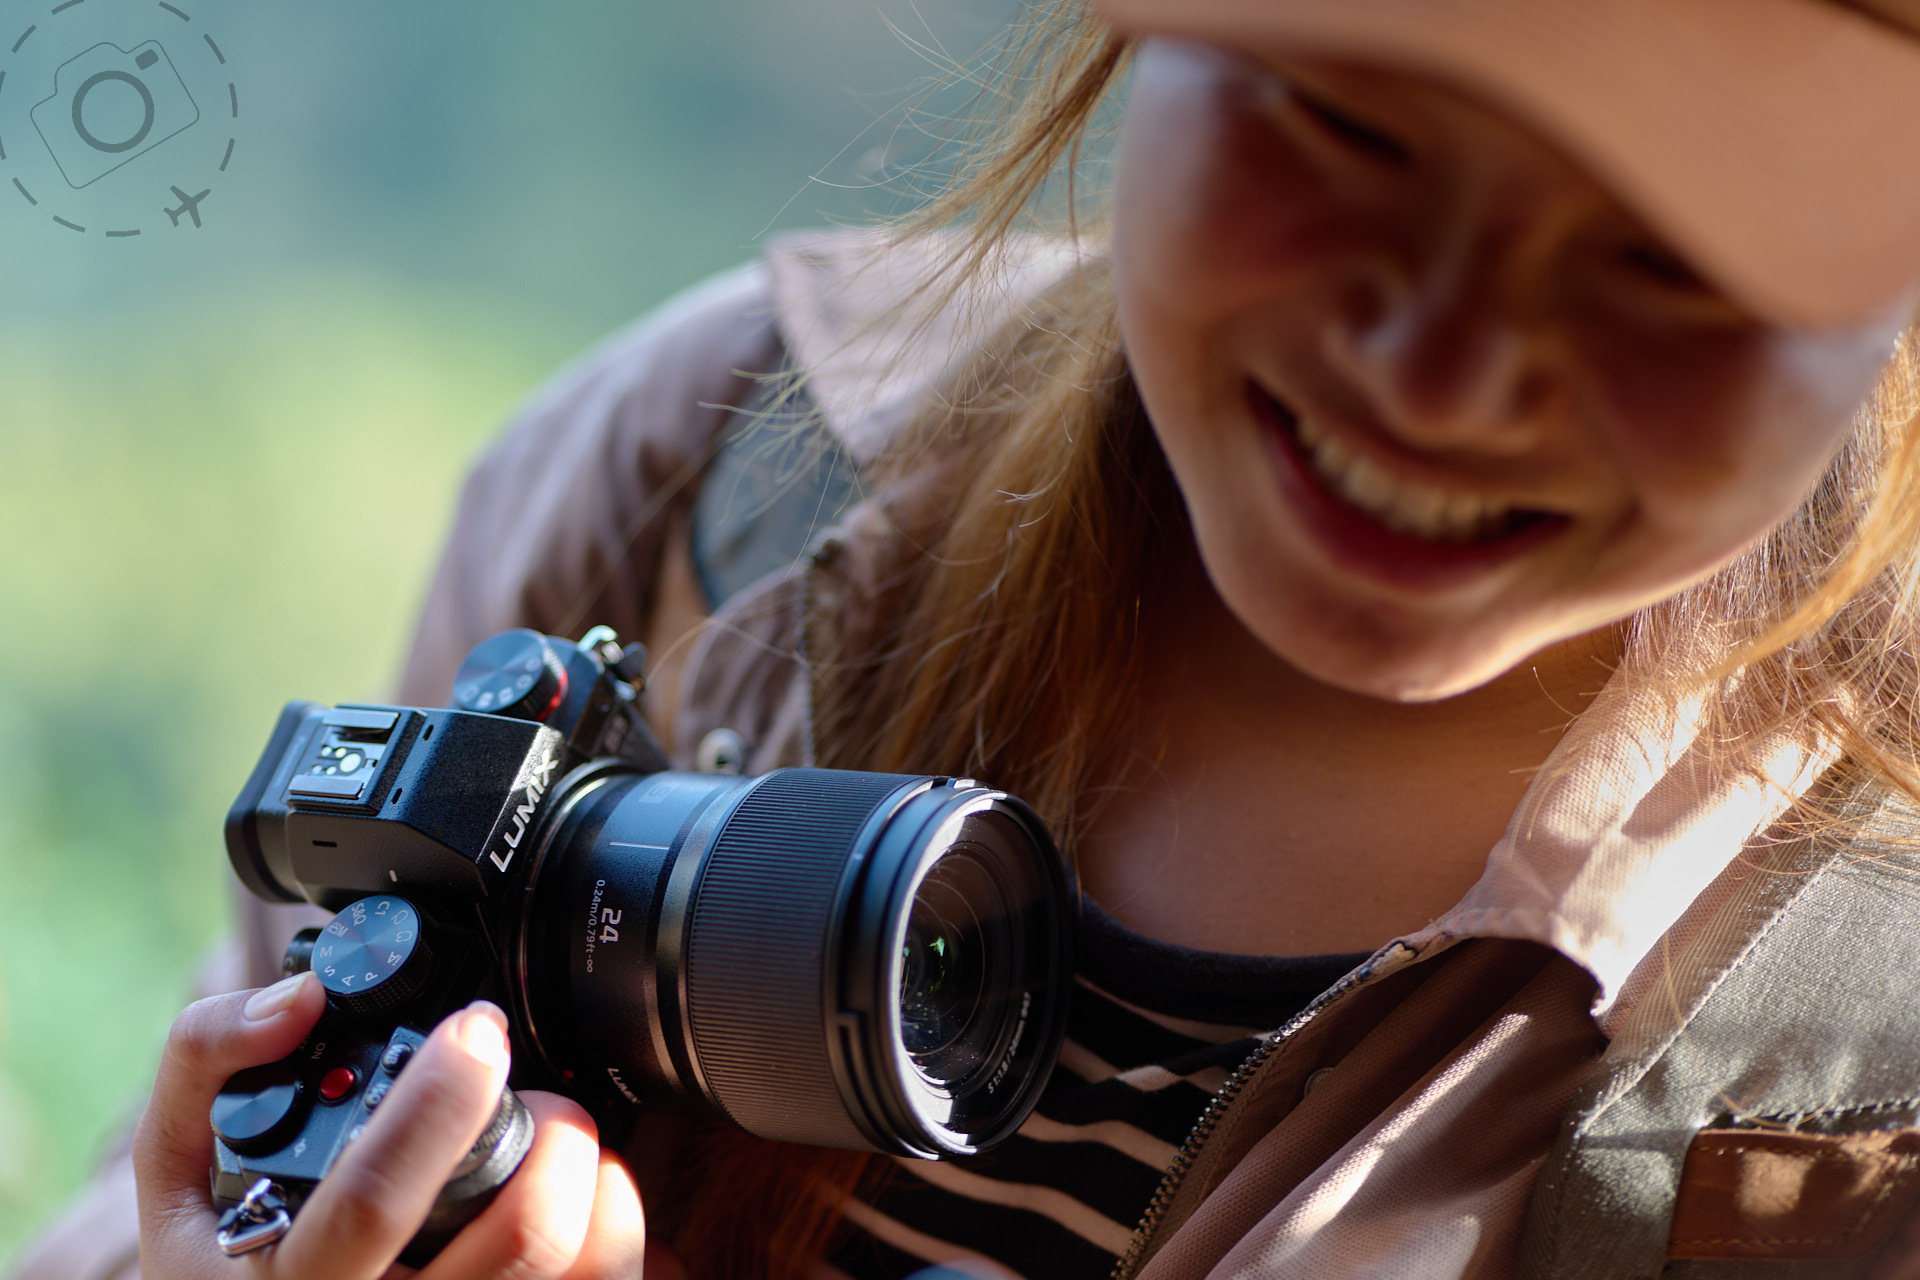
And that’s where the LUMIX S5II comes into play. The new version of this already superb camera adds smarter stabilisation algorithms, improved Autofocus technology, plus it now shoots 5.8K 10-bit to rival what I was shooting in the studio with the S1H. With this new model on the market I now have a camera that ticks all my boxes. Instead of filling up my spare room with c-stands and cranes I could be packing a modest sized camera bag and catching a jeep through Nepal.
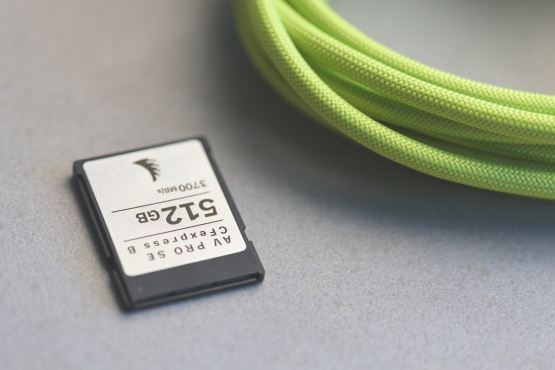
There are other features on the S5II that might be useful for me too. It’s got 4-channel audio and unlimited recording lengths, so it’s useful for recording interviews in the studio. VLOG is standard of course, but you can also upgrade the firmware to add-in support for recording in Prores 422 instead of H.265. In the studio when filming short pieces for a quick edit the Prores route might be very appealing. In practice I find the benefits of ProRes to be marginal, given the massive difference in storage requirements. I shot an hour of helicopter time in 4K ProRes and nearly filled up a 512GB card. If I’m away from the studio for a few months, I need something a little more practical. H265 is more demanding on your laptop processor, but not so much that it warrants expanding my storage by a factor of 10.
The LUMIX S5II represents a high watermark for my creative journey, and my minimalist goals. It’s the camera that potentially frees me from the studio once and for all. It gives me an immense degree of power and flexibility in a package that is affordable and easy to carry.
The idea of building a creative space with less instead of more appeals deeply to me. People often think of “minimalism” as having to do without stuff, but that’s not true. It’s actually a process of mindfulness, where you assess more honestly whether or not something is working for you. The minimalist setup must deliver on what you need. Which means you have to first work out what it is you need. There are some shoots which absolutely will benefit from a mini-crane swinging out over the kitchen bench-top, while the client watches the live-feed transmitted into the lounge.
My experience in the studio these past few years was always more of a controlled experiment than a head-first dive. It was a path to learn what matters for my creative direction in moving pictures instead of stills. No surprises that a life-long travel photographer would gravitate towards technology that amounts to less gear but more quality.
Mostly what I want is a camera that I don’t have to think about, because it just works. I want a camera that works as hard to make me look good as I do! Technology such as the LUMIX S5II is perfect for the minimalist shooter, because those extra features in the camera mean less grind on the edit desk. I want my mindfulness to be focused primarily on the creative chalenges, not the technical.
On the Road in Nepal (Shot with the LUMIX S5)
Wild in the Outback (Shot with the LUMIX GH6)
In the Studio in Melbourne (Shot with the LUMIX S1H)

Keep Reading
Join Ewen's newsletter for monthly updates on new photography articles and tour offers...Subscribe Here
