


If you’ve landed here looking for my Camera Settings Download File, to copy my custom setup to your G9II, then scroll down to the bottom and look for the DOWNLOADS heading. Enjoy!
For everyone else, let’s have a deep dive into the LUMIX G9II and what makes this camera such a peach for bird photography. You can also watch the YouTube version if you prefer, see below for that.
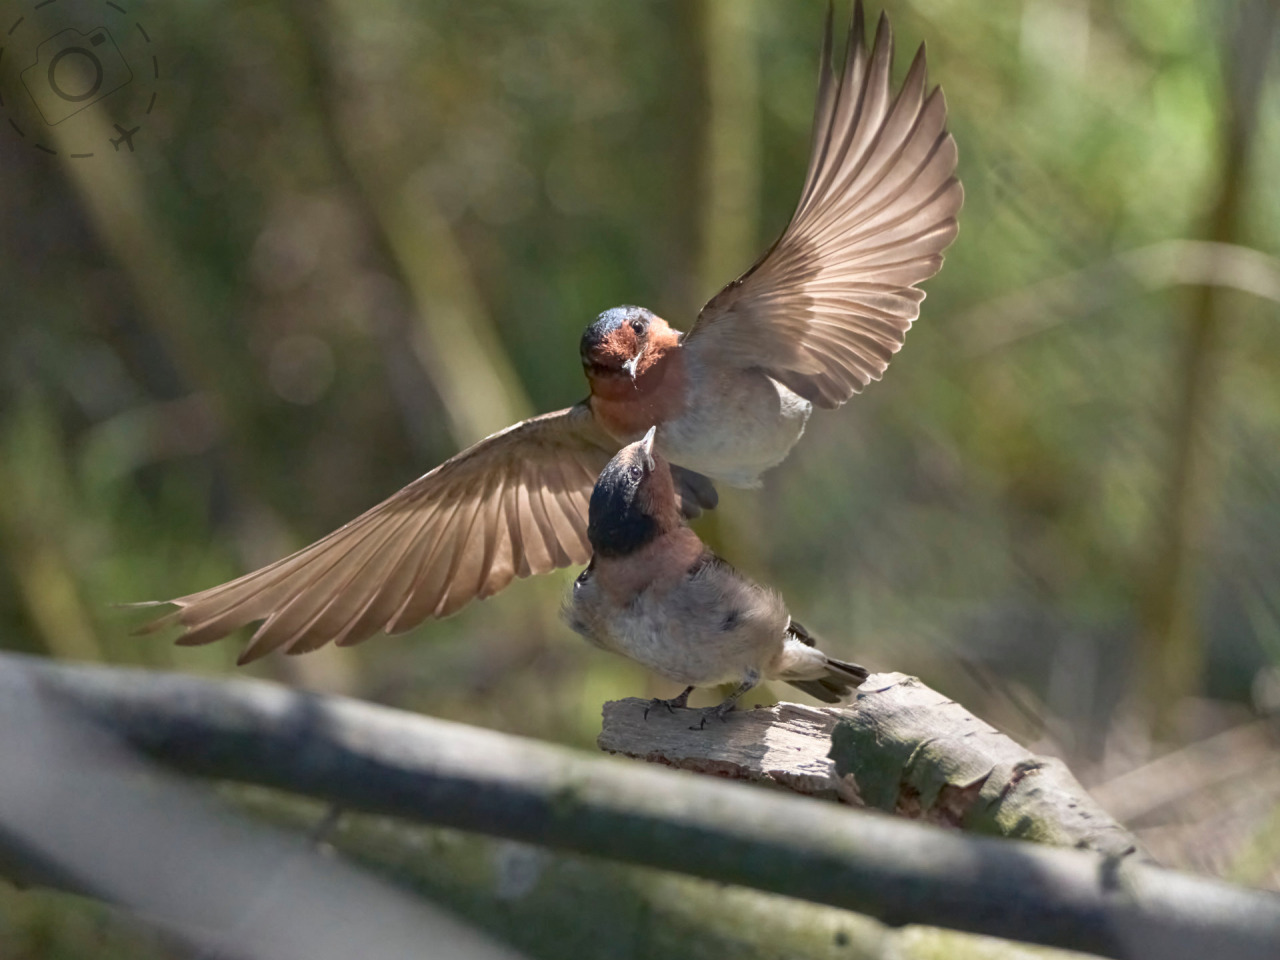
THE BIRDS
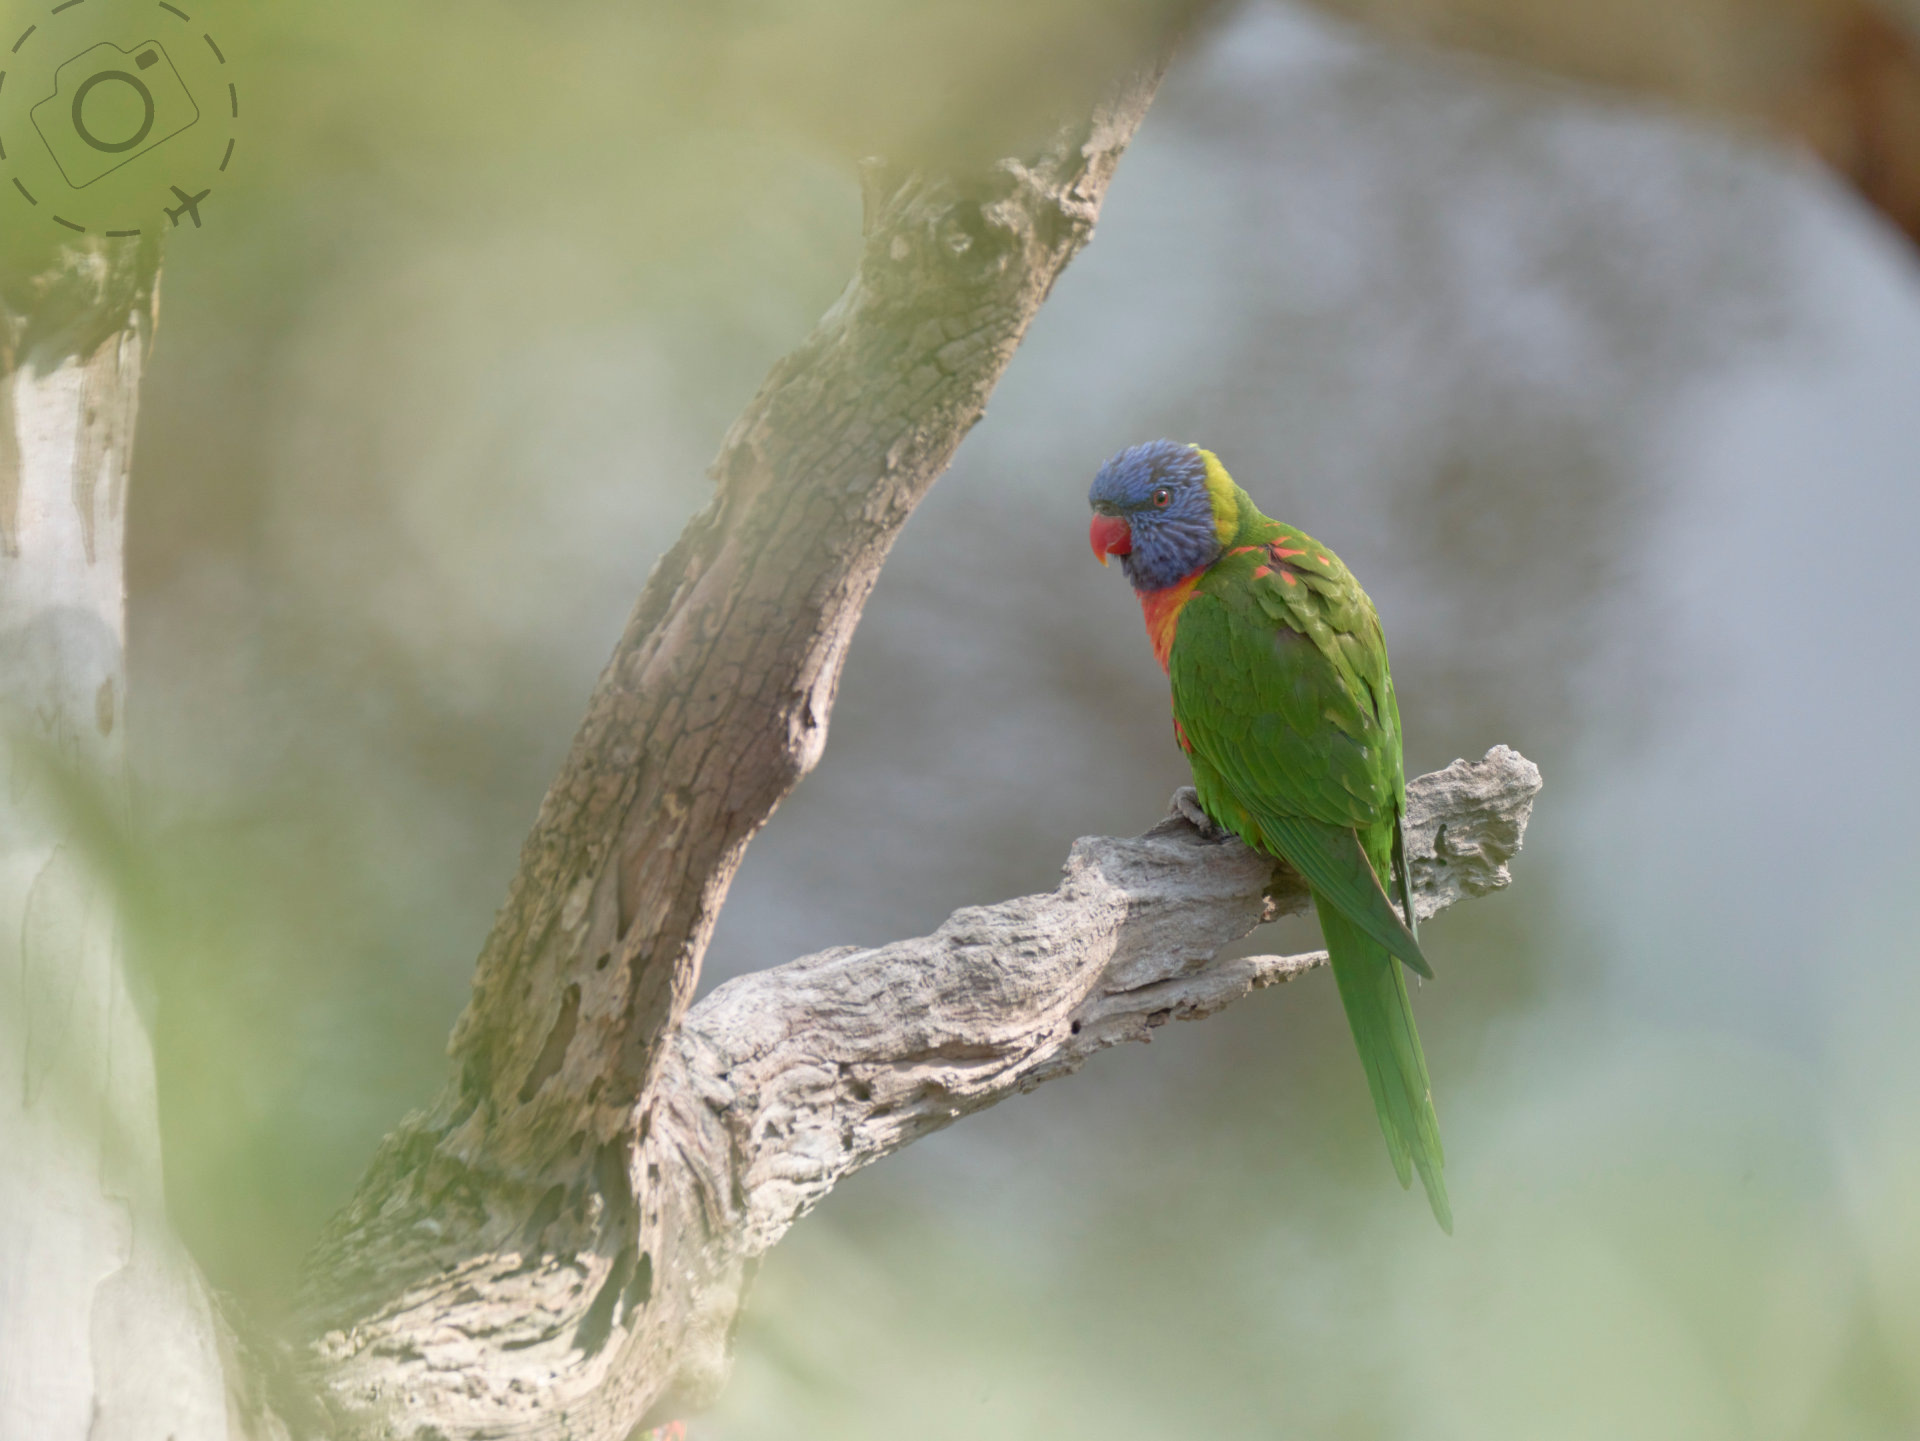
I love bird photography partly because it can be a challenge and partly because birds are such rewarding subjects. Most birds are very shy of humans and our cameras, however, so we often have to be very patient when trying to capture them in the wild. It turns out that city parks can be great places for photographing birds because they're more tolerant of humans being around and they're less flighty. Certain times of year, many birds are focused on their nesting and less focused on my camera, so that can be helpful too. Where I live here in the City of Melbourne, we enjoy close encounters with the Superb Fairy Wrens every spring when the boys are putting on a show for the females or keeping competing males away from the nest.
A little bit of knowledge about the behaviour of your local birds can help you to be in the right place at the right time.
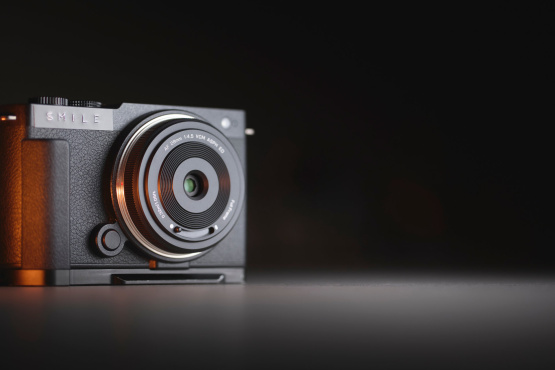
SMALL BUT BIG
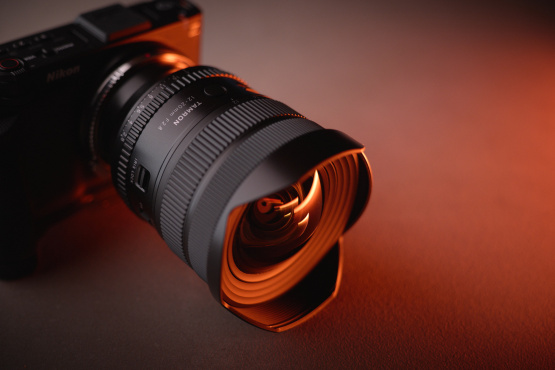
The Lumix G9II is a Micro Four Thirds format camera. That means a smaller sensor size but big features and offers a big advantage when chasing wildlife. The Panasonic Leica 100-400mm F4-6.3 telephoto zoom is my go-to lens for birds. It’s very light and very sharp. On any micro four thirds camera, this lens gives you the equivalent of 200-800mm on a full-frame camera. That's an impressive amount of reach, especially for a setup that's so light and easy to carry.
Most of the time I'm all the way out at 400mm with this lens. Birds are usually too small or too shy or both. I like to get as close as I can.
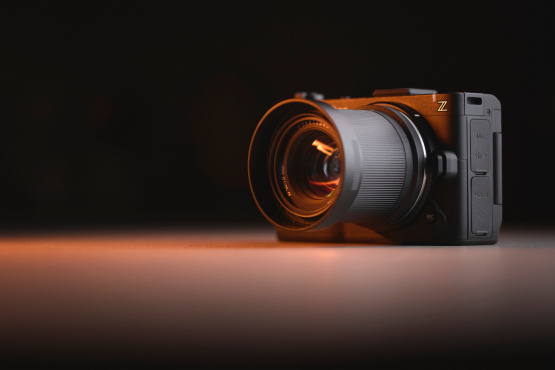
Sometimes it can be quite hard to land a bird in the field of view when you're out at 400mm. It is nice to have the option to zoom back a little bit, find the bird in the frame and then punch back to 400mm once again once you have the subject sighted in the frame.
But it gets better, because this lens is image stabilised as well. Both the lens and camera stabilisation inside the G9II work together for maximum results. This means you can expect amazing results from the combination when shooting handheld. You can readily shoot at 1/200th of a second and get sharp images. I've gone much slower than that too, but it really depends on how stable your handheld technique is and perhaps taking advantage of the continuous burst mode too.
CONTINUOUS BURST
Continuous burst shooting is a critical part of bird photography. Even if the G9II can deliver stable image, often the birds themselves are not going to be stable! They're on the move. Continuous burst means you can pick the perfect moment from a series of shots. You can access the continuous burst mode via the drive mode dial on the G9II. You have two presets to choose from, Burst I and Burst II. Each of these can be assigned a specfic burst speed in the menu. Low, Medium and High speeds all use the mechanical shutter, but if you want something faster then Super High (SH) settings will deliver up to 75 frames per second using the electronic shutter.
Sometimes you want very fast bursts to capture the precise moment you really want. But sometimes you need more than just speed, you need a little intuition. And that's where the Pre-Burst feature is very useful. You can record moments that happen before you commit the shutter. When Pre-Burst is selected the internal memory of the G9II is utilised to temporarily store the frames. While half pressing the trigger, the camera starts using the electronic shutter and starts collecting frames to its internal buffer.
I keep holding the trigger half pressed until I see my subject move. And that's the moment when I commit the trigger fully. Depending on your reaction speed, it might be between half a second to a whole second before you actually hit the trigger. A one second length of Pre-Burst is often more than enough to capture that little moment of the recent past.
FAST CARDS
Burst modes on the LUMIX G9II range from a few frames per second to 75 frames per second. That's a lot of raw files in a very short time. For this reason, I recommend very fast SD cards to quickly move images out of the camera buffer and onto your storage.
It's worth noting that many SD cards will boast about their maximum speed, but they don't sustain that speed for very long. What matters more is how fast they can sustain data transfers for an extended period of time. And for that, we look at the V rating. V60 cards, for example, will maintain a minimum of 60MB/s (=480mbps), while V90 cards will keep pace with 90MB/s (=720mbps). I personally don't like to use anything slower than V60.
The harder you push the burst speeds, the faster you want those SD cards. And those fast cards also make downloading quicker at the end of the day. The G9II has dual SD slots that both support high speed UHS-II. They both support V90 cards.
AUTOFOCUS
The G9II has an advanced AF system that uses a hybrid of DFD and Phase Detect. It also has a lot of ways to control the autofocus setup.
Getting to know these different modes and deciding for yourself which works best for you is very important. Everyone has their own ideas on what works best, which is why LUMIX provides so many variations to choose from. My personal preference is to keep things simple. I like the “1-Area+” setup as my default selection. This mode leans heavily on Phase Detect and delivers great results in a wide range of circumstances.
There are times I want my autofocus to cast a wider net though, such as Brolgas taking off across a clear morning sky. For that, I might switch to the “Full Area” or a large “Zone” for example. I'm casting a bigger net.
But, If I'm simply shooting birds on a branch then I wanna be precise about where my autofocus lands. And I'll even try to target the eyes. Let's contrast that situation with shooting pelagic birds in flight off the back of a boat. And you're often working hard just to get the bird into the frame with a 400mm lens. For more dynamic moments, it's better to engage the “continuous” autofocus and let the camera shoulder some of the hard work.
Most of the time, I'm chasing birds that are small and shy and often hiding deep inside a bush. The G9II has a special feature to help with that as well. The “AF Point Scope” lets you magnify the live scene and focus within the smallest possible AF area. It is the definition of precise and it can be fine-tuned to suit your tastes.
There's one more AF feature that I think is worth exploring, the Subject Detect. And there's a special mode just for animals. When activated, your G9II will scan for subjects in real time and highlight them through the viewfinder. A yellow box appears around the bird, indicating that the camera is ready to target that subject for focus. When you press the trigger, or your rear AF button, the detected subject is locked on and the yellow box turns green to confirm. Subject detection works within the same and adjacent areas of the autofocus zone. Choose a wide AF mode like full zone if you want to maximise your subject detection.
SHOOTING MODES
What I haven't talked about so far are your options for shooting modes. Shutter speed is usually the critical factor when shooting birds. Most people want the lowest possible shutter speed and the lowest possible ISO. We tend to push the shutter higher only when needed.
What might surprise you is that I don't use Shutter Priority, instead I like Aperture Priority. I typically want my lens wide open, partly because I like bokeh and partly because that gives me a lower ISO. My next trick is to use the auto ISO and define a minimum shutter speed to match. All of these options can be found in the menu.
As an extra bonus, you can reassign any of the function buttons for quick access to change your minimum shutter speed.
For birds in a tree 1/200th of a second is often very practical. For birds in flight, a much higher shutter speed is required. Maybe 1/2000th. There are times when I might wanna go a lot faster than that still. Just depends how tight your shooting on the bird, and how fast they move.
There's one more sneaky feature on the LUMIX cameras that I especially like called “AF Near Shift”. You know those times when the camera has focused on something in the distance, so your bird is out of focus in the foreground? Tapping the autofocus doesn't always get you what you want if the camera has found another subject to lock onto. When you assign the “AF Near Shift” to one of the custom buttons, you can use that to drive the AF to hunt towards you instead of away, even when it's already locked onto something else. It's a great feature to quickly push the autofocus closer to your subject.
HYBRID STILLS + VIDEO
I know we’ve covered a lot of ground on the stills for far, but we don't wanna forget video either. And the LUMIX G9II captures amazing professional quality footage.
If video is one of your skills, you'll appreciate the luxury of native support for 5.7K in 10-bit V-Log Gamma. You don't pay extra for the professional features, they are standard. Some of the higher bit rate modes will require an external SSD to keep up with the data flow. And support for SSD over USB is standard as well, which unlocks some very powerful data rates. There’s no CFExpress support on the G9II, so SD or SSD are your options.
Recording Quality options are what will interest most owners of this camera, and here’s the highlights:
• 5.7K 10-bit up to 60fps
• 4K 10-bit up to 120fps
• FHD 10-bit up to 300fps
You have an excellent range of codecs to choose from as well, including H.265 for internal SD recording, ProRes for SSD recording, and RAW for external recording over HDMI.
Mostly I shoot my birds at 25 frames a second, because when I produce video content, I'm working with a 25fps timeline. If you live in a region where NTSC is more common than PAL, you can operate in 30p instead of 25p. Just set your system frequency via the menu first.
The S&Q mode on the G9II lets me select 25p 4K recording quality while capturing high speeds up to 120fps. High speed capture simply means slow motion playback. There's a lot of flexibility here.
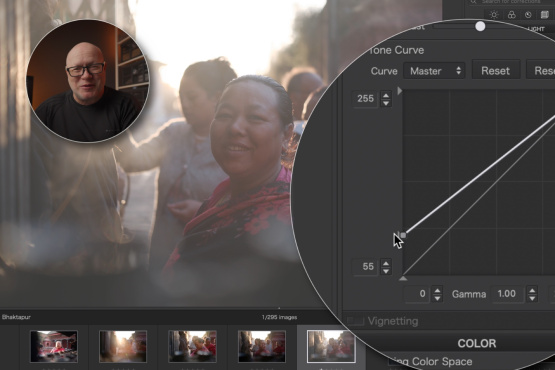
Because I'm a professional, I capture all my video using V-Log profile. That gives me the highest quality editing options later. This makes sense for professional work, but for everyday use, you may want to choose a more conventional profile or take advantage of the Real-Time LUT feature. LUTs can give you some great creative styles, but keep in mind that any LUT treatment will be baked into the final footage.
Your video setup also has some interesting options for stabilisation. LUMIX is recognised for the excellence in this area, and the G9II is exceptional even by LUMIX standards. E-stabilisation uses a little of your sensor crop to deliver additional digital smoothing to the movement. E-stabe is great for dynamic situations and especially effective with wide-angle lenses. For birds, there's another option that really delivers for me called Boost I.S. I think of this as the closest thing to having a tripod without having a tripod. Both E-stabilisation and Boost IS will work up to 120fps recording quality, and you can control these through the menu.
CUSTOM MODES
There's one final feature of the G9 Mark II that I recommend you get to know. The mode dial has three special modes for instant access to custom settings marked C1, C2, and C3. Any of the configurations we've talked about so far can be saved into one of these custom settings. That applies to video or stills, you get to decide.
The first step to take advantage of custom settings is to configure the camera in the mode you want, and then you go into the menu and save it as a custom setting.
C3 is kinda special, like a library of settings you can save away for later recall. Up to 10 settings can be nested into the C3 library, and you choose which of those are linked to the C3 dial at any given time. You can even rename the custom settings to make it easier to remember what you saved them for.
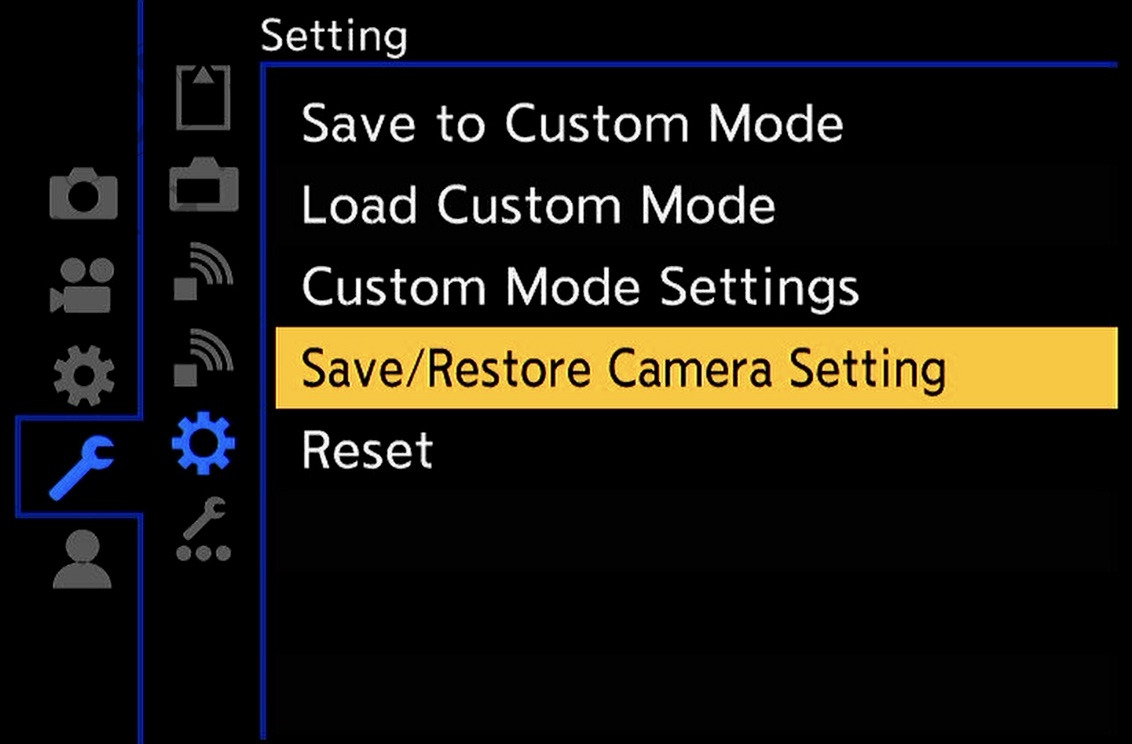
It's also possible to save a copy of your entire camera setup to an SD card. That's useful if you have two camera bodies and want to maintain the same custom settings across them both. Also useful if you want to save one configuration with many bird settings, and another for chasing landscapes or auroras instead!
Right now this feature is useful when you wanna download a setup from the internet and apply that to your camera, which is what I've done for you.
DOWNLOAD NOW
The following CamSet files were saved with firmware version 2.4. Visit the Panasonic website below for the latest firmware updates. If your firmware is older than 2.4 then these CamSet files likely wont load.
https://av.jpn.support.panasonic.com/support/global/cs/dsc/download/index.html
Ewen’s LUMIX G9II Birding CamSet for PAL(50Hz)
https://ewenbell.com/uploads/camsets/G9II/G92BIRDS.DAT
Ewen’s LUMIX G9II Birding CamSet for NTSC(59.95Hz)
https://ewenbell.com/uploads/camsets/G9II/G92BIRDN.DAT
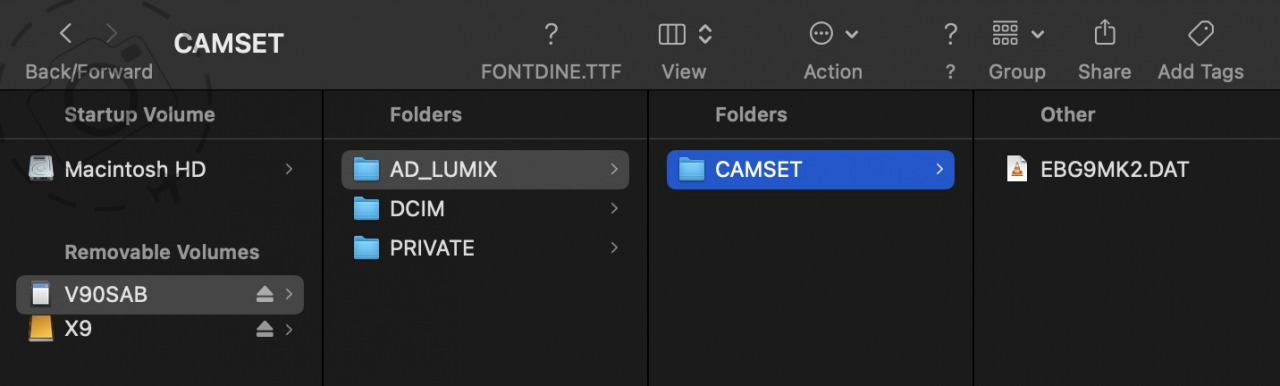
Once you grab a copy of the PAL or NTSC CamSet, you’ll need to copy that to your SD card (See folder structure below), then pop into the menu to load it up. WARNING: When you install my CamSet any-and-all settings that previously existed on the camera will be wiped off. I suggest you save a copy of your existing setup first, and then you'll already have the folder structure in place for the new one too.
NOT JUST BIRDS
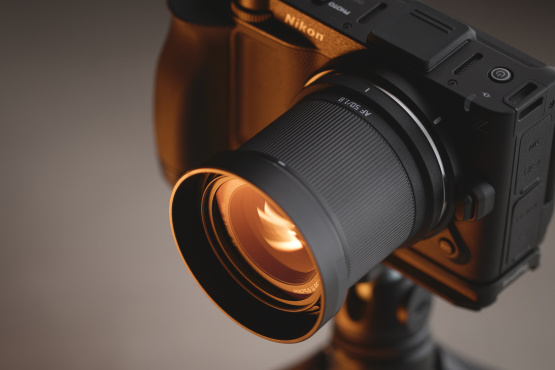
The LUMIX G9II is good for more than just birds of course. That 100-400mm lens is also great for flowers and bees. Plus there's a 200mm F2.8 prime for wildlife if you prefer something richer in bokeh, and indeed many other telephotos are on the market to suit MFT and the G9II.
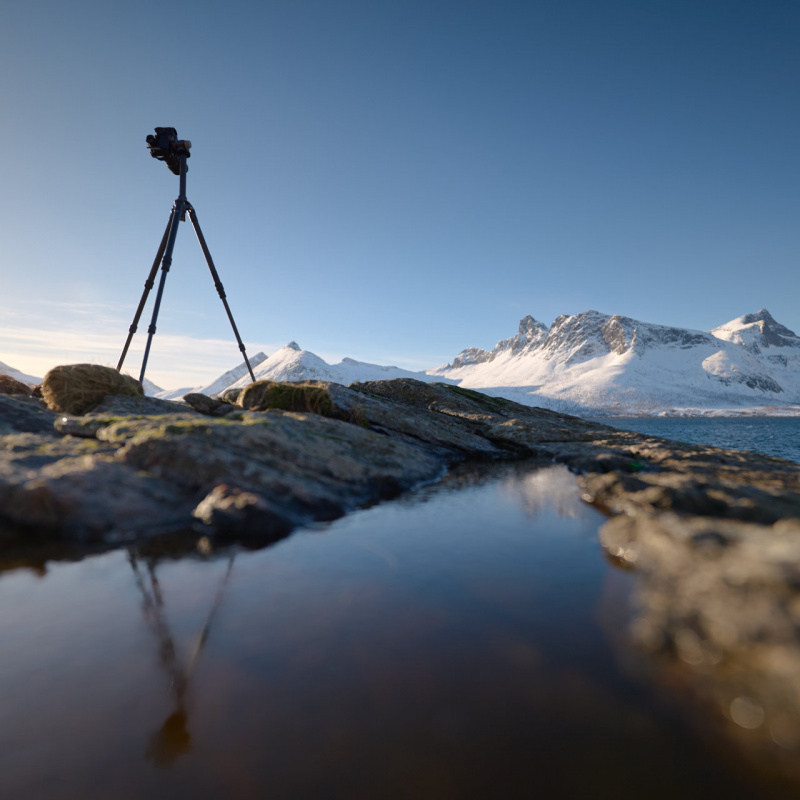
There are loads of great MFT lenses that give you access to wide angle landscapes and even some fast primes if you enjoy a little bokeh for street photography or portrait work. The G9II also has a “High Resolution” pixel shift mode that delivers 100MP RAW files using an automated sequence in camera. A quick mention also for the dedicated time lapse mode, quickly accessible on the drive dial.
The G9II is an incredibly capable camera and can make time spent with nature just that little bit more rewarding. I hope you get a chance to put some of these features to good use.
– EWEN

Keep Reading
Join Ewen's newsletter for monthly updates on new photography articles and tour offers...Subscribe Here