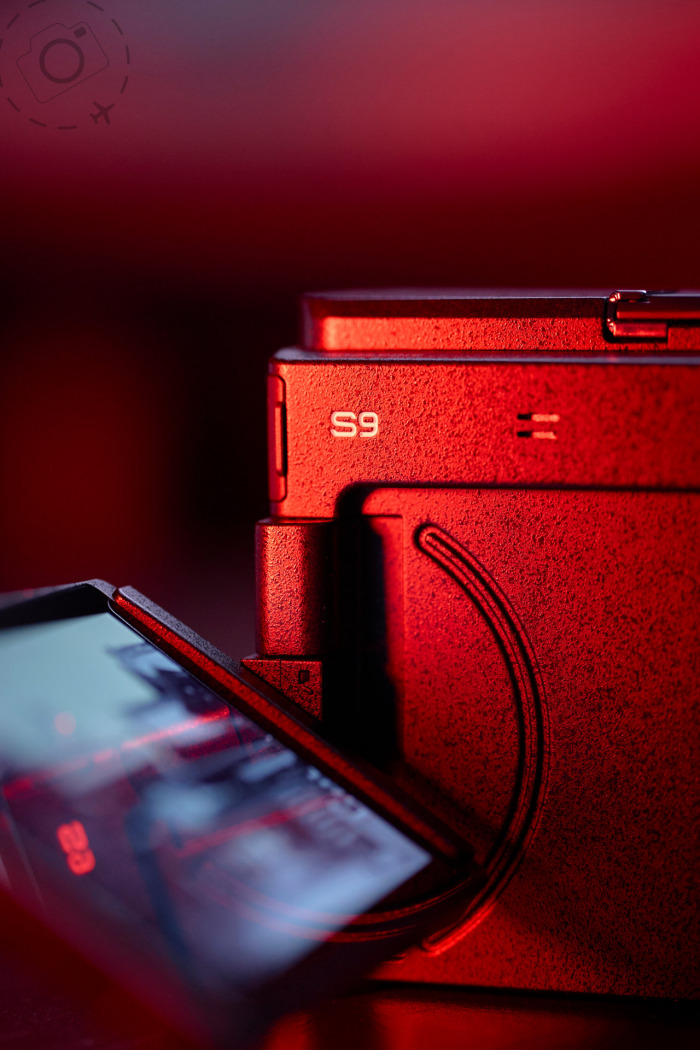
I’ve been travelling with the LUMIX S9 for about a month now and testing out a series of custom settings for this model. These are fully tested in the field and you can download a copy of my settings to apply to your camera body. If you want to skip the details and just install my settings, slide down to the bottom of this article and download the CamSet.
WHY CUSTOM SETTINGS
If you’ve never used custom settings on the LUMIX cameras before then you might want to start by reading up on what they are, and why they’re so useful. You can read more about how they work, and how to update them yourself, on this blog post:
https://ewenbell.com/blog/Make_The_Custom_Dial_Work_For_You
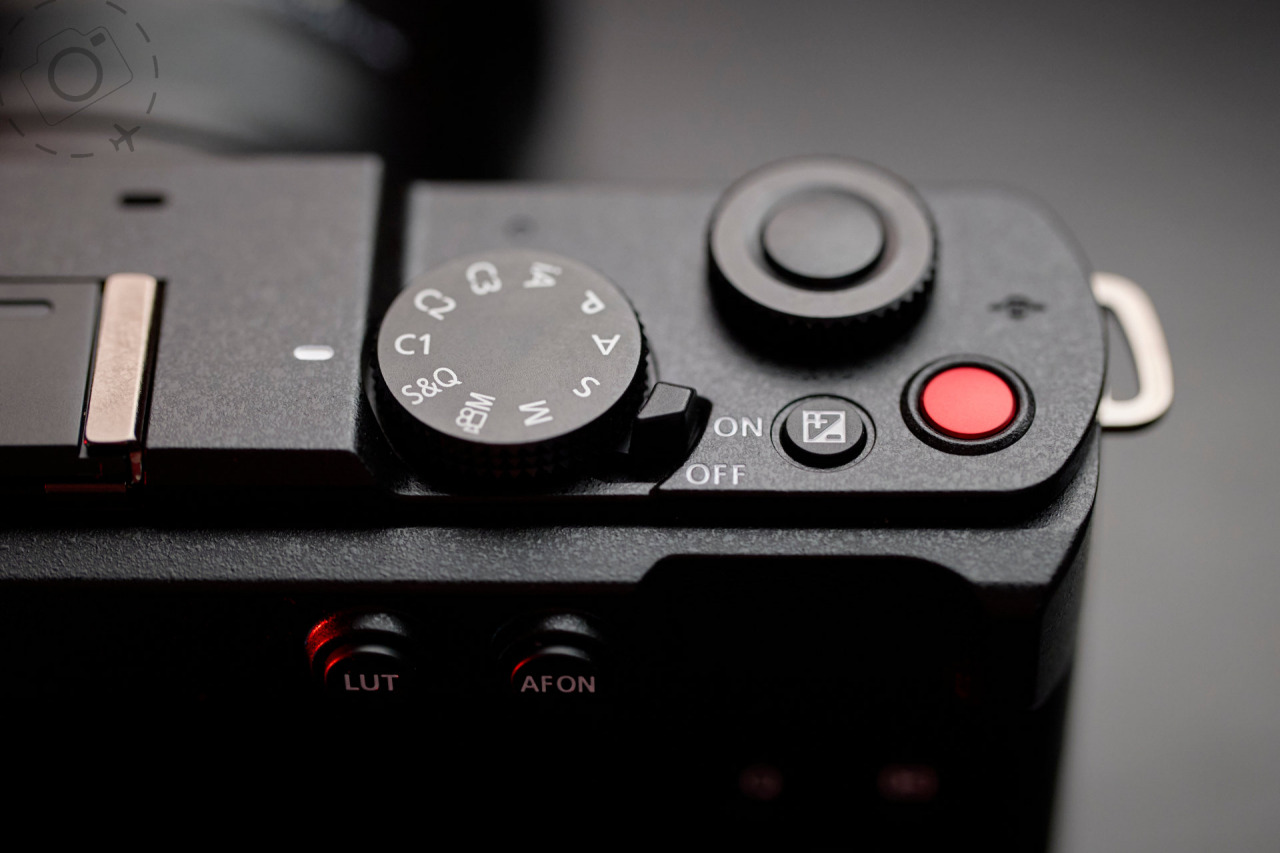
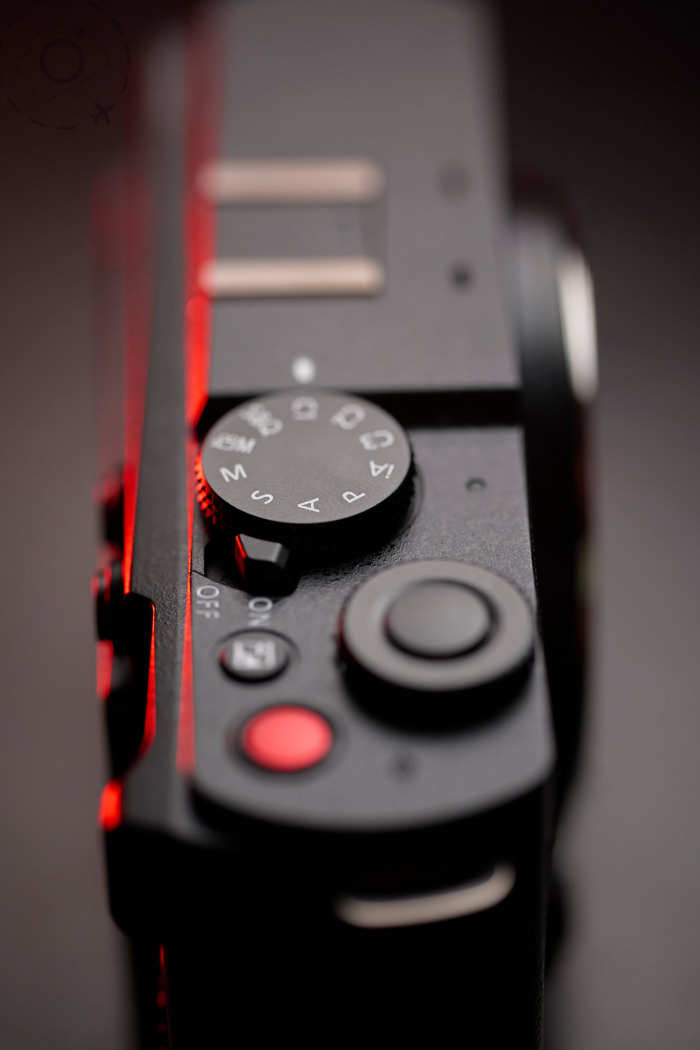
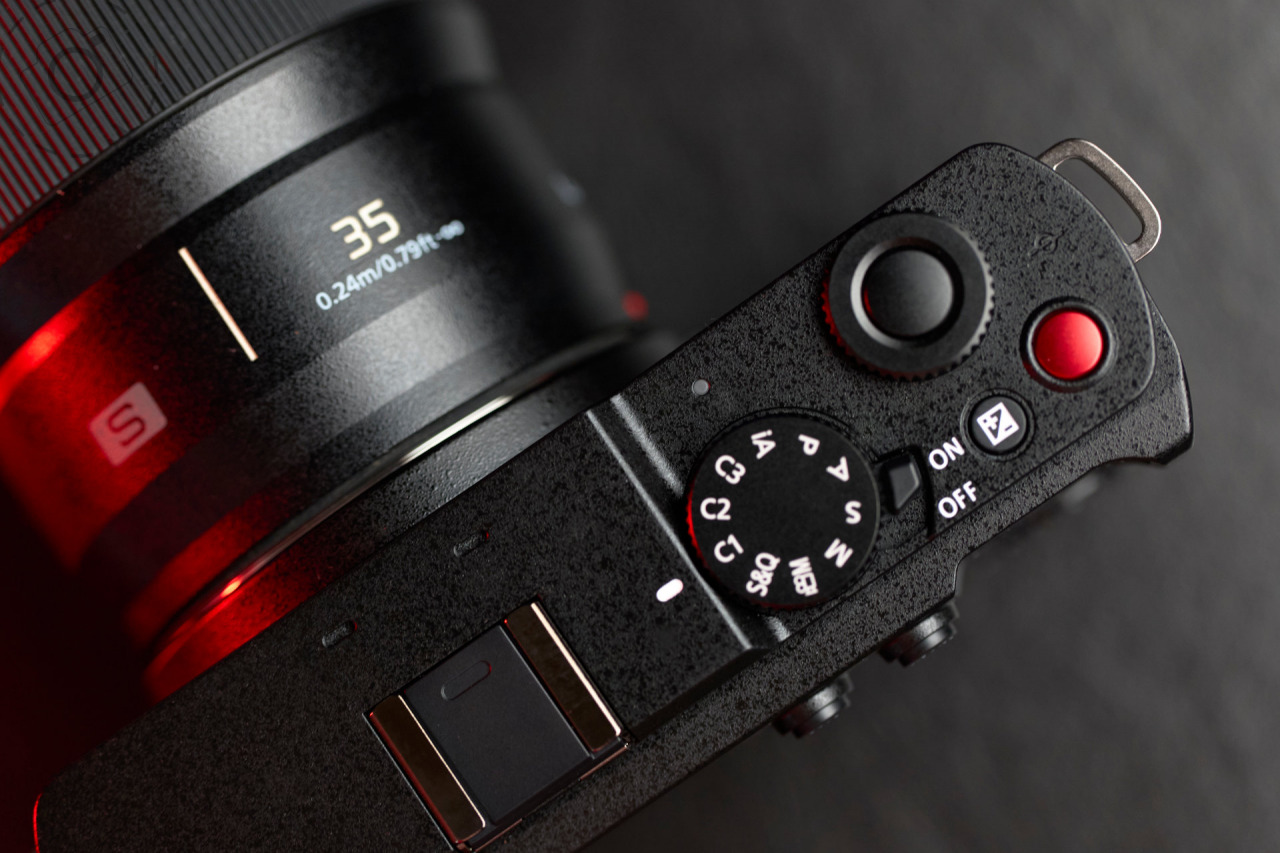
The short version of how custom settings work on the LUMIX is simple enough. C1, C2 and C3 on the mode dial can each be configured to a baseline setting for instant recall. Once you’ve setup a shooting mode and configuration for any of these, you can simply roll the mode dial onto C1 or C2 or C3 and all your settings are restored to that configuration.
Loads of little details can be included in each setup, including many you might never have even thought about. How you setup the AF for example, the HDMI output, whether the recording indicator displays on the rear screen, and much much more. The act of saving a setup to a custom slot will pull through a huge list of possible settings. You don’t need to know them all, but just know that the camera does this automatically.
Custom settings are all about having a finely tuned baseline recalled in an instant. That’s why it’s important to get comfortable with redefining the settings to suit your needs. My suggestions in the supplied CamSet hopefully are a good start, but you will want to retune them over time to adapt to your shooting needs.
If you’re starting out from scratch, then hopefully some of my custom settings will highlight a few of the more useful hidden features on the S9. Using custom modes is not only a great way to “be ready” for the moment. Every camera I own, for example, has C1 set to Aperture Priority at F2 with auto ISO and a single point AF. I can grab any camera and roll to C1, confident that the camera will be setup to something I understand and without any surprises. That also means I’m free to experiment with my settings, and can blat them in an instant just by recalling C1.
It’s a great way to be in control of your camera, and your photography!
MY CUSTOM SETTINGS
Here’s a quick list below of what I’ve setup for my LUMIX S9 downloadable CamSet, and what you can expect to find inside the CamSet files once you apply them to your camera:
C1 / STILLS – F2
C2 / 4K 10-bit 422 Video
C3-1 / MP4Lite Video
C3-2 / STILLS @ F2 B+W
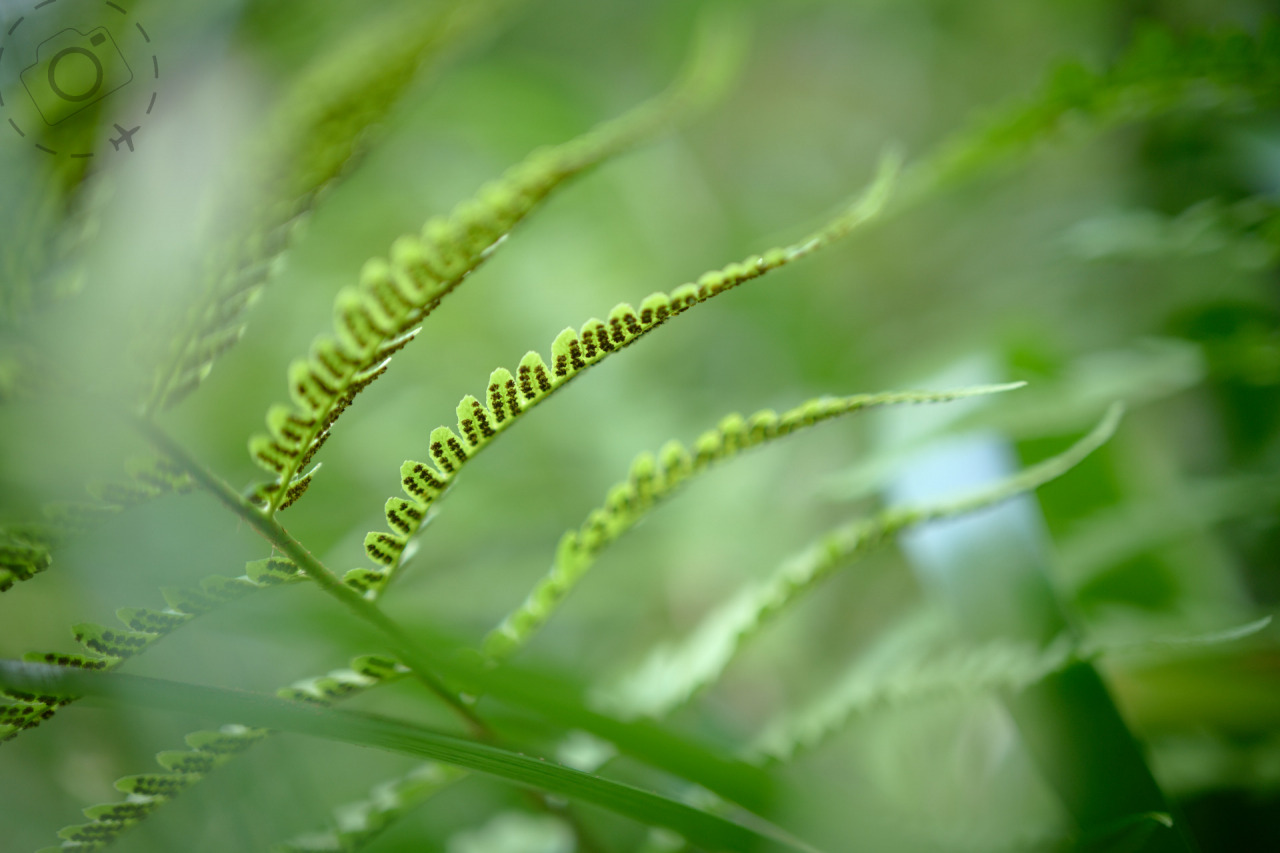
C3-3 / MACRO
C3-4 / LANDSCAPES 96MP HIRES
C3-5 / LANDSCAPES TIMELAPSE
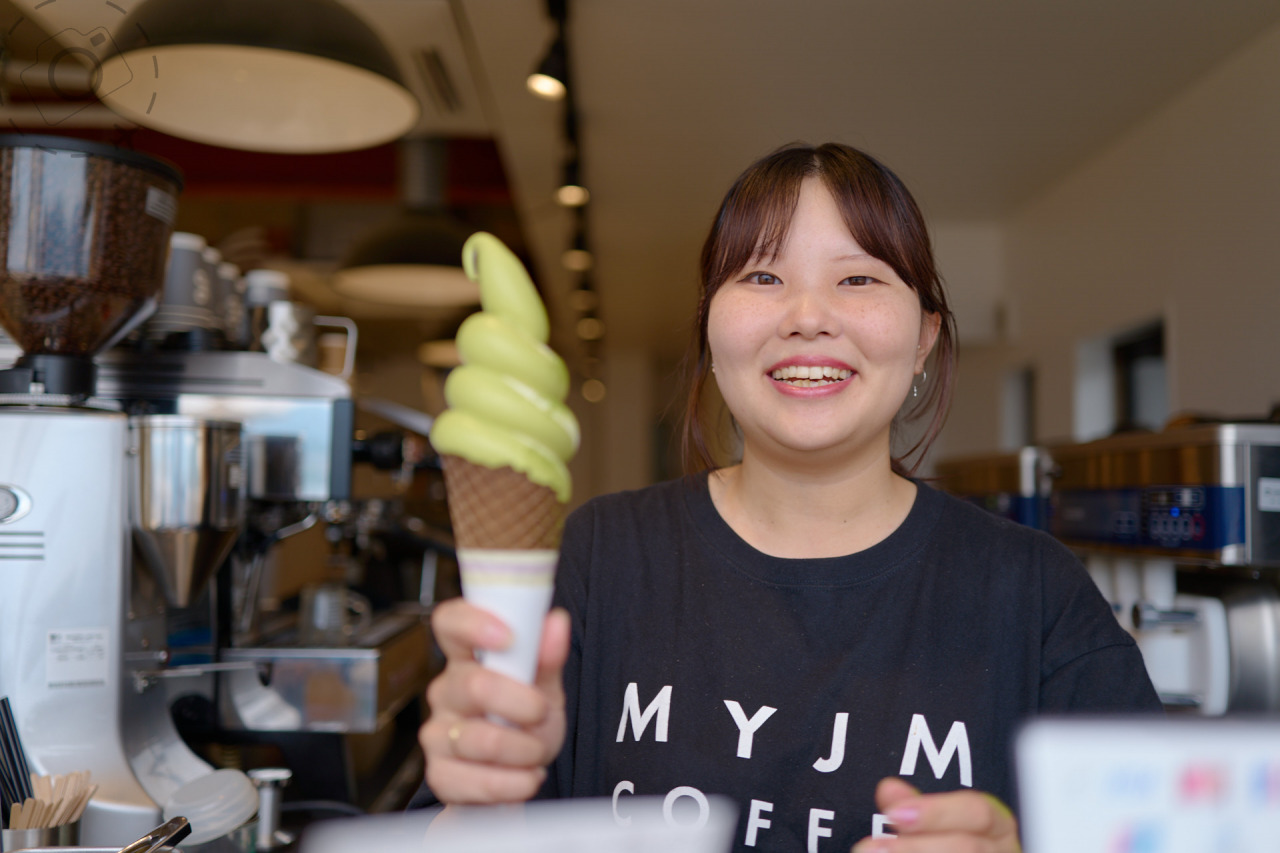
C3-6 / HOLIDAY SNAPS in JPG
C3-7 / 4K SLOMO TRIPOD
C3-8 / 4K 10-bit 422 F2
C3-9 / 4K 10-bit 422 180°
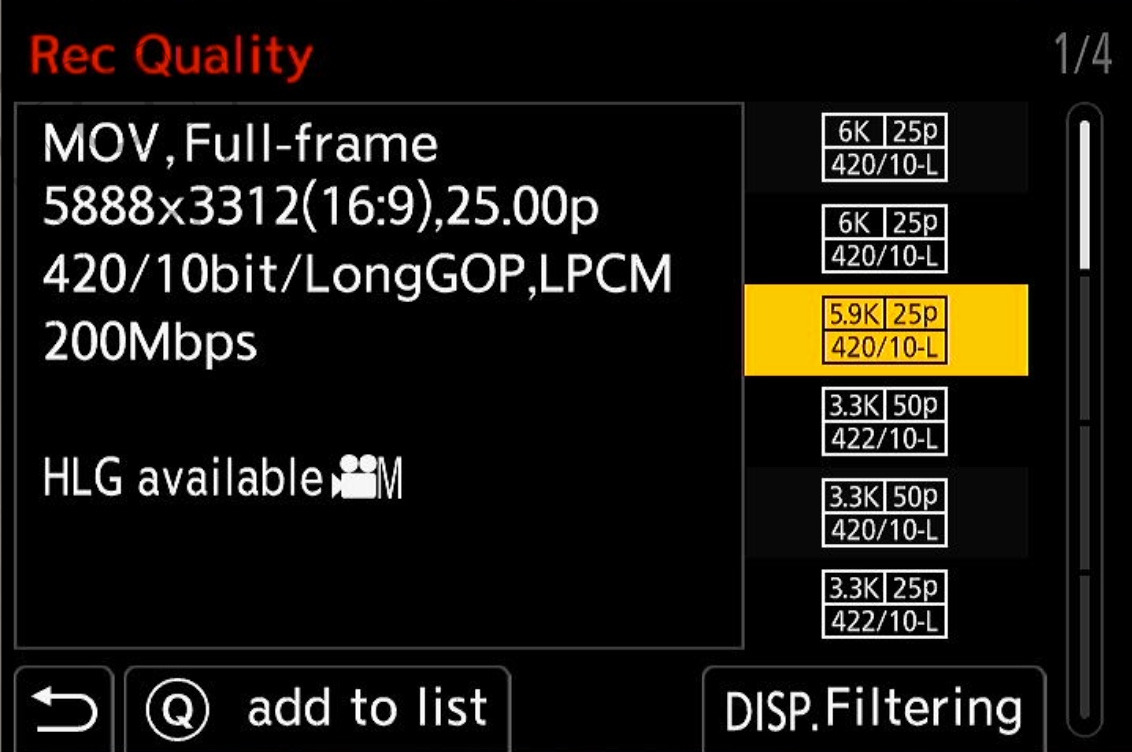
C3-10 / 5.9K 420 16:9
C1 IS FOR STILLS
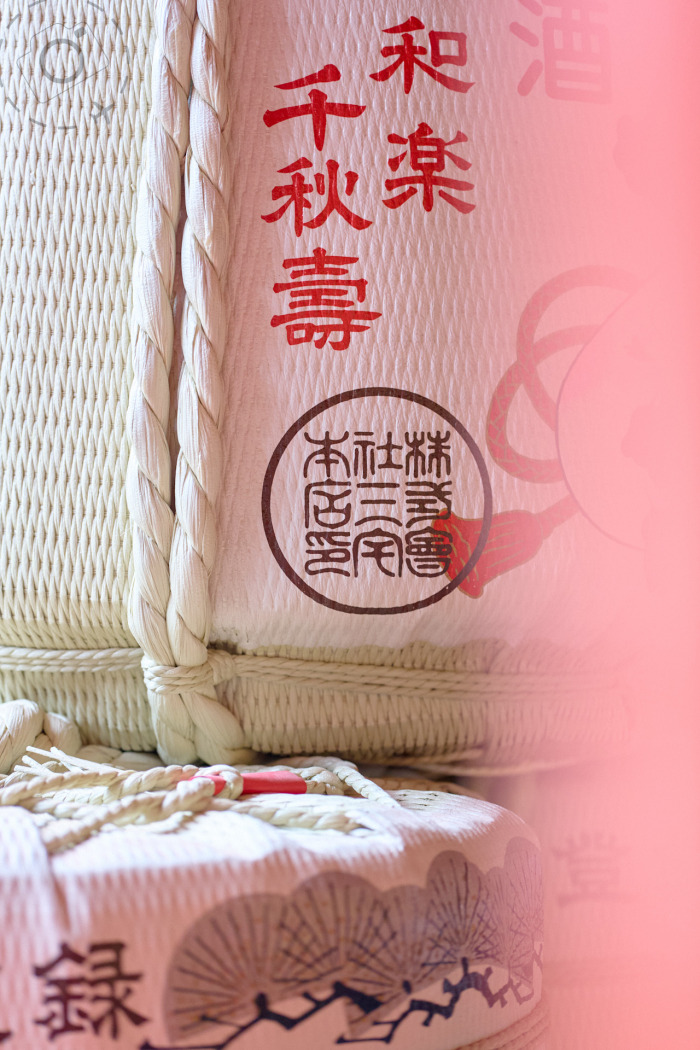
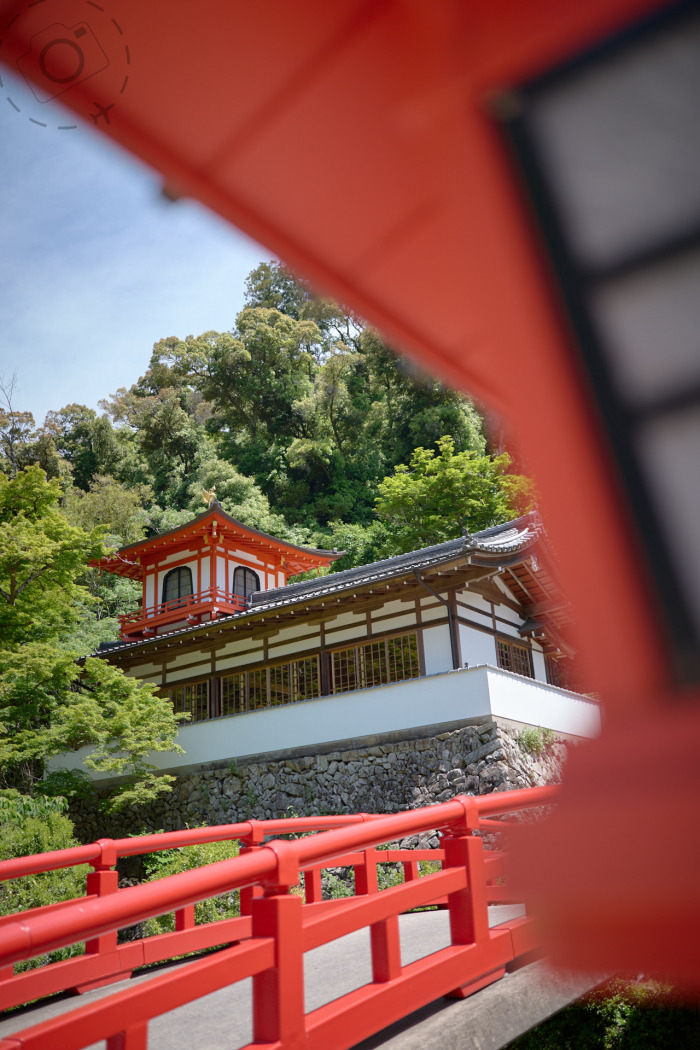
Me preference when shooting stills is to work at F2, and capture wide open or close to it. I like fast prime lenses, so F2 is my happy place for composition. If you’re a landscape photographer then you may prefer to change C1 to F8, or perhaps a manual mode instead. I am capturing RAW files only, and use auto ISO with the minimum shutter speed configured to 1/200th of a second.
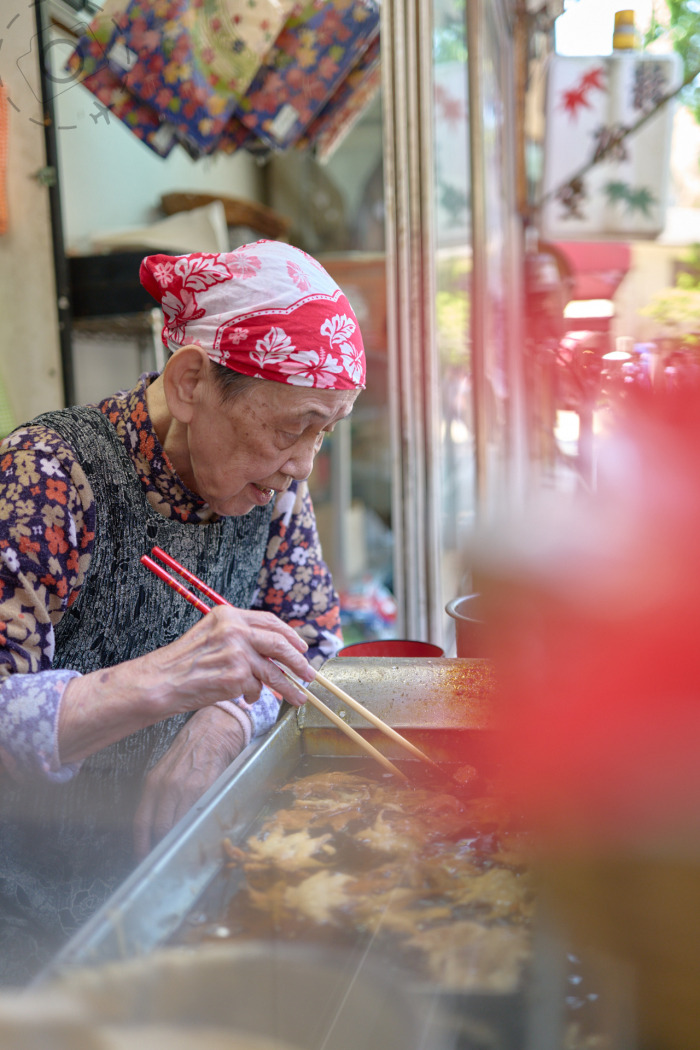
I also employ a Black & White picture profile for my stills. It helps me focus on the light, and that helps improve my compositions. You might prefer to invoke one of the Real Time LUTs instead, or choose a conventional colour profile.
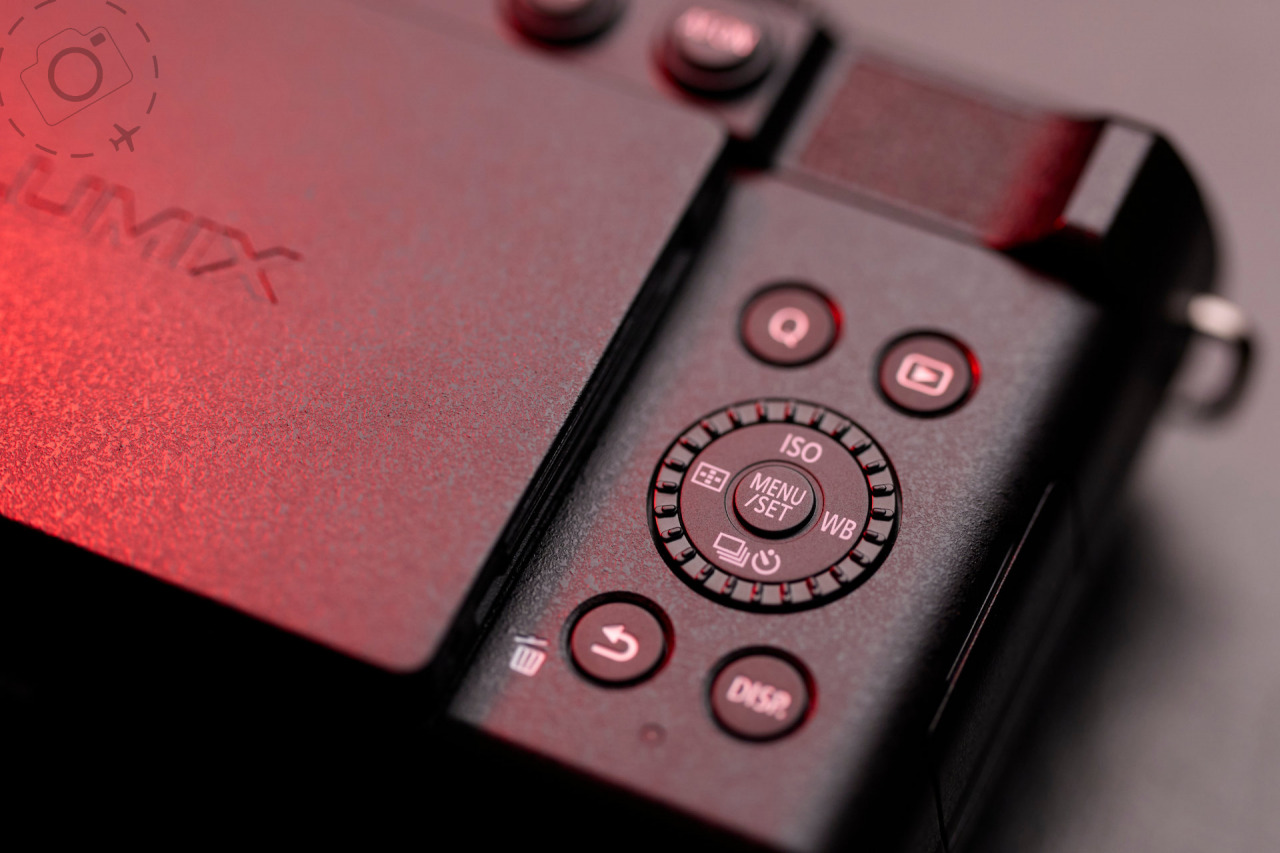
I have also remapped the rear AF button as my AE-Lock and remapped the video button to give me quick access to change the minimum shutter speed. That’s handy when shooting interiors with flickering lights. Dropping down to 1/60th or slower often removes such flickers.

C2 IS FOR VIDEO
I’ve chosen C1 for stills, and C2 for video. Sometimes I overwrite my C2 with 4K and a 180° shutter. Other times I want 4K at F2. Or maybe 4K in slowmo. I can overwrite my C2 from any of the settings tucked away in the C3 library.
My current default is to use 4K 10-bit 422 in Aperture Priority at F2. The AF is tuned to lock and hold subjects and uses the “1-Area+” option for Autofocus. That’s important, as there are some combinations of video AF that will drop back to DFD. In most cases that’s no big deal, but when shooting video at very wide apertures you may see the DFD pushing back and forth.
All my video settings except for “MP4lite” are using the VLOG profile, and hence exposure compensation of +1.3stops is also added. If you’re new to VLOG or do not intend to use a log-gamma workflow, you’ll likely want to retune or ditch my video setups.
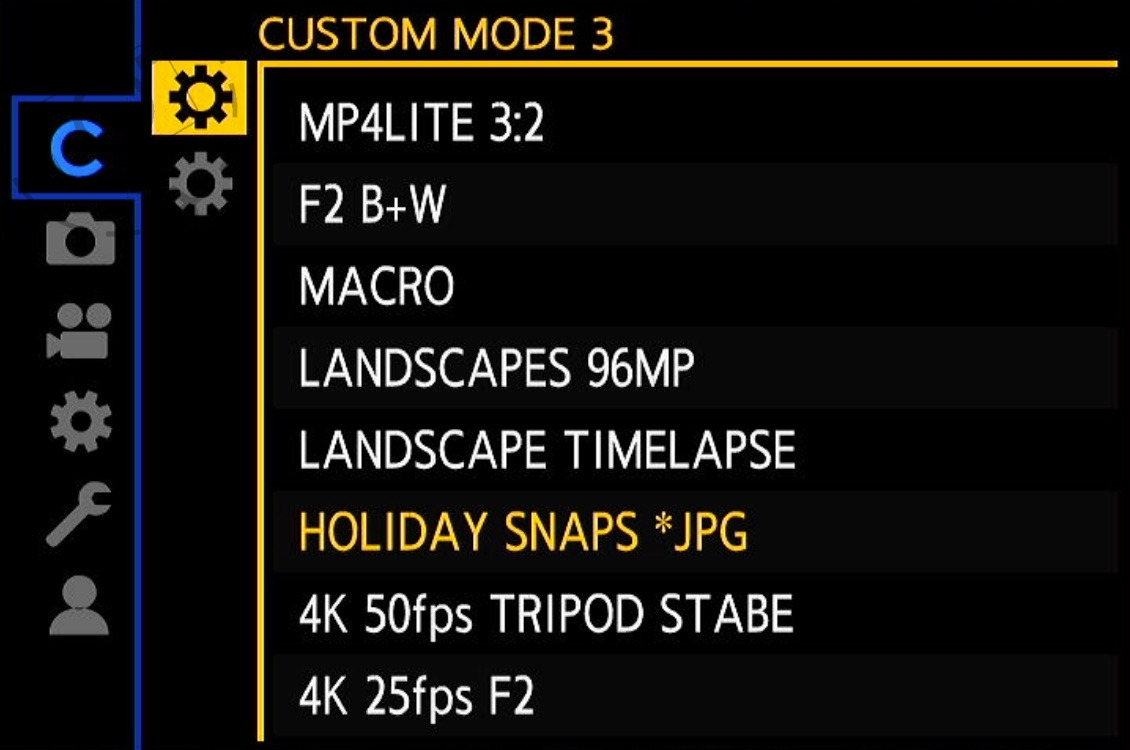
C3 LIBRARY
C3 is special in this setup. The dial on the camera will invoke whichever C3 variant you’ve currently picked, and there are up to 10 slots you can pre-configure. I think of this as my personal library of frequently used configurations. I can instant recall any three at a time (C1 C2 C3), but still have all the rest on standby to be quickly assigned (C3-1 to C3-10).
Please note that if you download these settings and apply them, all of your non-custom dial settings may change as well. Also note that I have created two different files to suit the three system frequencies supported by the S9. If you load up the PAL settings for example (50.00Khz) but then switch your system frequency to NTSC (59.94Khz) you can expect a number of video recording settings to no longer make sense. Hence, a separate CamSet file for each frequency can be loaded in to reset your baseline.
HOW TO APPLY
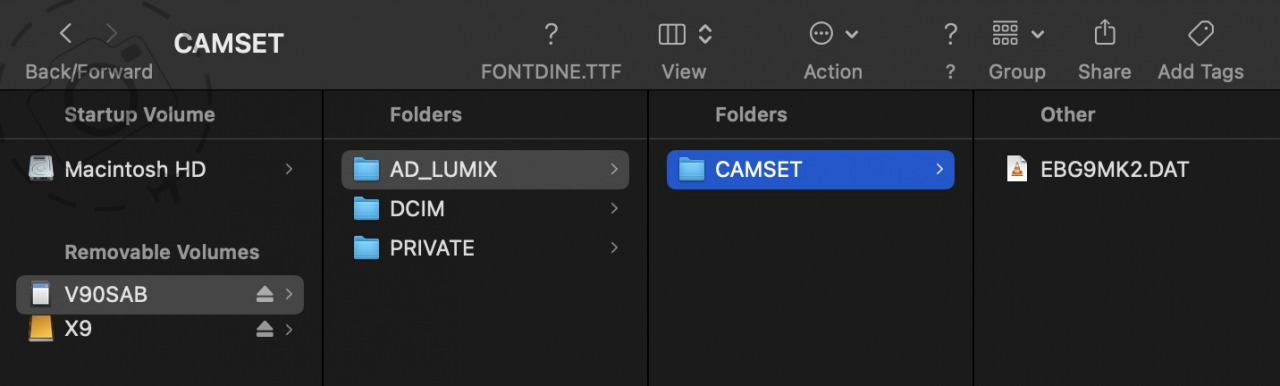
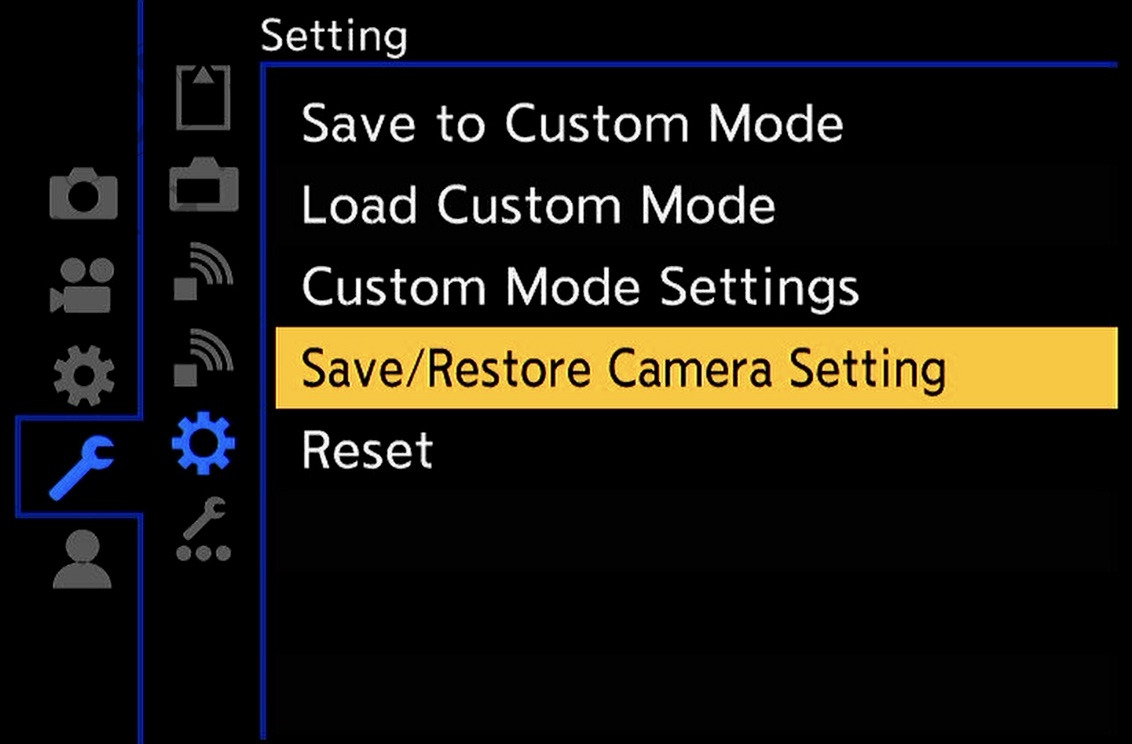
Once you grab a copy of the PAL or NTSC CamSet linked below, you’ll need to copy the DAT file to your SD card, then pop into the menu to load it up. WARNING: When you install my CamSet any-and-all settings that previously existed on the camera will be wiped off. I suggest you save a copy of your existing setup first. Please note the folder structure required on your SD card to be recognised for installing to the camera. If you save your current configuration first, then you'll already have the folder structure in place to upload the new one.
DOWNLOAD HERE
Ewen's CamSet for LUMIX S9 / PAL
https://ewenbell.com/uploads/camsets/S9/S9V14PAL.DAT
Ewen's CamSet for LUMIX S9 / NTSC
https://ewenbell.com/uploads/camsets/S9/S9V14NTS.DAT
Before applying one of these CamSets, please sure to update your firmware to the current release. If your camera firmware is older than V1.4 the CamSet won’t work.
Firmware updates for S series cameras:
https://av.jpn.support.panasonic.com/support/global/cs/dsc/download/index4.html
My favie custom LUT for stills can be uploaded via the Lumix Lab App:
https://ewenbell.com/uploads/camsets/S9/Ewen%20Paper.zip


DIY Custom Settings
For a basic primer on HOW and WHY to tune your own custom settings on LUMIX cameras, I recommend you start with this article below:
https://ewenbell.com/blog/Make_The_Custom_Dial_Work_For_You

Keep Reading
Join Ewen's newsletter for monthly updates on new photography articles and tour offers...Subscribe Here