


One of the simplest and yet most transforming practical techniques we teach on workshops is to take control of your camera's custom modes. They can make your life so much easier, and help you to start focusing more on your photography and less on your camera. Nobody uses this feature enough. NOBODY.
Today is a good day for you to take that step forward.
Why You Want This
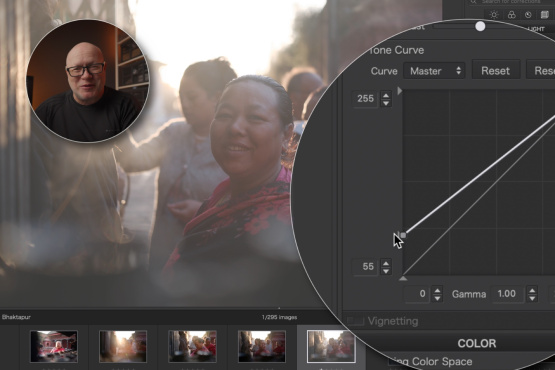
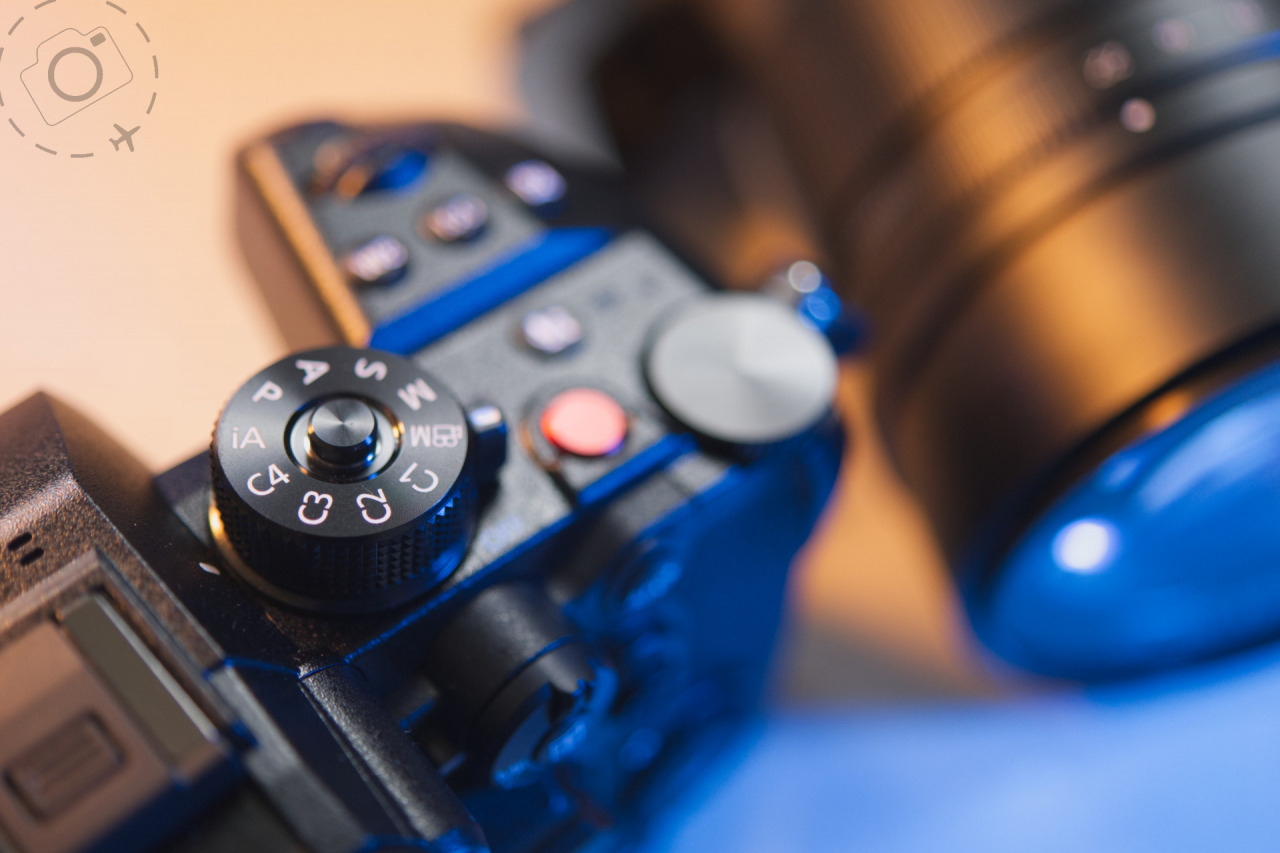
Learning to drive the custom dial on your camera is a big advantage. If you haven’t delved into the power of C1/C2/C3 on the mode dial, now is a great time to start. The idea is simple: You start by setting up the camera with your baseline settings. Let’s say you want Aperture Priority at f/8, with Auto ISO and a minimum shutter speed of 1/200th of a second. You can dial in your preferred RAW settings and picture styles. In my case I set the AF to a small square in the centre of the frame as well.
Now you jump into the menu and save the current setup into any one of the custom settings. If I save that setup into C2, then every time I roll the mode dial to C2 all those settings are made live. I have my cameras setup to use very shallow depth of field (for portraits and still life) on C1, landscapes on C2 and any number of weird and wonderful modes on the C3 dial. Sometimes I have star trails in there, sometimes slow shutter for panning effects. In the studio we use this for shooting with flash.
The custom modes leave you free to experiment with all the other settings, and still be ready to respond quickly when a moment suddenly presents itself. Imagine the excitement of a hundred goats trampling through the village, and knowing you can instantly dial in C1 and start capturing portraits of their cute little faces before they dash around the corner.
The best technology are the bits that enable your creative freedom.
Step By Step
The first thing people do when they decide to try the custom settings is to flick the dial to C1. Ooops! Your starting point is configure your camera as you want it saved first. If you want a long exposure for slow-panning bicycles, start with Shutter Priority. If you want shallow depth of field for portraits, then start with Aperture Priority. If you want to setup for flash-sync, then start with Manual Exposure. Now configure the settings that matter to you. Auto-ISO? Continuous burst speed? White balance? AF area? RAW instead of JPG? B+W photo style? Different cameras might save different options, but on the LUMIX G-series or S-Series there’s very little that can’t be saved into the custom settings.
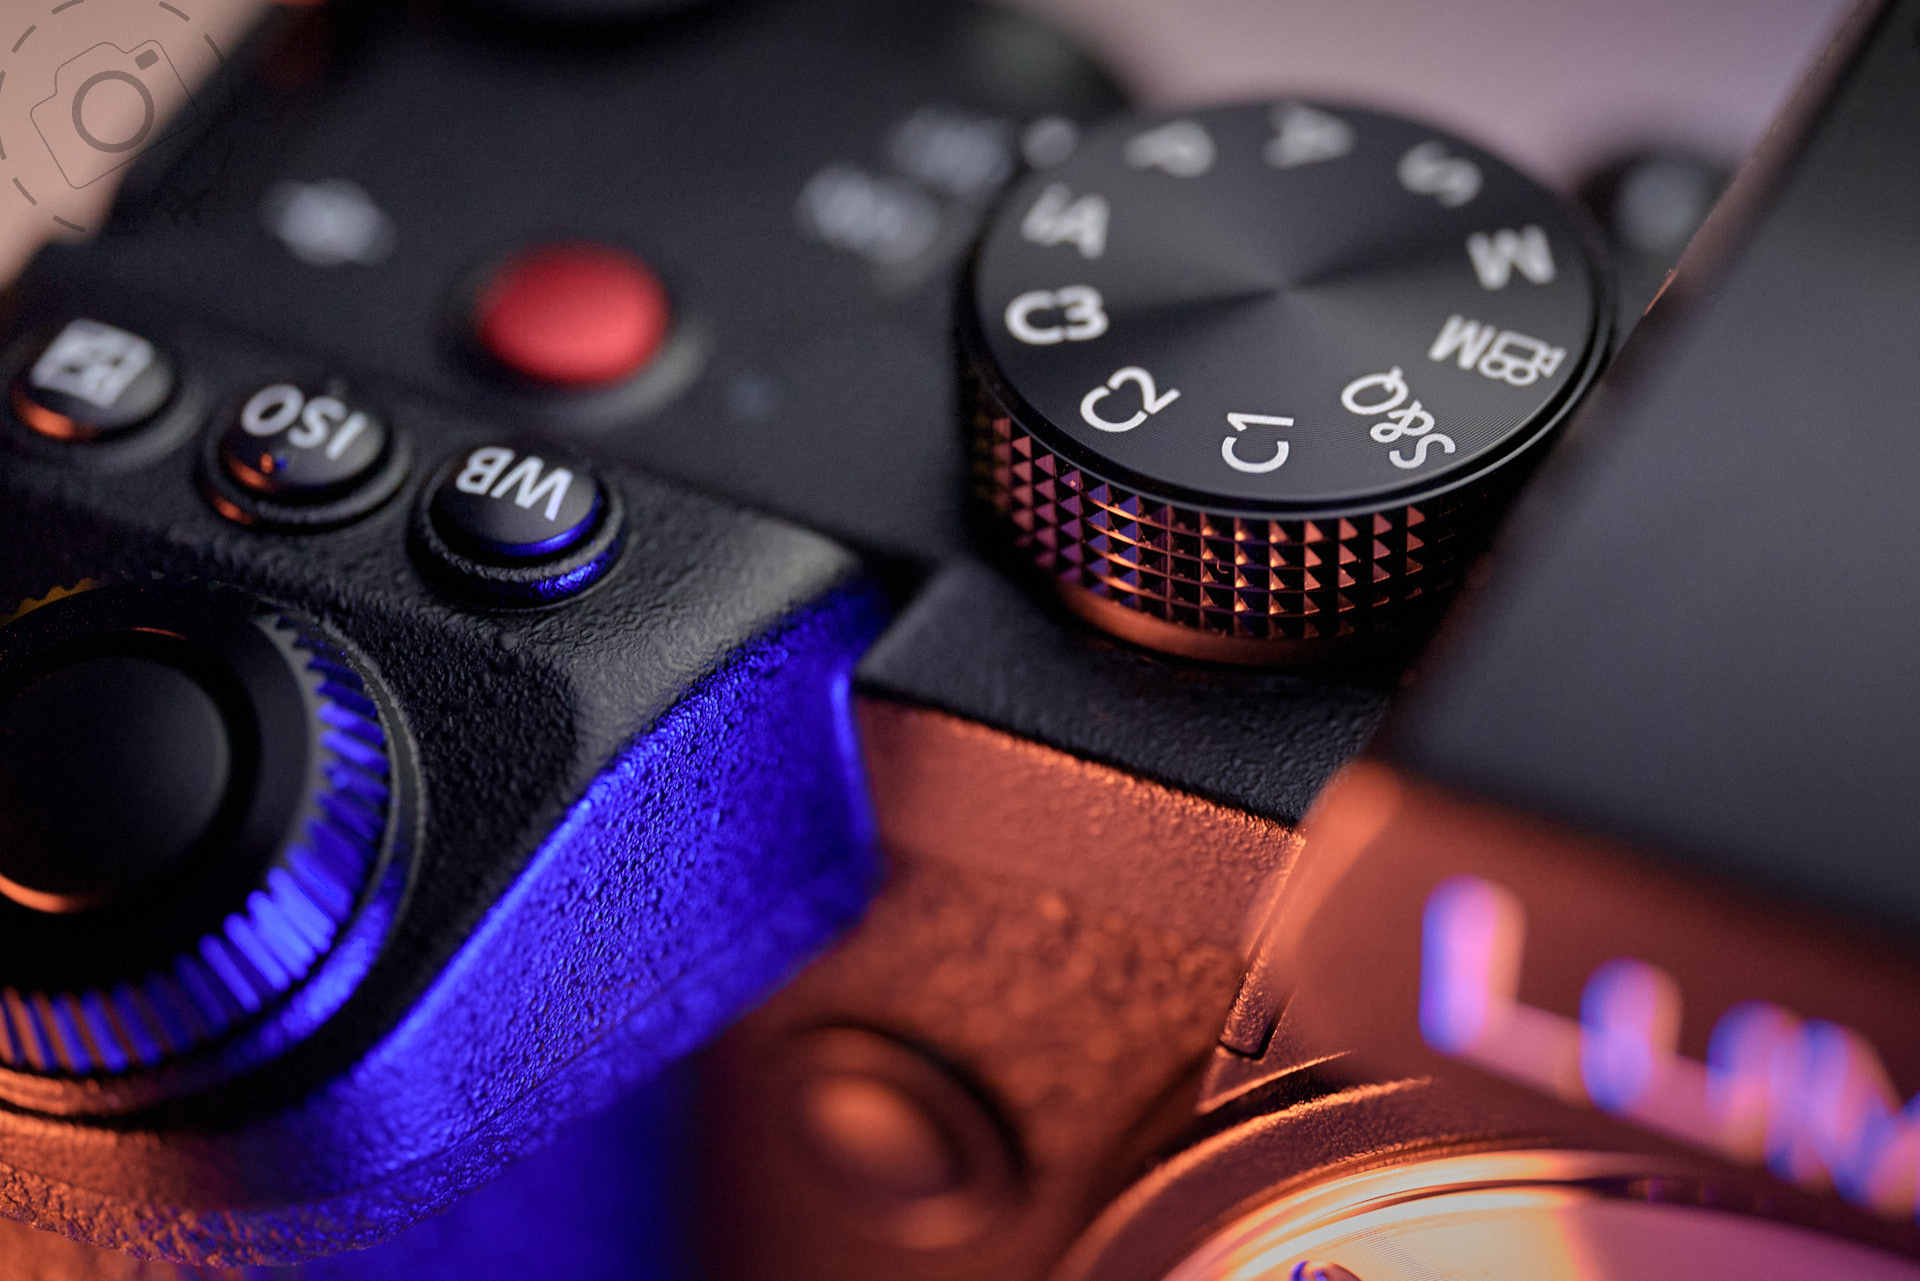
Now that your camera is tuned to your tastes, we delve into the menu to save that configuration into one of the custom dial settings. Go into the “File Menu”, the one with the large blue spanner, and scroll down to “Settings”. The first option on the LUMIX S5 is “Save to Custom Mode”, and then you just pick which Custom Mode you want to update.
Once save into C1, you can roll the mode dial to C1 and all those configurations will be loaded in. Instantly. You can still change settings while using C1. If you want to move from f/2 to f/8, no problem. You can change the ISO and anything else. You have a baseline, not a lockdown. But if you do change a few things, and then just want to reset to your original C1 setup, roll the mode dial off C1 and back on again. This will clear any changes you made and reload the settings.
Step Forward
Sometimes I notice myself stepping off the baseline a lot. My early custom settings for bird photography, for example, used a very very small AF area that was sometimes too small for the task at hand. So while using C1, I modified my AF setup to make the AF area a little bigger and then immediately re-saved THAT configuration into C1 again. I don’t have to go back to Aperture Priority and tune all the settings over. I can just update the live C1, with my modifications.
On the LUMIX cameras the C3 dial is a little bit special, because you can preload more than one setting for future use. This can be confusing at first, when you see the options to save your configuration into C1, C2, or C3-1, C3-2 or C3-3. In practice, this expansion feature has been one my favourite features on the LUMIX camera bodies. I typically save C3-1 for high speed bird photography, C3-2 for studio flash, and C3-3 for shooting star trails. When you roll the mode dial to C3, it picks up whichever of these settings you last selected. If you want to change from C3-1 to C3-3, for example, you hit the menu button and the first thing that pops up is the list of C3 modes you’ve got saved.
The LUMIX S5 takes this feature one step further though. You can decide how many C3 modes to have preloaded, up to a total of 10, plus you can title each of them with something meaningful. I use this camera for 4K video work because it’s so light and has VLOG built-in, so I have pre-loaded a range of video setups to suit different purposes. 4K at 25fps and daylight white-balance. The same again but for tungsten lighting. 4K at 50fps using the S35 crop. And so on. I don’t have to guess which configuration is which, because I named them for instant recognition.
Conclusion
I see very few people arrive on my workshops who take full advantage of the custom settings. Mostly that’s because very few people know how to punch in the settings they want. Our first inclination is to turn to the dial to C1, and then try to change the setup. It’s counterintuitive at first, but moving onto the custom dial is the last step, not the first.
It takes a little effort to setup initially, but after that it’s an amazing tool that keeps you in better control of the camera. Having a baseline setup gives you confidence that your camera is ready to meet the moment. Having a handful of baselines setup gives you flexibility to respond to a wide range of opportunities at a moments notice.
And remember, if you find your custom setup is not quite right it only takes a second to replace it with something better.
[ The LUMIX GH6 has a fourth custom setting on the dial plus the expansion set ]

Download my custom settings for the LUMIX S5II
https://ewenbell.com/blog/LUMIX_S5II_Custom_Settings
Download my custom settings for the LUMIX G9II
https://ewenbell.com/blog/Custom_Settings_for_the_LUMIX_G9II

Download my custom settings for the LUMIX GH6
https://ewenbell.com/blog/LUMIX_GH6_Custom_Settings

Download my custom settings for the original LUMIX G9
https://ewenbell.com/blog/Custom_Settings_for_Lumix_G9
Keep Reading
Join Ewen's newsletter for monthly updates on new photography articles and tour offers...Subscribe Here