An demonstration for this blog post is also available on YouTube...
[ Updated 2025 for firmware versions 2.3 and up, including the recently released v2.5 ]
If you just want to grab my CamSet file and try it out on your brand new LUMIX G9II, then scroll down to the bottom now. You can pop that file onto an SD card, update your camera settings, and instantly all of my configurations will be available in camera.
One of my most popular posts ever on this blog was when I shared my custom setup for the original LUMIX G9. That was six years ago, and I’ve finally got a look at the new G9 Mark II in the past few weeks. It’s a great camera and one of the best upgrades from the original version is we now have up to 12 custom settings that can be saved in camera, and you can specify names for each of them.
Why Use A Custom Dial?
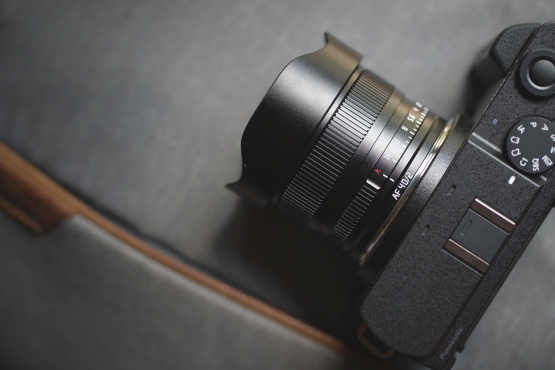
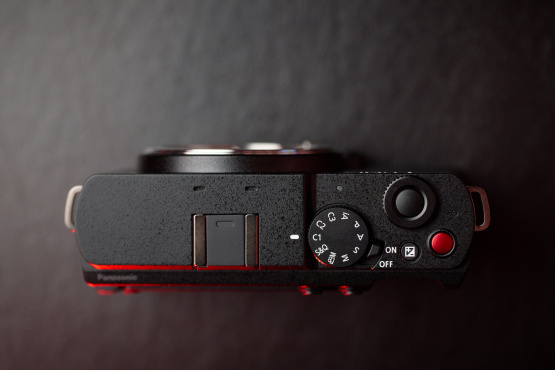
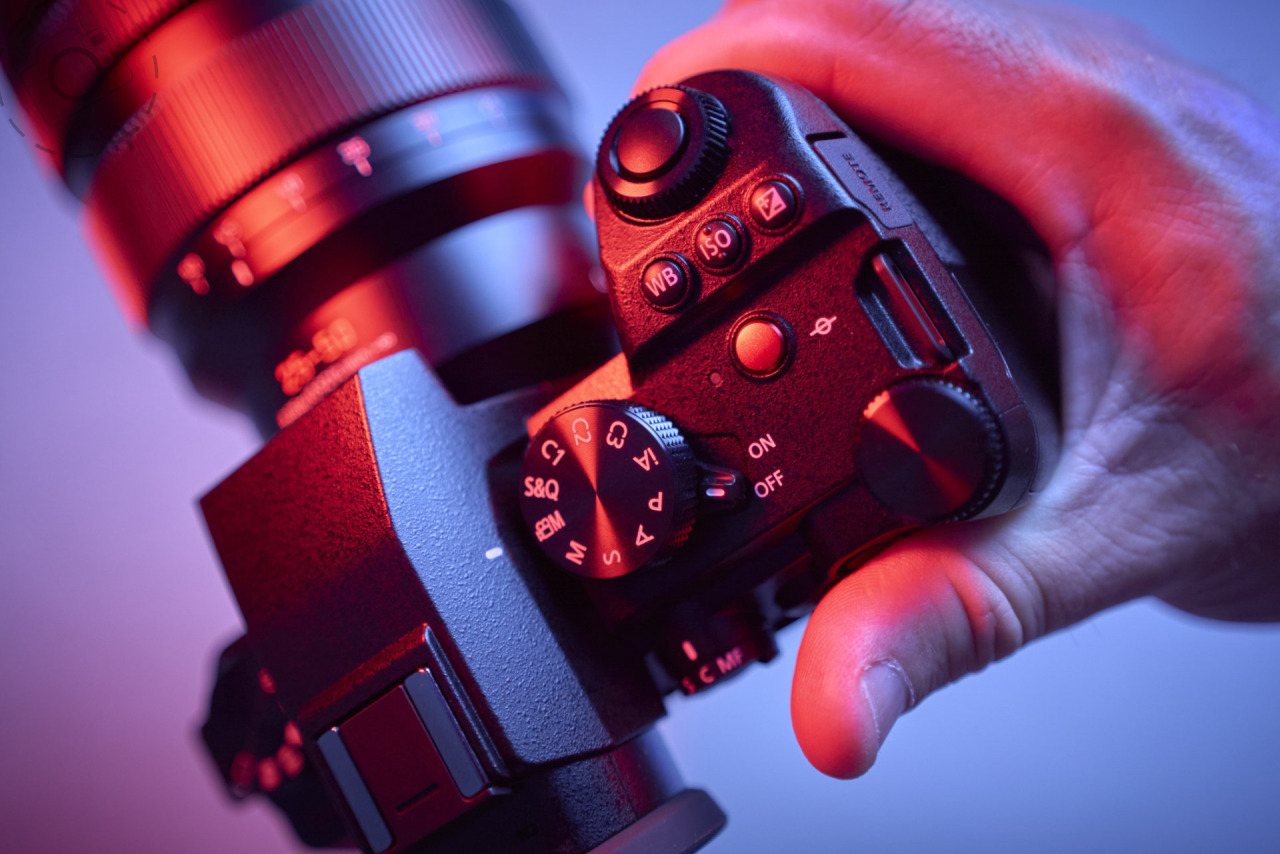
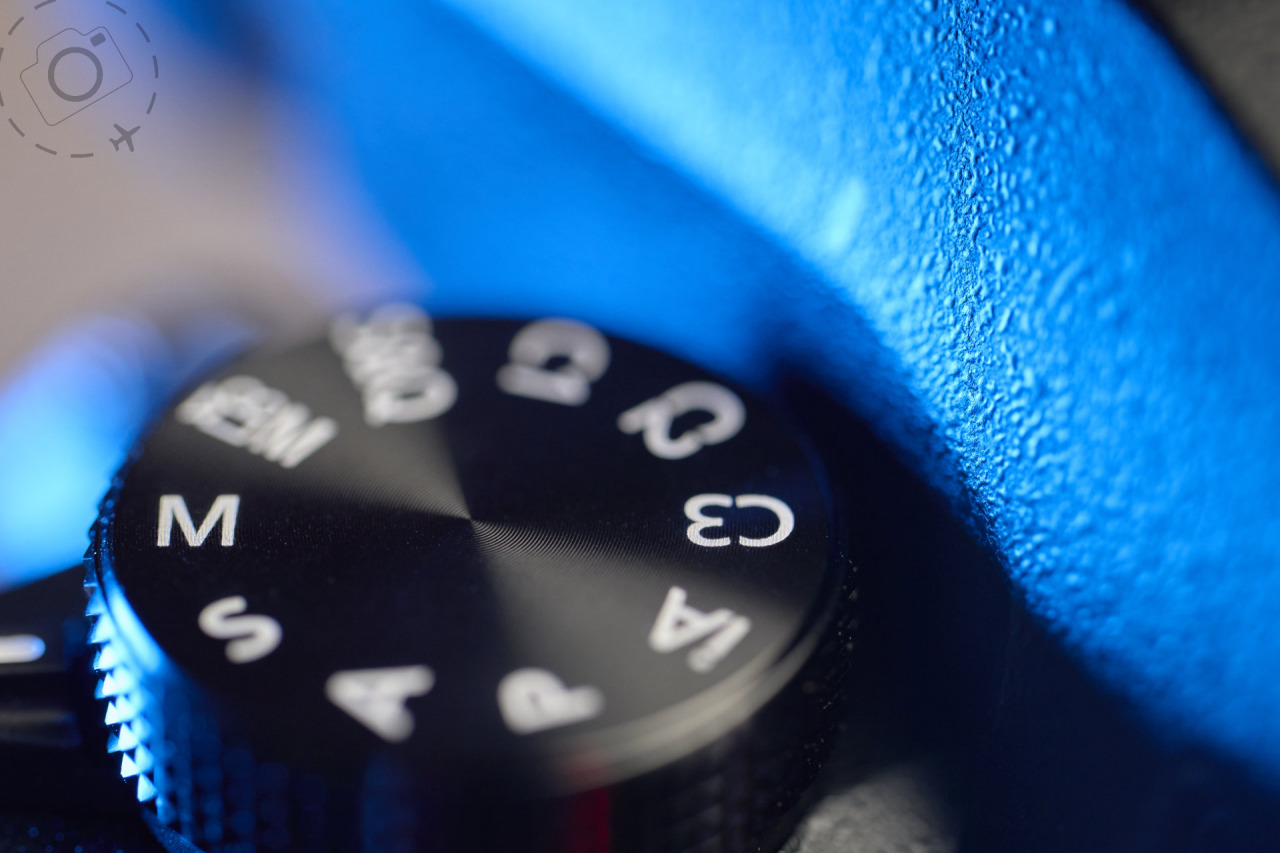
That little mode dial on the top of the camera body is more than just Aperture Priority vs Manual. On the LUMIX G9II it has three custom settings as well, marked C1 C2 C3. When you roll the dial to C1 any of the settings saved into that custom configuration will be applied to the camera. It’s like having a reset switch, only you get to decide exactly what it resets to. And you get three different settings to choose from. You could have one reserved for shooting birds, another for slow motion video, and another for black and white, for example. It’s up to you.
On the LUMIX cameras you actually get more than just 3. That last dial, C3, is extra special. Inside the menu you can assign C3 to one of several stored configurations. Up to ten different custom settings can be stored in the camera, ready to be assigned to the C3 dial when needed.
If you want a little more background on why and how the custom settings work on LUMIX cameras, have a read of this article I wrote last year:
https://ewenbell.com/blog/Make_The_Custom_Dial_Work_For_You
Ewen’s Custom Set
Over the last few weeks I’ve been working out what custom settings are most useful to me. I’ll outline them below, but because the LUMIX G9II allows me to save a name with each of the settings they should be pretty easy to work out anyway. Please remember that this download set is just a starting point. Everybody will want to tune up their cameras in slightly different ways, so remember that it’s super super easy to tweak the settings here and then save your new version over the top of the existing one.
C1 = F2
We have this setup for every camera we own. No matter which camera we pick up, we know we can roll through to C1 and get Aperture Priority at F2 and start shooting. Most of what we shoot for travel and food photography is at F2, so that’s why this is our baseline. If you attach a lens that is slower than F2, like the 70-200mm F2.8, the camera will pick the widest aperture available instead. No worries.
Aperture Priority @ F2
Auto ISO
Minimum Shutter Speed 1/200th
Continuous Burst Medium
C2 = Slow Motion Video
One of the great advances under the hood with the LUMIX G9II are the video specs. Unlike the GH6 there’s no Dual ISO feature in the G9II and no active cooling system. Regardless, the video features on the G9II are impressive, especially if you like slow motion video. Capturing birdlife at 120fps to play back at 30fps is a real treat.
See below the section on video features and an explanation for PAL vs NTSC “System Frequency”... and how that may limit your slow motion to 100p instead of 120p.
Cinema 4K @ 120fps
10-bit 420
V-LOG
Boost I.S.
E-stabilisation High
Aperture Exp Mode
Continuous AF Mode 1
AF 1-Area +
C3 = Birds
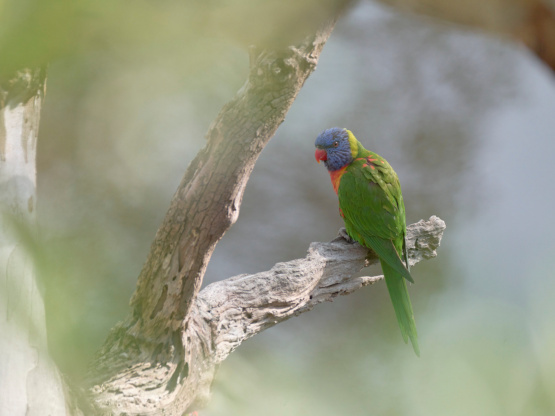
My favourite thing to use the G9II for is shooting birds. So naturally I need a custom setup for that. This setting is very very similar to my default C1, because I’m using Aperture Priority and shooting wide open. I want a higher shutter speed for birds though, plus faster continuous burst. There’s one more feature on the G9II that I like for wildlife, and that’s to assign one of the custom buttons to drive “AF Near Shift”. I like to assign this to the lower function button on the front of the camera (Fn3), where it’s easy for my right hand to reach.
Aperture Priority F2
Auto ISO
Min Shutter 1/800th
Burst I = High
Burst II = Pre-Burst
Precise AF Zone
AF Near Focus on Fn3
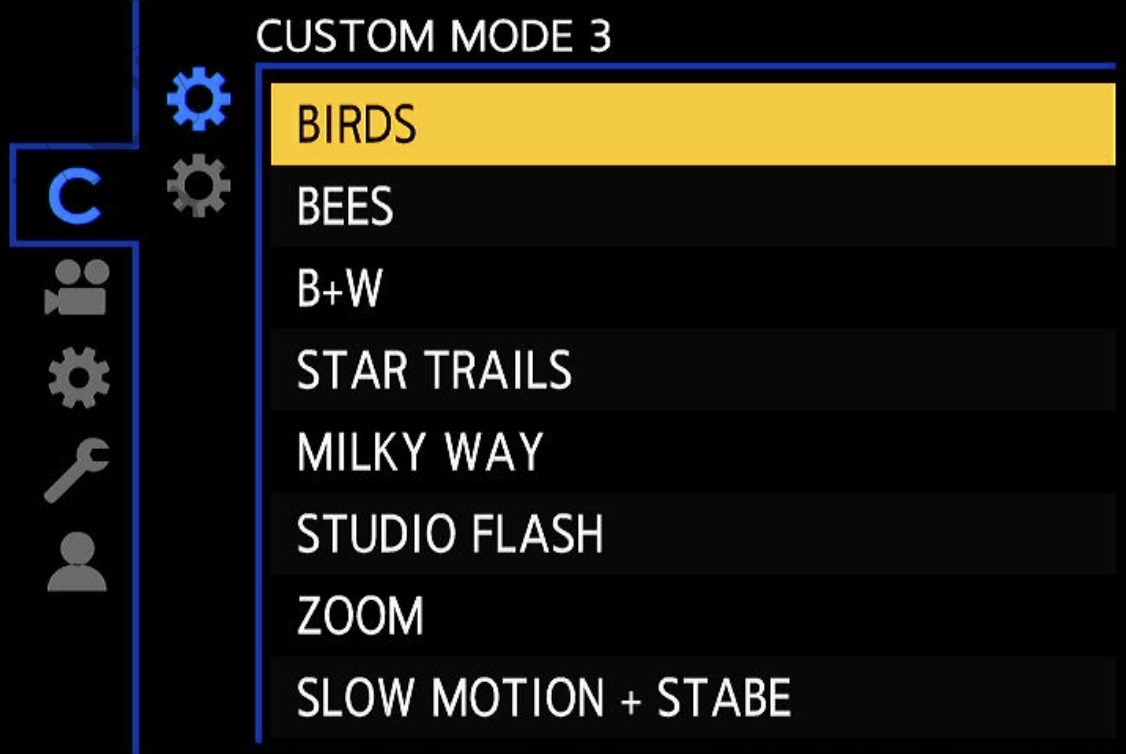
I've also made a few extra settings that are stored under C3. C3-1 through to C3-7 are loaded up with different configurations for you to try out:
- The Star Trails and Milky Way customs have IBIS turned off to avoid wonky stars
- Custom for Bees has a very very high shutter speed to capture them in flight
- Studio Flash uses manual exposure and a slow enough shutter for external sync
- All the video modes use V-Log gamma except for the Zoom setup
- Slow motion video has all the stabilisation features maxed out for better handheld filming
Video and System Frequency
One unique design of the LUMIX systems is how they handle the issue of “System Frequencies” in various regions. In Australia our AC current operates at 50Hz, but in the USA they use something close to 60Hz. These variations in current can play havoc with older style lighting when shooting video.
So if you’re planning to deliver your projects at 30p, then you’ll want your LUMIX G9II set to the NTSC system frequency (59.95Hz). If you’re a 25p kind of videographer, then PAL or 50Hz frequency is for you. In PAL the maximum frame rate for slow motion is 100 frame per second, while NTSC is 119.88 frames per second to be precise.
For extra confusion there is also a “CINEMA” system frequency, which uses a 24fps base. It does do 120 frames per second.
Other Video Quirks
The LUMIX G9II does offer a number of video features that are impressive, even compared to the LUMIX GH6 or S5II. Aside from the Phase Detect AF, you also get full a sized HDMI port and the ability to capture direct to external SSD. That’s essential for a LOT of the high performance video modes, and especially if you want to harness the S&Q for variable frame rates. Not every recording setting can record to internal SSD, regardless of bitrate, and many of the higher bit rate modes are 420 chroma instead of 422.
I’ve tested the G9II with V90 rated SD cards and it’s been very very smooth in operation. I never have to wait for buffers to clear or see any frame drops. It’s been great for bird photography and slow motion.
DOWNLOAD SECTION
The following CamSet files will work with firmware versions V2.3 or higher. Visit the Panasonic website below for the latest firmware updates. If your firmware is older than V2.3 then these CamSet files wont load.
https://av.jpn.support.panasonic.com/support/global/cs/dsc/download/index.html
Ewen’s LUMIX G9II CamSet for PAL(50Hz)
https://ewenbell.com/uploads/camsets/G9II/G9M2V23.DAT
Ewen’s LUMIX G9II CamSet for NTSC(59.95Hz)
https://ewenbell.com/uploads/camsets/G9II/G9M2N23.DAT
[ Updated August 2025 ]
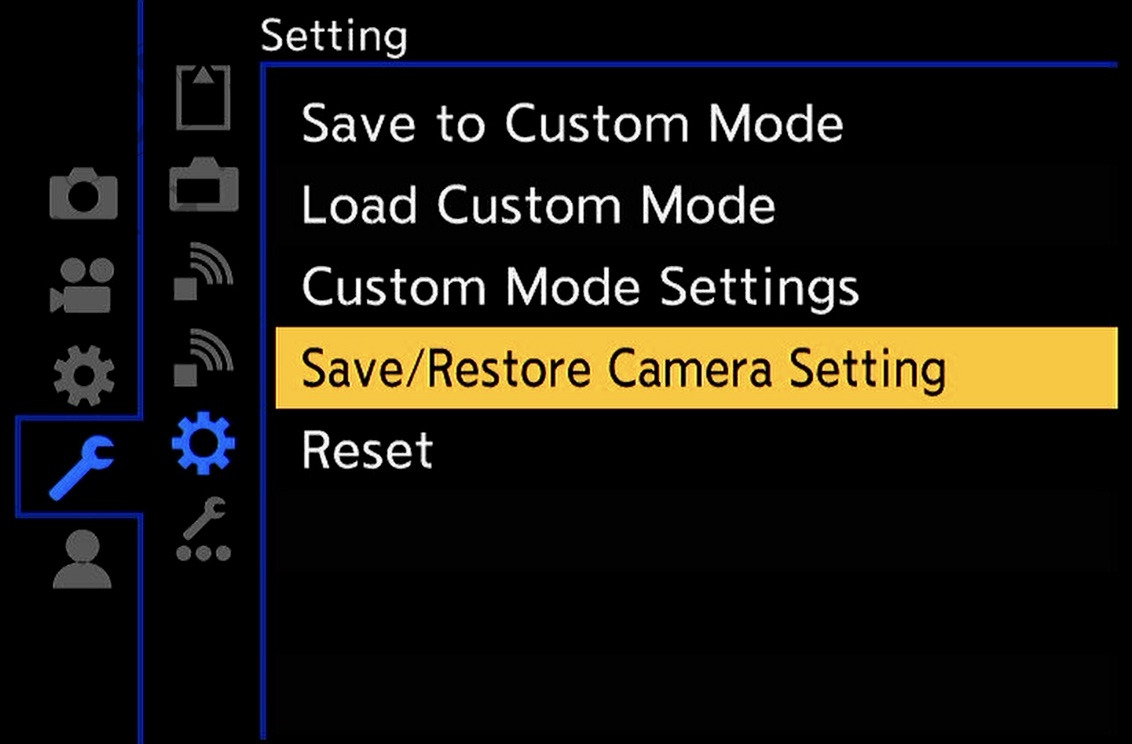
How To Install A CamSet
Once you grab a copy of the PAL or NTSC CamSet, you’ll need to copy that to your SD card (See folder structure below), then pop into the menu to load it up. WARNING: When you install my CamSet any-and-all settings that previously existed on the camera will be wiped off. I suggest you save a copy of your existing setup first, and then you'll already have the folder structure in place for the new one too.


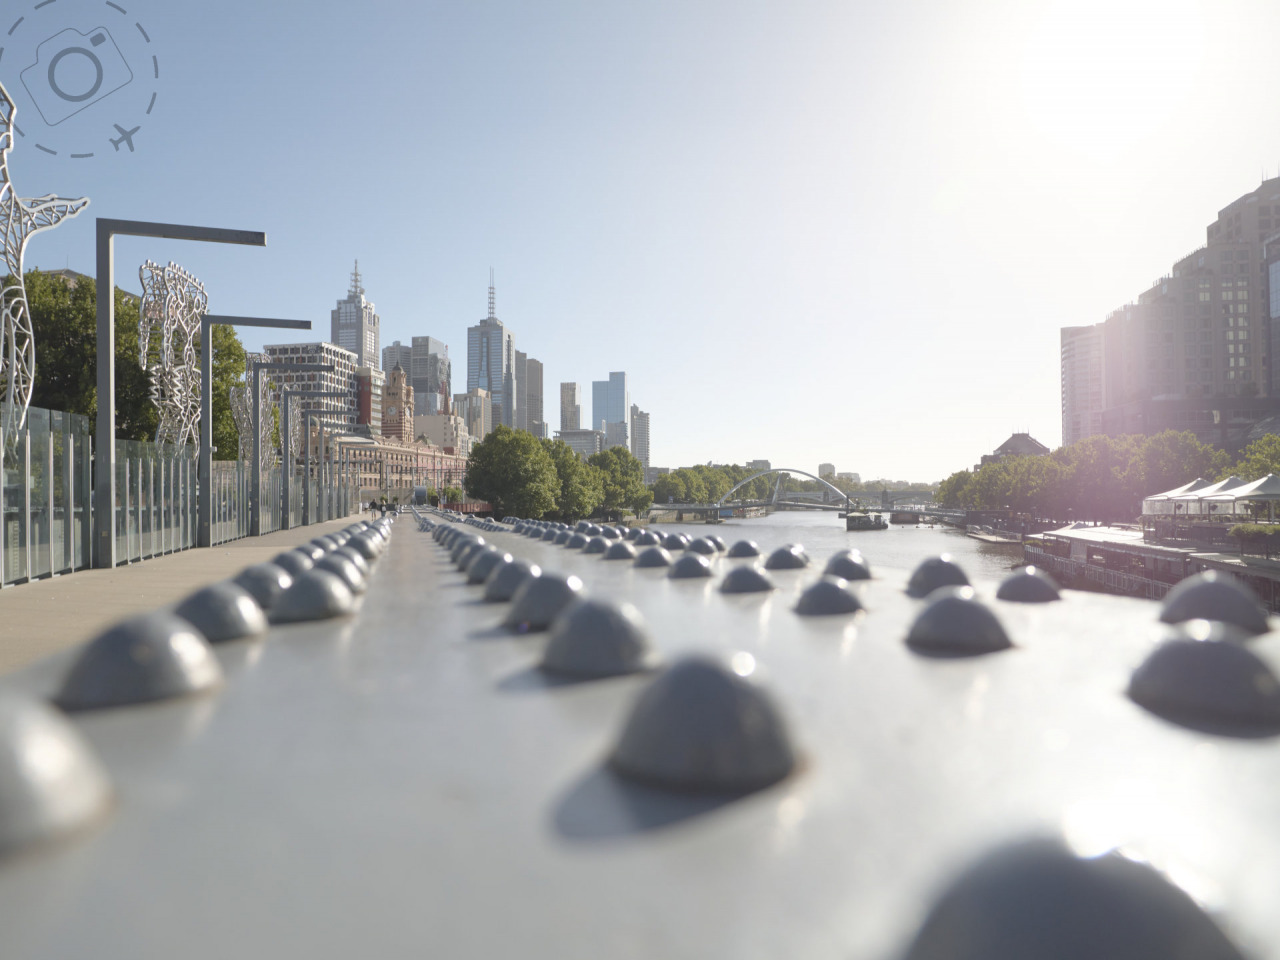
Here's a few shots taken with my G9II while road testing around the city of Melbourne:




DIY Custom Settings
For a basic primer on HOW and WHY to set your own custom settings on LUMIX cameras, I recommend you start with this article below:
https://ewenbell.com/blog/Make_The_Custom_Dial_Work_For_You

Keep Reading
Join Ewen's newsletter for monthly updates on new photography articles and tour offers...Subscribe Here

