


One of my favourite features on modern cameras is the custom settings dial. C1. C2. C3. I use these all the time. They allow you to respond to different shooting situations very quickly, and yet adhere to a baseline that makes it easier to learn your camera better.
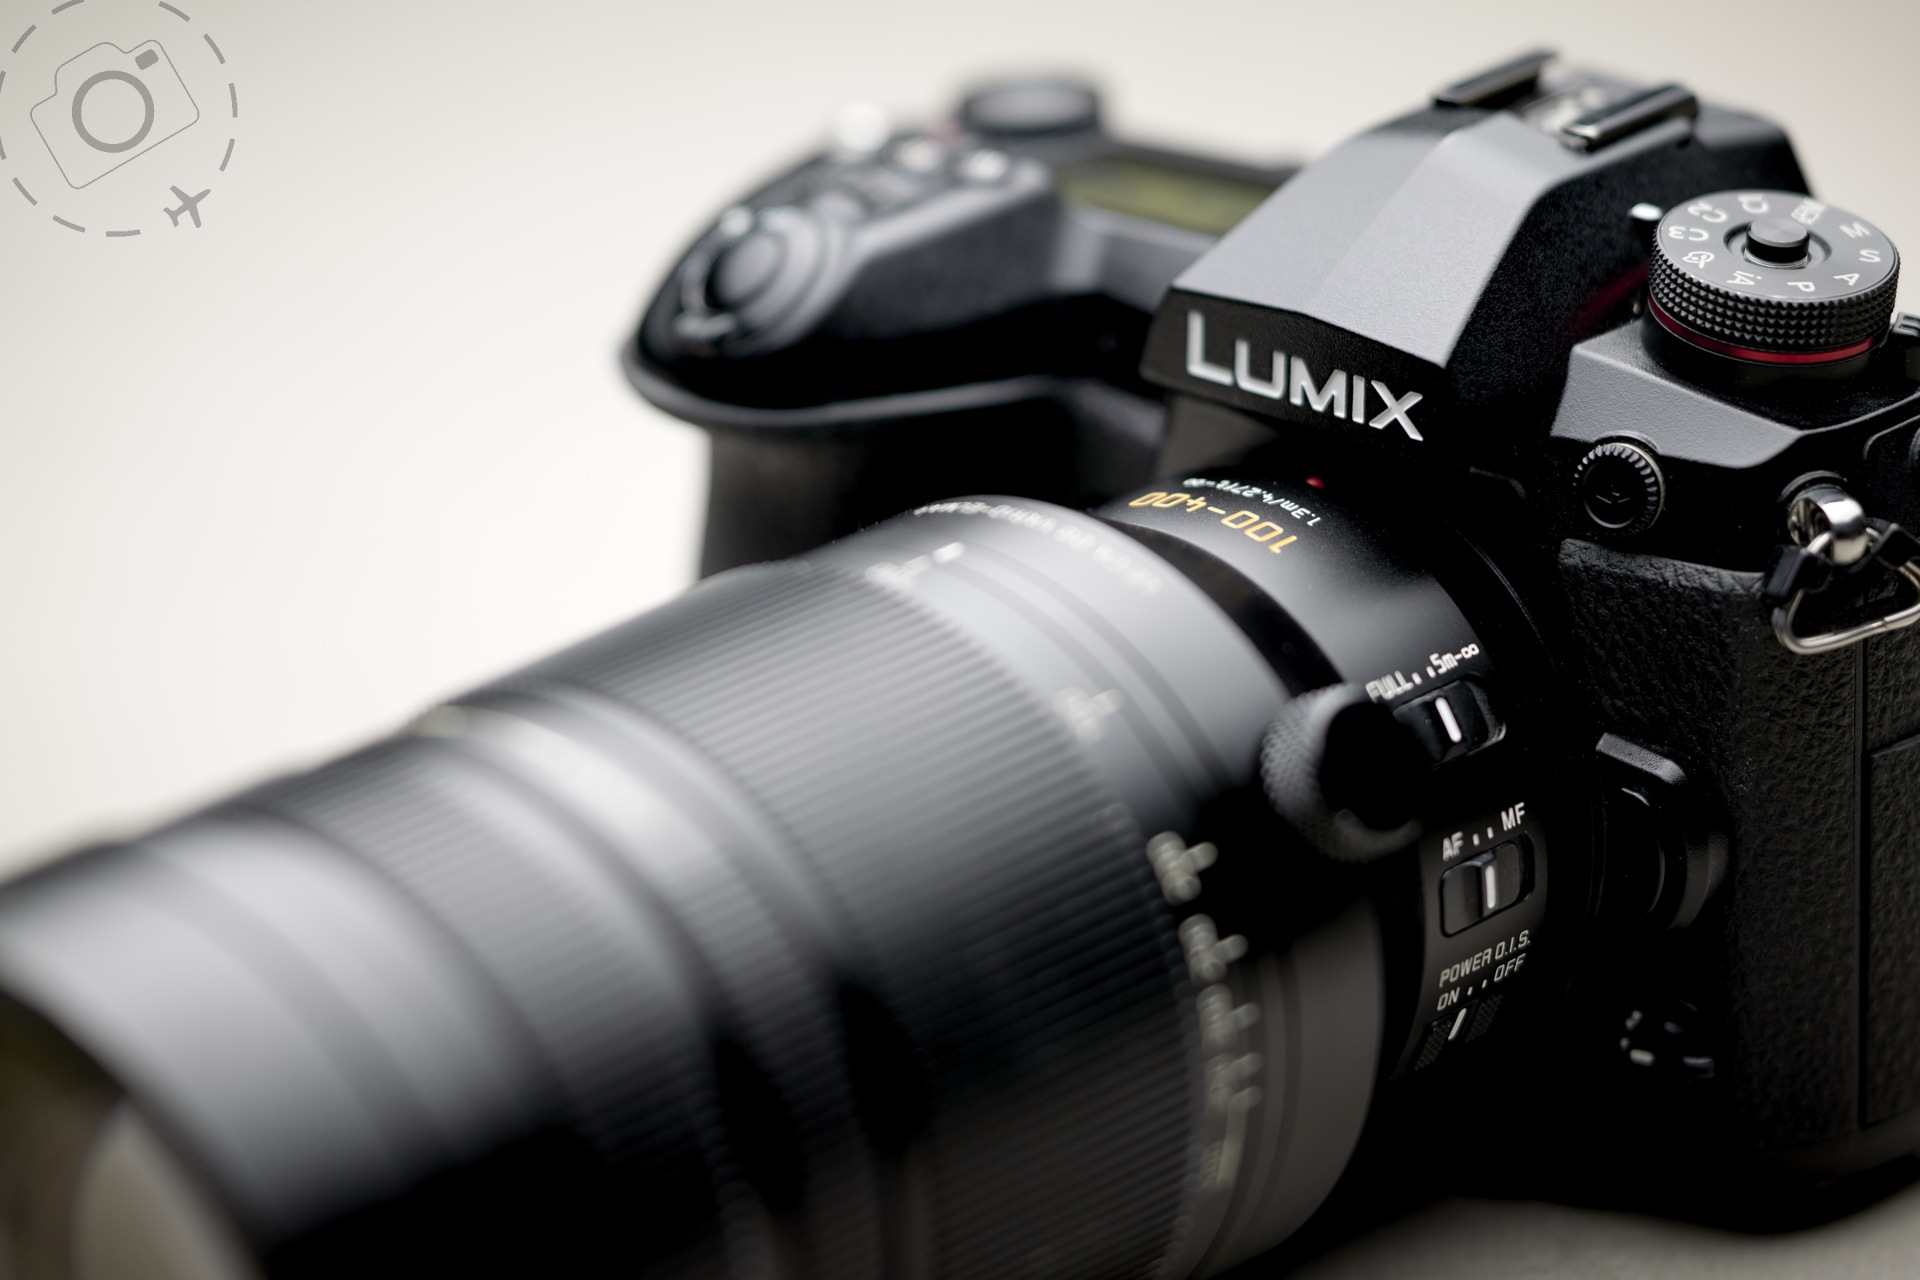
This article is essentially a listing of my standard shooting modes when I shoot wildlife. I use the LUMIX G9 for wildlife work, but the concepts will apply to any camera that allows you to set and store custom configurations. For LUMIX owners I have also included a link to my pre-saved settings so you can simply download the folder to an SD card and apply them to your camera in a single action.
The LUMIX G9 also has a dedicated dial for drive modes, and are distinct from the custom modes. In practice they overlay because you can program the desired speed for continuous shooting in the menus, applying the custom menu settings to match your dial selection. I have noted Continuous I and Continuous II in the notes below, indicating that the preset values for the two configurable ‘continuous shooting’ drive modes.
Custom 1 - Everyday Shooting
This is my non-wildlife shooting mode. My baseline photography is to shoot with at very low f-stops and let the auto ISO features adjust to conditions. Aperture Priority is the advanced mode selected, set to f/1.4 on a fast lens. Auto ISO is enabled and will float all the way through to 12,800 ISO, with a minimum shutter speed set to 1/200th of a second. Continuous I set to low (3fps) and Continuous II is set to high (12fps).
For my normal shooting of street scenes and portraits, 1/200th of a second shutter speed is fast enough to avoid undesirable hand shake blur. If you ever find yourself shooting at f/1.4 and the ISO have climbed to 12,800 ISO, it means you have terrible light and you may not like the photos anyway. In the event of the light being really bad, and you max out the ISO, the camera will start dropping the shutter speed to achieve correct exposure. So in really bad light the shutter may go much lower.
If your baseline is more landscape photography, for example, you may prefer to have Custom 1 set to the minimum ISO (200) and f/8. The choice is yours.
Custom 2 - Wildlife
This is my default wildlife shooting mode. I still use the lowest f-stop possible and have that set to f/1.4. Auto ISO is dialled back to a maximum of 3200 because beyond that point I cannot be sure that I will hold enough dynamic range to meet my satisfaction. The minimum shutter speed setting for Auto ISO is now lifted to 1/1000th of a second. That’s fast enough for most parrots as they dangle from a gumtree or a hunting lion slinking through the tall grass in the Masai Mara. Continuous I set to High (12fps) and Continuous II is set to Super High Speed with pre-shutter (20fps electronic shutter).
With this lower ISO cap you will find that 1/1000th of a second may be hard to reach in even modestly subdued light. The camera will begin dropping the shutter speed to match the light, and so I keep an eye in the viewfinder to check while shooting. If you step underneath the canopy of a jungle you might find the shutter drops to 1/200th of a second or much lower still. The trade of between ISO and shutter speed is always something you must prioritise as light falls.
The "SH1 PRE” setting for continuous shooting is a very powerful feature on the LUMIX G9. When trying to capture wildlife behaviours you have to be very vigilant, and often you can miss the moment by not reacting fast enough. The pre-shutter feature on the LUMIX G9 essentially captures a series of shots while you hold the trigger in the half-way point. This is a little tricky on the G9 as the trigger is very sensitive, but with a little practice it’s still effective. The pre-shutter stores these captures in the buffer until the moment you fully depress the trigger. As you hold the trigger the camera will write both the new frames and the buffered frames to card.
In this way the ‘pre-shutter’ allows you to capture the scene you just saw it unfold, but were a fraction slow to capture any other way. This if perfect for a bird taking off from a branch or a cheetah cub about to pounce on a sibling. It takes practice to get used to watching the action happen and THEN committing the trigger, because the natural tendency is to release as the moment has passed. You also need to practise to appreciate how much of the buffer is kept pre-shutter. These are insanely advanced technologies, so practice is essential to mastering.
Shooting with SH1 PRE will load 8 frames into the pre-shutter, and SH2 PRE will load 24 frames. This gives you about 0.4 seconds worth of pre-shutter captures, so you have to be pretty quick to even with the pre-shutter advantage.
Custom 3 - BIF
The acronym BIF means “Birds in flight” and it’s the holy grail of bird photography. And it’s very hard to achieve without practice and skill. It’s also hard to achieve without a very good camera. My 3rd custom setting is the same as the second except for bumping up the shutter speed to 1/4000th of a second. Birds in flight beat their wings very very fast and depending on the bird you may need to go even higher. I also change the Continuous I and II configuration to deliver "SH1 PRE” and SH2 respectively.
My rationale here is simple. If I want to shoot birds on a branch I use Custom 2 and get 1/1000th of a second and a reasonably zippy burst of frames. If I want to capture the taking off I bump for Custom 3 and get both a better shutter speed, faster burst rate and the benefits of pre-shutter. If that still isn’t fast enough I dial my drive mode to Continuous II and I have 60fps with 1/4000th of a second exposures. I use this when I am focusing on a hovering bird or flock passing through, and the high frame rate lets me pick the perfect stroke of the wings.
There is an additional C3 on the LUMIX, in fact three of them. C3-1, C3-2 and C3-3. Panasonic decided that 3 custom modes might not be enough, but there wasn't room on the dial for all 5. Quick access to selecting which C3 you want applied to the C3 dial is found in the menu. I reserve C3-3 for my aurora and night photography, so that won't interest many birders. C3-2 however is the same as my C3-1, only I set the size of the AF target much bigger. I use this when trying to shoot a flock taking off or other situations when the narrow focus is going to be too demanding on me and the camera. The bigger AF zone means you give the camera a decent chance to hit your birds in record time, but accept that it might screw it up entirely and focus on something else.
Note that my settings also hold the maximum Auto ISO to 3200, which means I will only reach the high speed shutter in really good daylight conditions. What you are trying to achieve is very technically demanding, and if you haven’t got good light then it’s better to come back on a day when the sun is on your side.
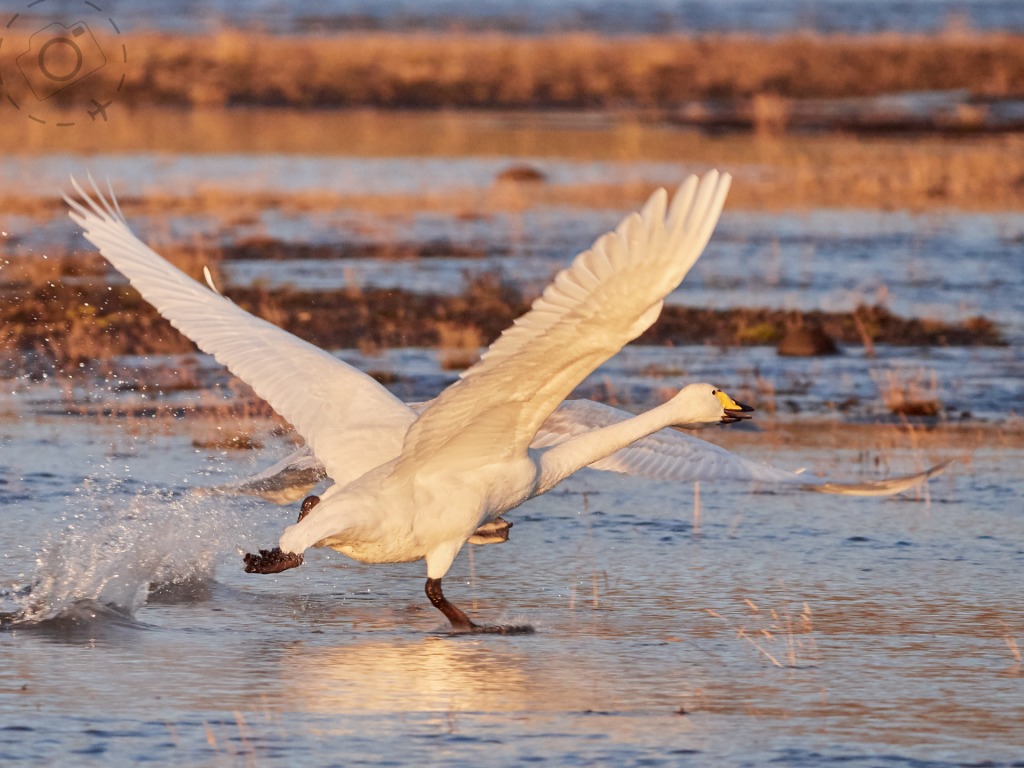
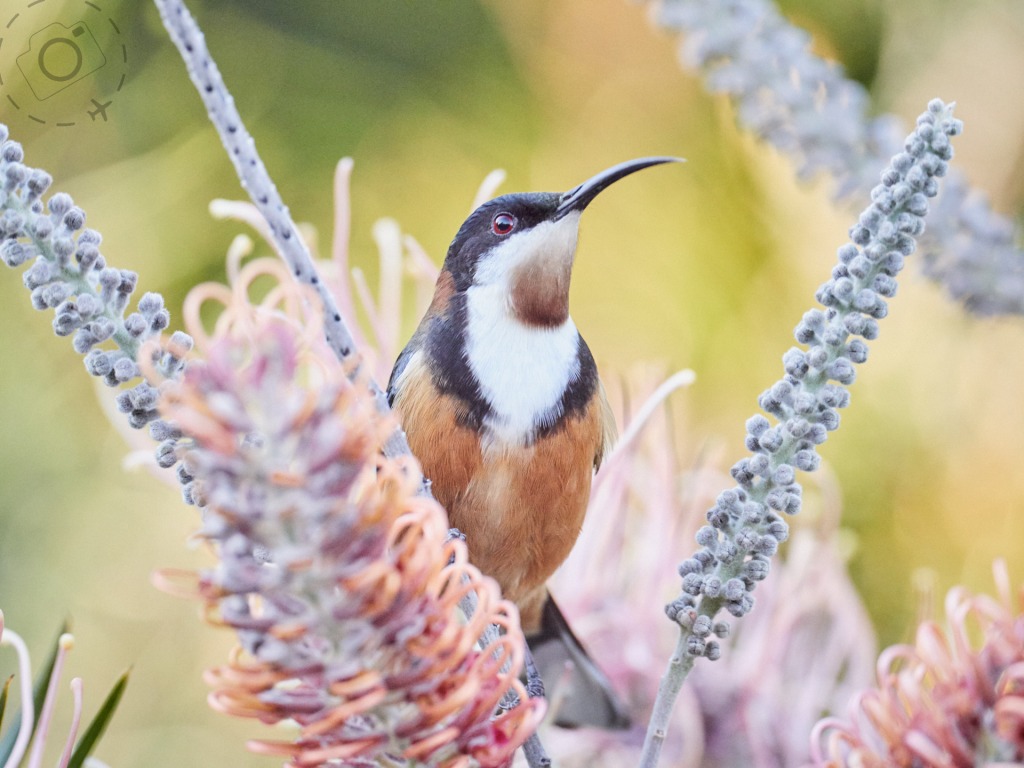
(Whooper Swans taking off at dusk)
Autofocus
The other factor I haven’t mentioned here is AF. I use the same AF in all cases, a centre square of modest to very small scale that demands I be very precise with my placement. The generous viewfinder of the G9 allows me to pinpoint the eye of birds even when they’re hiding deep inside branches of a tree. The smaller the AF box the greater the potential for the lens to hunt if it fails to find a contrasting edge. Keep that in mind. For this reason many photographers will use a much wider AF block when trying to focus on flocks of birds in flight, or a bird coming in to land towards you.
In my configuration I am mostly chasing birds in the wild, as they try to hide from me in a tree. So I opt for the smaller and more precise AF option. If you’re spending all your time in a wide open wetlands environment and want to capture bird taking off across the water, a wider focus net might be beneficial.
Shutter Priorities
I recently did a shoot in a rainforest location where lots of other birders were visiting, mostly lugging really big tripods and really big lenses. Most would have looked at me with my LUMIX and assumed I was a tourist. How can you get professional quality images off such a small rig? What was interesting to me was how worried most birders are when it comes to ISO. They talk a lot about not going above 400 ISO for example, and hence keeping their shutter speeds very low.
How fast is fast enough for a bird though? That depends on the bird. I recommend 1/1000th of a second because most wildlife doesn't stand still for long. I find most birds are perched on a thin branch or dangling from a bunch of leaves, so the tree itself is in motion even if the bird is relatively relaxed. Any slight movement is then exaggerated by viewing through a very long telephoto.
When pushed to shoot in rainforest conditions, which are very very dark, I found I often had no choice but to work with slower shutter speeds. 1/200th was practical for some birds, but not others. This is where you need to be in charge of your camera, and know when it's a priority to push the ISO or push your luck with slow shutters. I push the ISO very hard on my cameras, because I know what results I can get when I pull the RAW files into Capture One. Noise is not actually the problem at all, rather the higher the ISO the less dynamic range that comes through to the final image. That means less contrast and less subtle hues, so the overall image quality does suffer.
I have picked ISO 3200 for my LUMIX G9 as a maximum, because I know I can get results and produce large prints even at that ISO. Beyond that point I am less confident. These are personal choices. But I encourage you to sample the higher ISO settings and work them with skill on the desktop before accepting very slow shutter speeds.
Download
See Sept 2022 update below for the new version that supports the latest firmware release for the LUMIX G9.
(Eastern Spinebill)

Sept 2022 Update
I've resisted making any changes to the original post here since going live, for the sake of continuity. But five years after first getting hold of the G9 to travel in Africa I have tweaked a few of my settings. If you want my latest configuration for the G9 please use one of the files below. There is a version for Firmware release V2.0, and another for V2.7.
https://ewenbell.com/uploads/G9/G9EWEN-V2.0.zip
https://ewenbell.com/uploads/G9/G9EWEN-V2.7.zip
This configuration file gives you the following:
C1 = Birds in trees / small focus and minimum shutter at 1/200
C2 = Landscapes / f/7.1 for quick access to landscape shooting
C3-1 = Birds in flight / very large focus and 1/4000 shutter
C3-2 = Birds pre-burst / enables the PRE-SH1 and PRE-SH2 with continuous I or II
C3-3 = Star trails / we use this a lot on the outback trips!
MOVIE = 4K 25fps (10-bit 422 + Cinelike D gamma)
Unzip and copy to your SD card:
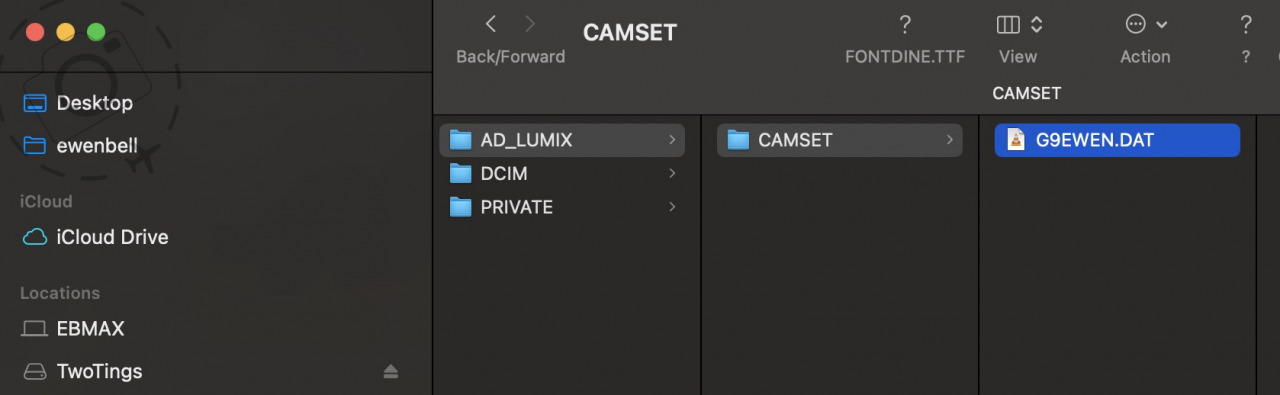
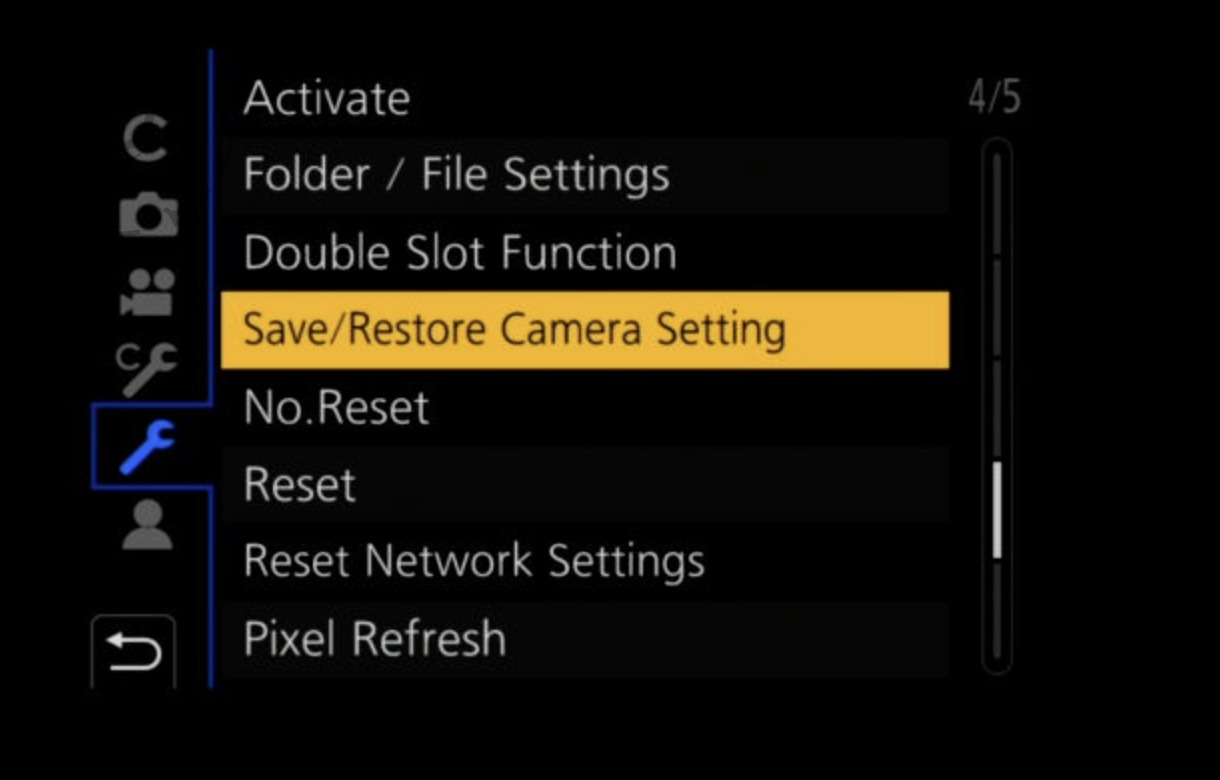
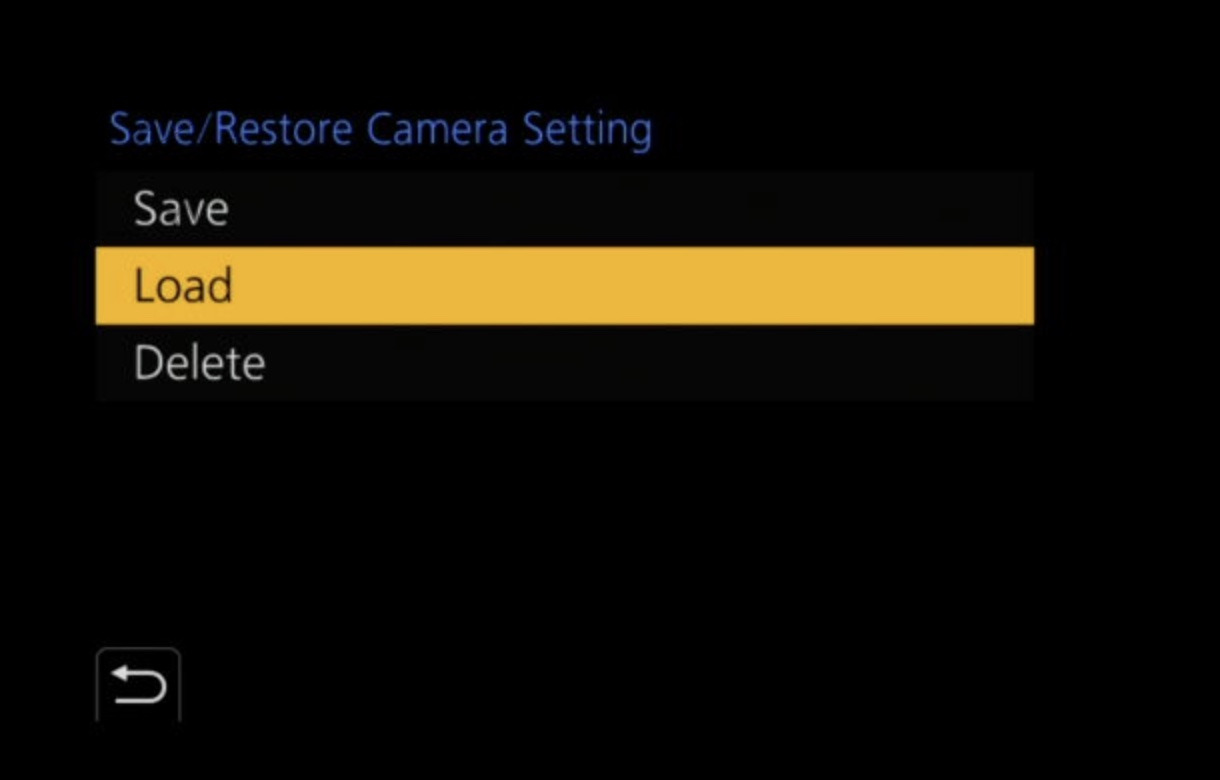
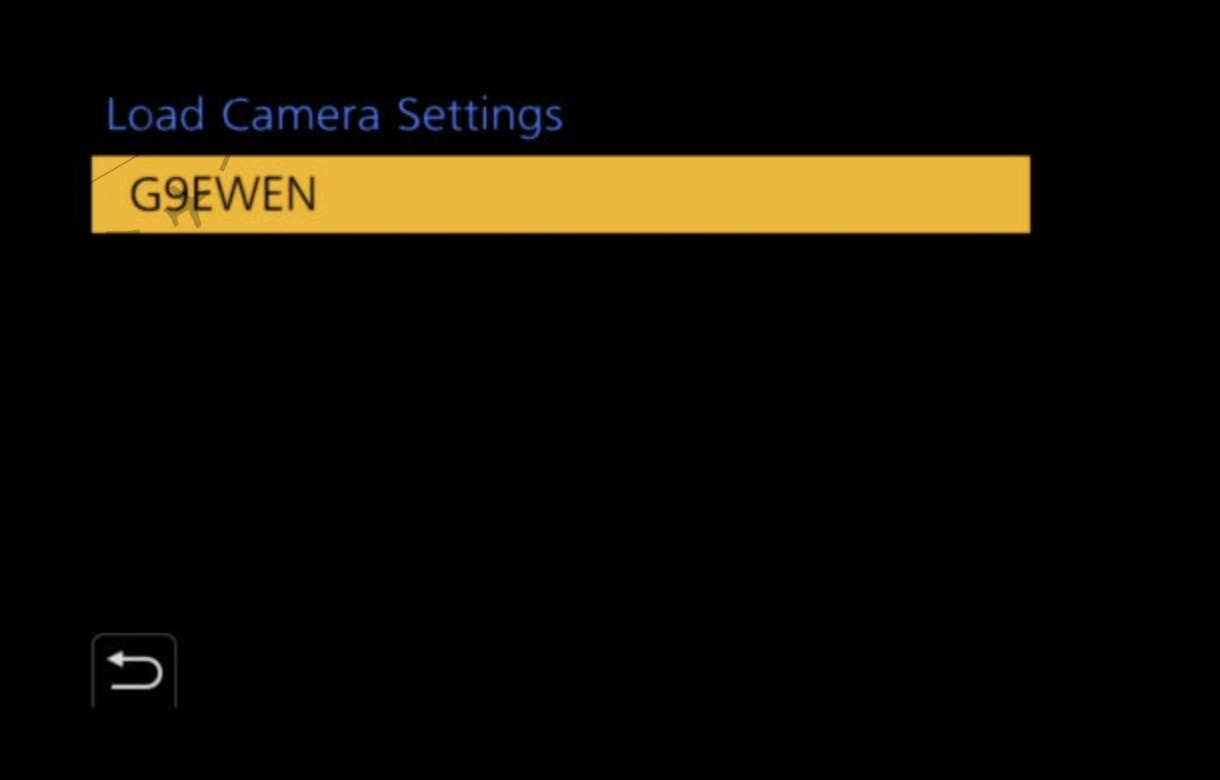
Use the blue spanner menu to load settings:
Firmware release V2.7 for the LUMIX G9 can be found here:
https://av.jpn.support.panasonic.com/support/global/cs/dsc/download/fts/dl/g9.html
Keep Reading
Join Ewen's newsletter for monthly updates on new photography articles and tour offers...Subscribe Here