


Birds have evolved to compete for attention in the wild, offering plumage and performances to attract their potential mates. Naturally they prove attractive for photography as well. When chasing birds it helps to be fully conscious of the distinction between documentary and art, and where you sit along the spectrum. Some of us are drawn more towards one than the other.
In most respects I was a lot more creative with my bird photography when I wasn’t very good at it. Gaining technical and practical skills with birds has pushed me to focus much more on the ‘documentary’ style and not enough on the photography itself. There’s immense art to be enjoyed with wildlife. The key is getting past the basics of acquiring skills and having the confidence to use those skills for the very sake of art.
Undocumented
What is the difference between shooting for art versus shooting to documentary? There is an implied essence to documentary which suggests an inert observation, almost indifference, to portray a subject simply as it is. In wildlife terms we often seek to portray creatures in their most representative rendering, something that shows off their physical or behavioural distinctions. This is the encyclopaedic interpretation, as though you are a modern day Joseph Banks sending digital images back to the Museum of London instead of actual platypus parts.
I think it’s bollocks.
There really is no such thing as documentary when it comes to photography, because every step of the way offers a chance for interpretation. The photographer’s perspective is always present. I can see the value of images that illustrates the identifiable differences between one species and another, but I’m not looking to build an index for classification. I want to share what makes these creatures beautiful, be that a parrot ripping apart flowers in a small tree or a wallaby hopping across boulders with a joey in it’s pouch.
So my objectives for wildlife photography are more focused on the art than the science. We need to go one step further though, because photography is an act of expression. Not only do I want to share what makes this planet wonderful but I want to create images that, until that moment, didn’t exist. I want to create. I start with the inspiration of nature and then seek to capture a photograph that is truly unique in my mind. It doesn’t have to illustrate the detailed red plumage on the head of a Brolga, or the identifying rufous throat of a shy honeyeater. It just has to be a beautiful image.
One of the recurring themes on my workshops is the distinction between an interesting subject and an interesting photograph. The difference is art. It is possible to capture beautiful images of birds without there being the slightest bit of identifying detail to confirm which species is in the frame. At least not to the lay person. Bringing art into your photography need not always be this extreme, but the idea is liberating and it gives you permission to step back from the technical realm and think about photography instead of documentary.
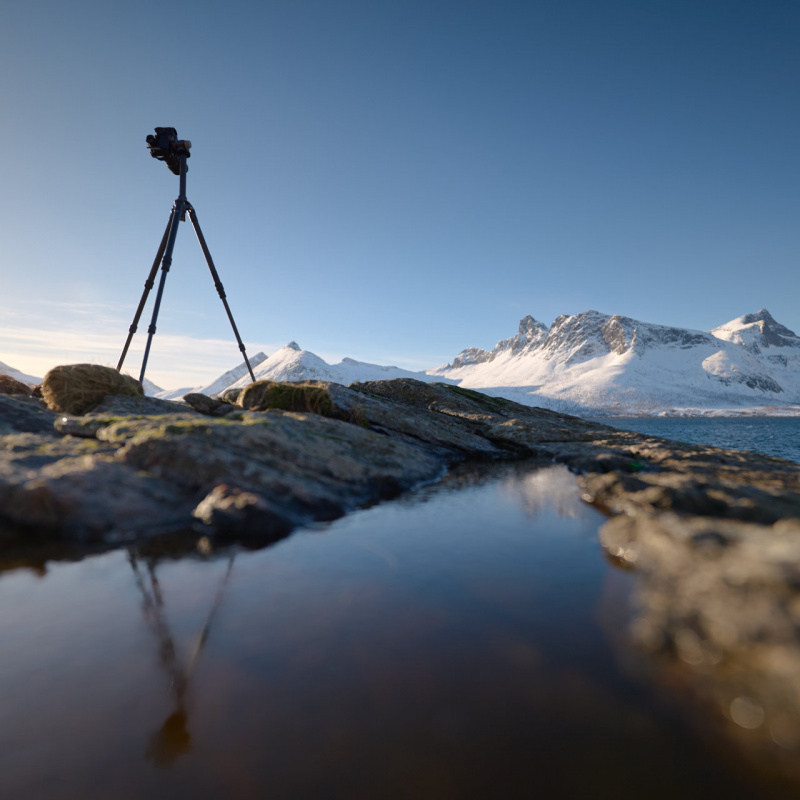
Now let’s talk techniques.
Lightly
The importance of light gets overlooked all the time when talking about technical challenges, as though somehow buying the most expensive camera on the planet will magically remove the essential ingredient that makes photography work. Light. The single biggest factor in the quality of your images is the quality of light. Light also goes to character, imparting look and feel to what you shoot. You’re not just shooting a bird, you’re creating an image of a time and place and the emotion that it embodies. Light is how we express the feeling of that moment.
Birds inhabit a wide range of ecosystems, and hence will offer a wide range of lighting to a photographer. Some lurk in the open grasses of wetlands, behind paperbark trees or deep within a pandanus. They’re a pain in the neck and make you work hard for a glimpse let alone a shot. Flat light is not my friend, as it pushes the camera gear to it’s limits and sometimes beyond. C’est la vie. My favourite birds are the cheeky ones who like to pop into the early morning light and give you a quick show of plumage and personality.
Photographers usually get light, but birders don’t always appreciate it’s importance. A suitably respectable birder will drag me out of bed before dawn to chase the morning chorus and enjoy seeing some rare characters. That’s great for spotting birds, but if the sun is still hidden behind a mountain or a forest then the first light can be a bust for photography. I get the best shots with the first hour of light hitting a location, or the last hour.
Direct light was once a problem with shooting birds, as the highlights get blown out and high contrast light can crush details. But sensors get better each year and we have a lot more dynamic range to play with. If you’re processing your RAW files with skill then you can access this dynamic range with commanding effect, and hence you can shoot in those harsher conditions and still get good results.
Creatively
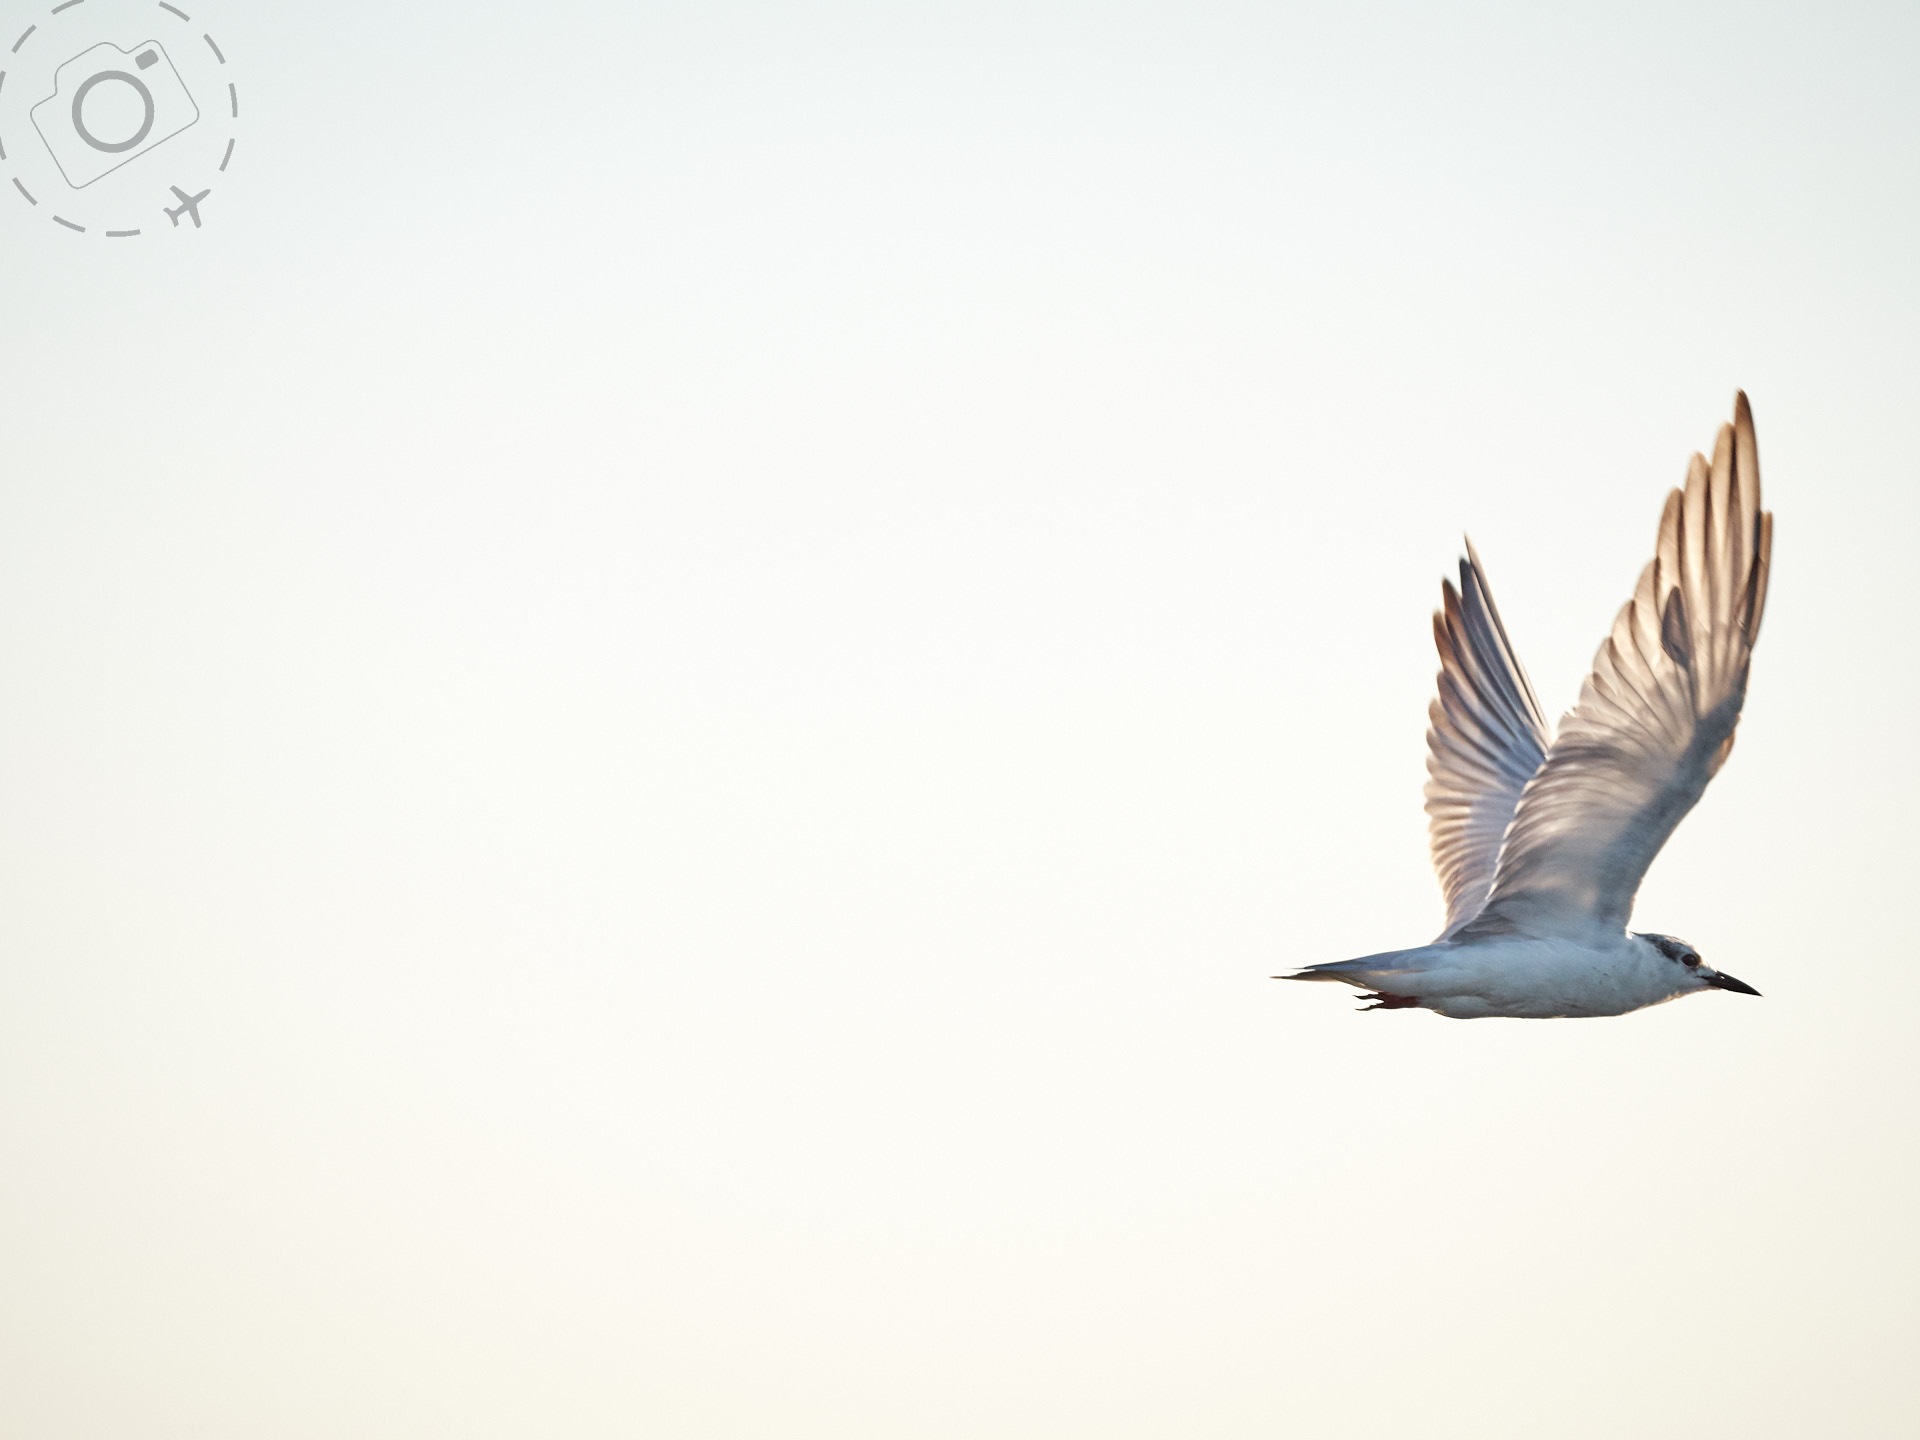
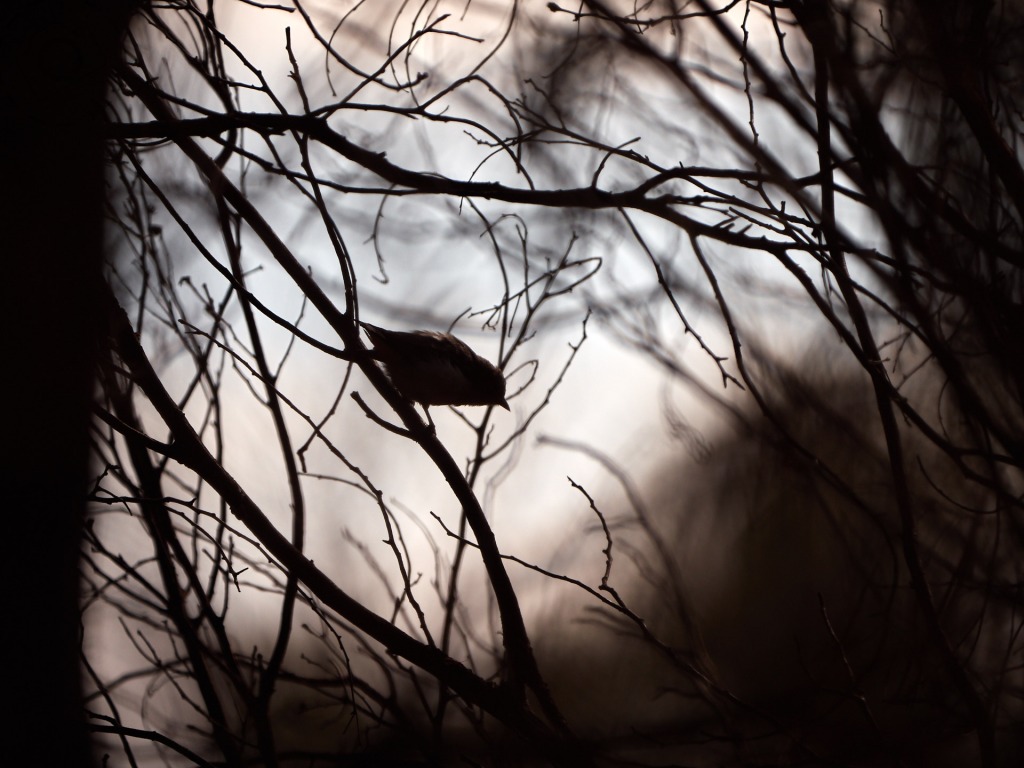
Light is not just about getting a shot, but it’s where so much of the character of a scene is derived. A gang of finches splashing water about a lagoon comes to life with backlight illuminating the trail of droplets. Rim lighting on flock of Spoonbills hanging in the shallows is much more beautiful than just flat light from behind you. Sometimes the most evocative scene is a silhouette which offers just a hint at the birds identity while drawing the observer deep into the mystery and beauty of the scene.
Light is your most powerful tool for composition and creativity.
You have to decide for yourself before you step into the wilds if you are shooting for documentary or shooting for art. The two are not the same and each requires a different skill and different approach to working with light. My advice is to get used to chasing the birds first, and get used to nailing a technically good shot. Once you have that expertise under the belt you can start to be genuinely creative and take those risks that lead to something more powerful.
A long lens is wonderful for pulling out detail and identifying details in birds, but sometimes you want to step back a little bit and bring in some of the bigger scene. A telephoto zoom is handy for more creative photography because of this. Think of this as ‘context’ for your bird, or just content for composition. What kind of tree are they in, what colour palette is offered by their landscape? If you can capture a group of the same bird and their interaction then you have more complexity with which to build composition. In general I don’t like zoom lenses so my preferred option is simply to step back and allow more into my frame when shooting with a prime telephoto.
Depth of field is the big ticket in bird photography though, and while it’s a little old school it has an important place in the art of birds. Isolating your subject from the chaos of the wilderness is a powerful tool for this style of composition. Rich bokeh and dreamy soft colours are the goal, which requires a very fast and very long lens. The opposite of this is shooting “in situ” where you try to peer through the branches and leaves to dig out the bird hiding within it’s habitat. Shallow depth of field is important here too, as our eye is drawn to the sharp detail within a frame, even when all else is busy and chaotic.
If you’re new to using aperture as a tool for composition, just remember that the smaller the f-stop the smaller the depth of field. The other thing that reduces your depth of field is the focal length of the lens. You get a lot less depth of field at 400mm than 50mm for example. The result is that you can still get some lovely bokeh at f/6.3 with a 400mm lens, it’s just that it gets even softer and more dreamy if you have f/4 at 400mm.
The final variable in your creative kit is slower shutters. Shutter speeds are measured on a different scale when talking birds. I tried to capture a finch in flight at 1/1000th of a second and mostly I just got blur. Freezing the action requires ever faster shutter speeds depending on the activity and the species. You can only get the balance right with trial and error. But what if you want to USE that blur to creative effect? Depending on the length of telephoto and speed of the subject, the ideal blur effect might be in the range of 1/100th of a second, or ten times that.
The key to good blur is when you get something sharp in the frame, ideally an integral part of the bird itself.
Patience
Creative or documentary style photography both require your patience and dedication when it comes to birds. You have to slow down your entire process as a photographer. You cannot rush from one shot to the next, rather you need to be slow and determined and wait for the moment to happen. Birds are fickle and flighty.
You need to be extremely patient. You don't achieve your best work on a whim, the stars have to be aligned first. You need to spend time out there getting to know your subject, learning the terrain and how it changes in the light. The more you learn from each outing the more effective you can be in the next one.
I write a lot about “go slow” as a foundation for good photography. Birds have tested even my limits of patience, but the more time I spend walking slowly or not walking at all the better my bird photography gets. I once photographed seven species of birds in a tree just outside my hotel room when visiting Uluru. I stopped to watch a pair of honeyeaters being playful and over the course of half an hour a bunch of other birds came through to say hello.
When you stand still and allow yourself to become part of the scenery the birds start ignoring you, and stop worrying about you. I even find that standing with someone else and having a conversation sends a message to the birds that you are not a threat. I was chatting about lenses with a chap one day, not trying to be silent or avoid scaring the birds, and a little Spotted Pardalote came bouncing up through the tree we were standing next to. We shot the pardalote for five minutes before he went in search of another tree to forage in.
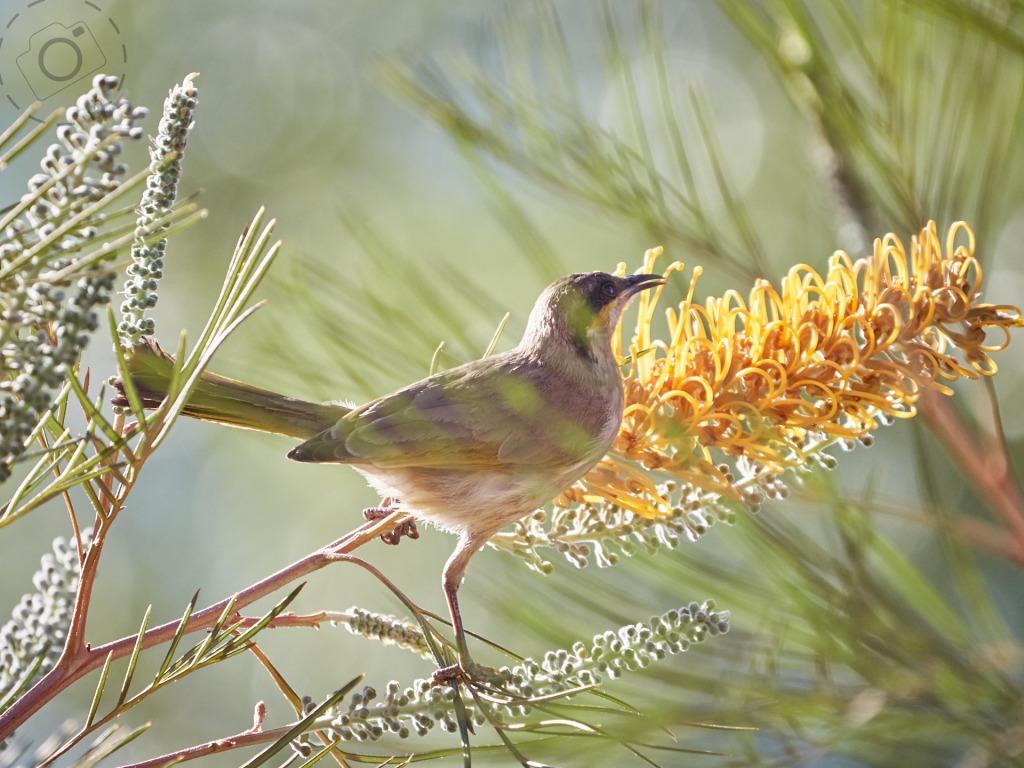
(Singing Honeyeater)
Behaviour
The more you know about your subject the better you will be able to express insight through your photography, and the more likely you will be in the right place to get a shot in.
Don’t expect to visit your favourite gum trees in the park when all the flowers and nuts have gone and expect to find hordes of parrots. Birds follow the food. Sometimes that means the birds have flown across town, sometimes they’ve flown interstate or even overseas. It’s all about the food. Many of our shorebirds travel across the globe each year, so you need to know at least a little about them if you want to understand how to find them. What do they eat and where can I find their food. That’s the key to getting a shot at specific species.
I love walking in the parks around Melbourne CBD and spending time with the Rainbow Lorikeets and their friends. Certain times of year they are packed into the flowering gums as they tear apart the gum-nuts or busy getting drunk on nectar. Follow the food. Flowering gums do little to entice those parrot who graze through grasslands and open fields for their food. As you get to know a particular bird you are essentially getting to know their food.
I make a couple of trips to the wetlands of Arnhem Land and Kakadu each year and we always end up going out into billabongs for the first light and last light. The birds we get close to varies according to the time of day. Bee-eaters and Kingfishers are typically easier to capture in the afternoon rather than morning. The bee-eaters pick a good tree and go chasing insects in the late afternoon light, dancing above the water but often returning to the very same tree with each snack. We can simply watch the tree and shoot them as they return. The Sacred Kingfishers are more stealthy than a Bee-eater, and are chasing the fish that are chasing the insects.
Knowledge of their behaviour leads you towards a different approach to find them and photograph them.
Ethics
There are two main techniques employed to attract birds closer to your camera, and they can be controversial. Food and calls. I’ve been on ships sailing to Antarctica when the crew hurl fish guts off the back of the boat to create a frenzy of Albatross. They call it ‘chumming’ and the danger is that you’re teaching birds to follow boats. One day they’ll be following a fishing boat instead of a cruise ship and they’ll end up drowned on the end of a fish hook.
A lot of those really lovely shots of birds with a stark clear background you see on Instagram are captured in a location where the birds are known to frequent, but have been drawn closer with the help of food and calls. Experts will setup a branch on a stand, mimicking the natural landing spot for those birds but enhanced with a few nearby seeds or a recording of their mating calls. That is why the background is so soft (isolated and distant even at high f-stops). This scenario is very different to ‘chumming’ but still has potential impacts, especially in breeding season and for birds that are using their energy and attention for a fake attraction instead of their own survival.
Whenever we interfere with wild birds we need to ask ourselves what are the potential hazards of our actions. Even when we think we are being kind. A friend of mine in Arctic Sweden told me about his policy regarding feeding birds. The Arctic is a frozen landscape in winter and yet many beautiful birds manage to survive the harsh conditions each year. What we rarely see is how many fail to survive too. My friend does feed birds at his home through the winter, and he likes to photograph them when they come to visit.
In his own words, “If you start feeding them you need to keep feeding them, because you’ve deactivated the natural mechanisms that enable them to survive winter and if you cut off their food midway through the season they will die.”
Flighty
The holy grail of bird photography is capturing them in flight and it pretty much comes to down to a single factor: Be prepared.
You can over analyse the technical challenge here and start thinking in terms of better cameras, more complex autofocus systems and advanced tracking modes. Mostly it’s bollocks. The secret is to know where the bird will be when it spreads it’s wings, and have your camera setup for that moment. You are not trying to nail it within the millisecond of motion as it heads to a new branch. You are trying to capture the moment of take-off or landing when you know EXACTLY where and when that will happen.
I mentioned bee-eaters earlier, and they are a great example. They are amazing flyers and creatures of stunning beauty. When they open their wings the brilliant hues are revealed. They are graceful and fast, but typically too fast for mere mortals to capture ‘on the wing’ as they dart after insects. But they also have a tendency to pick a nice branch near a river as they plan their attacks. They won’t always come back to the very same branch, but they will do so often enough for you to patiently wait for that shot.
The trick is to get a pre-focus lock on the landing spot. There are many features on different lenses to help work with pre-focus, but the simplest is to lock the branch and then turn off the autofocus. You just have to stand still now, keeping one eye on the composition of your frame and the other on the approach of your bird. Shooting with the highest speed continuous frames you can, you capture a burst of frames as they come in to land.
Variants of this are the foundation for most ‘in flight’ shots of birds. Sometimes you get a big flock of large birds such as Brolga or Magpie Geese, so with a reasonably fast autofocus you can capture the flock as they move away. The further away and the bigger the bird the more practical this becomes.
If you are planning to get the final lock while the bird is in motion, you still need to have the autofocus pretty close in the ballpark to begin with. If it has to make a small adjustment to lock on you are more likely to get the shot than if it has to hunt through half the focal range.
Even bigger birds flying solo at close range can be difficult if not plain frustrating. White-bellied Sea Eagles are great subjects to test your autofocus performance as they swoop down low overhead. Mostly I end up with images that are just out of focus, the relative speed of the bird too fast for tracking modes. The longer your telephoto the harder it is to get the subject in the frame let alone get the autofocus to nail your target. Tracking modes are a great idea but in reality there are limits to what they can achieve, especially when dealing with birds and their ability to move so fast.
You need to know the limits of your lens and camera body combination before hoping to utilise those tracking modes to effect. I don’t use them at all as I’m typically shooting in a highly variable situation and rely on good technique instead of hoping the camera can cope for me.
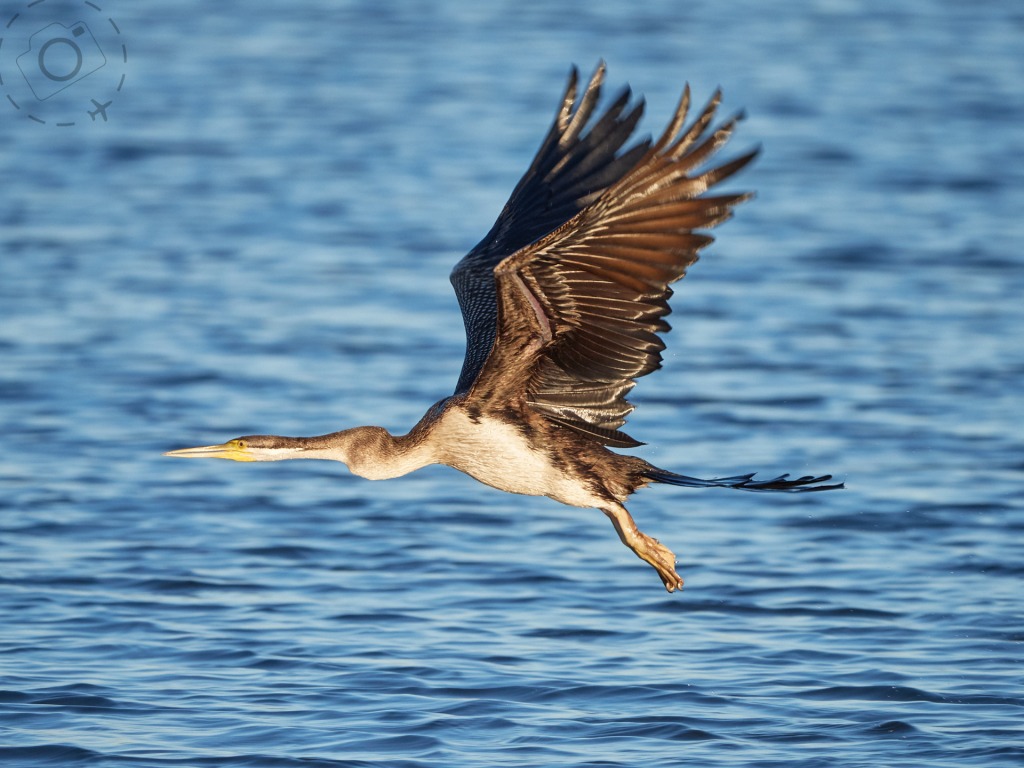
(Darter)
Lenses
The first thing you need is a big lens. This seems really obvious I know but if I had a dollar for every time someone joined me on a tour and wanted to shoot with a convenient lens instead of a good one, then I’d have enough money to buy an even bigger lens than the one I already have. A big lens means lots of telephoto reach. 800mm is my objective here. 600mm is good and a worthy compromise if you have a lot of pixels behind it, but 800mm is what you need.
A big lens also means a heavy lens that captures lots of light. Big glass means bright images and better contrast. As a general rule, the lighter and smaller your lens, the less light you are capturing and the less contrast and resolving power your lens will have. Convenience is a compromise, and what you gain in packability you lose in quality. It’s very simple.
Aside from putting too much emphasis on convenience, the other mistake people make early on is going cheap on the lens after spending a lot of money on a great camera body. Whatever camera you have, buy the very best lens you can afford because that’s what’s going to get you into the game.
Don’t feel that your lens purchase needs to be a zoom lens either. You never end up being “too close” to the birds, at least not in a way that a half step backwards wont fix. Prime lenses are appealing for birds as they give better bokeh and faster autofocus. Remember, the smaller the bird the closer you need to get to it even with an 800mm rig. The downside to this approach is you can’t pull back the telephoto to embrace a little of the surrounds for greater context, but most of the time what you really want is simply to shoot at maximum telephoto and with the best possible focus speed and image quality. Prime is best.
Details
For many photographers the feathers are the main prize in shooting birds. The textures and tones of plumage offer incredible variety and mystery. The more detail you can extract from those feathers the more of the story is revealed, like a fractal rendering. Winning that detail from your captures can become a deeply technical pursuit.
Contrast is the key element to pulling out detail. The character of light will have a huge impact here, and shooting a shy kingfisher hiding deep within a paperbark tree wont give you much to work with. This scenario gets even worse of you don’t have quality glass to shoot with. Cheaper telephoto lenses, or those covering a very wide focal range, tend to lack contrast and resolving ability. If the lens is muddying up the shot even a little bit then you are trampling over what little detail you might otherwise have held onto.
ISO performance is an issue here too. The higher you push the ISO the less dynamic range you can extract from the RAW file. You don’t automatically end up with noise at higher ISO settings, but the treatments you make in the RAW file to correct for noise will trade off detail for smoothness. The more you correct for ISO the more you trample on those fine feathers. It’s important to note that I do not advocate for using very low ISO at the expense of slower shutter speeds. Having no noise in a RAW file full of motion blur is not a win.
Pixel density is a serious challenge for bird photography as well. The more tightly packed your pixels the more susceptible they are to movement in the camera body. This effect gets exacerbated the longer your telephoto. Putting a 400mm lens into a Lumix G9 for example, with 20MP packed into a sensor 1/4 the surface area of a full frame DSLR, requires you up the shutter speed if you want to hold onto the detail. It's a similar story with a 50MP Canon 5DSR shooting on a 600mm lens. Small amounts of movement through the lens translates to your image dancing across the pixels.
Electronic Shutters are another menace for bird photography. They are great for shooting silent but at significant risk. Electronic Shutters work by scanning the sensor line by line, and building a composite image from that scan. This is a problem when shooting something that is moving, or shooting handheld and hence your camera is moving slightly too. The scan lines at one end of the frame happen in a slightly different time frame to the scan lines at the bottom. Each scan may be set to 1/20,000th of a second perhaps, but across the scan you get warping and distortion. It’s bad news once you peep into the pixels and find your feathers are mushed.
The weight of your camera system has a role to play here too. Lighter lenses are not just a matter of convenience this time. Imagine you’re patiently standing next to a tree waiting for a kookaburra to take flight, peeking through the lens with your finger on the shutter. If you’re holding a massive 600mm f/4 lens that weighs 4kg then you need strong arms, or a tripod and a gimbal head. In many situation that big rig will be threatening to small birds and you’re effectively chasing them away. If you put a 300mm prime lens onto a micro four-thirds camera system you get the same effective focal length, but with a rig that is comfortable to hold for extended periods of time without support and is much less intrusive to wildlife.
Picture This
There are a lot of technical skills to get a handle on with birds. They are elusive, small and flighty. They make every aspect of photography difficult. But as you gain control over these technical issues you can start to refocus on the creative potential. The more time you spend chasing any birds with your camera the more you will tame those technical challenges and start moving closer towards a more creative experience. The goal isn’t merely to get a great shot of a bird, but to get YOUR great shot of a bird.
See more of my bird galleries here:
Arnhem Land
ewenbell.com/editorial/Awunbrana+in+Arnhem
Uluru
ewenbell.com/editorial/Birds+of+Uluru
Kenya
ewenbell.com/editorial/Birds+of+Kenya
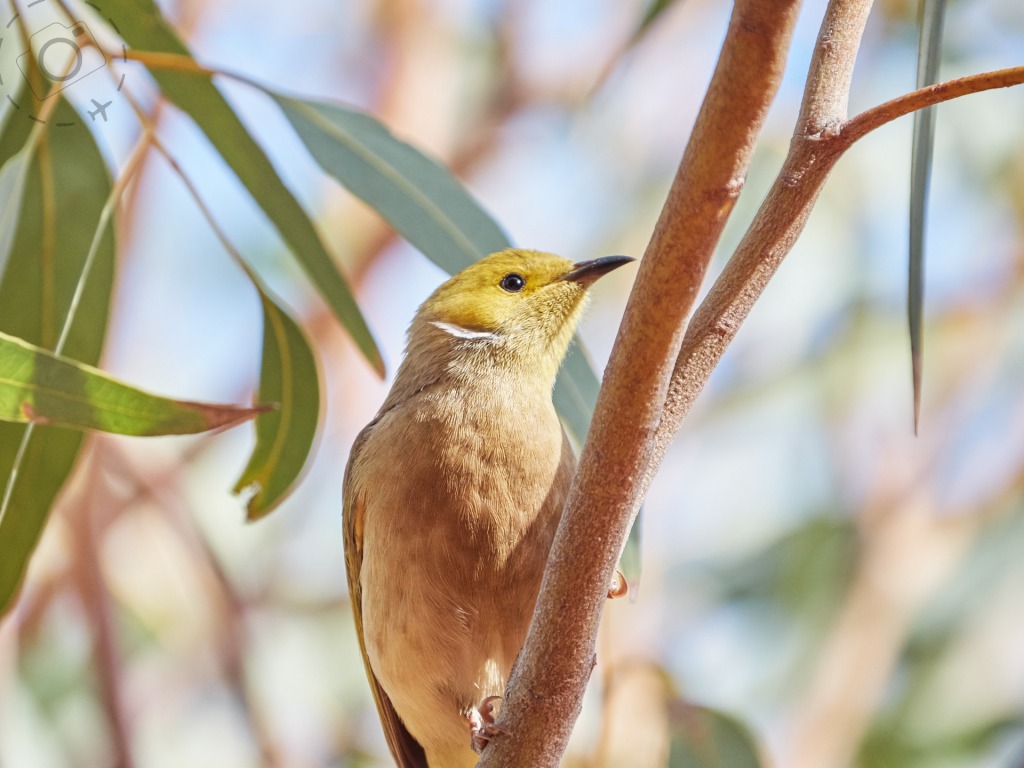
(White-plumed Honeyeater)
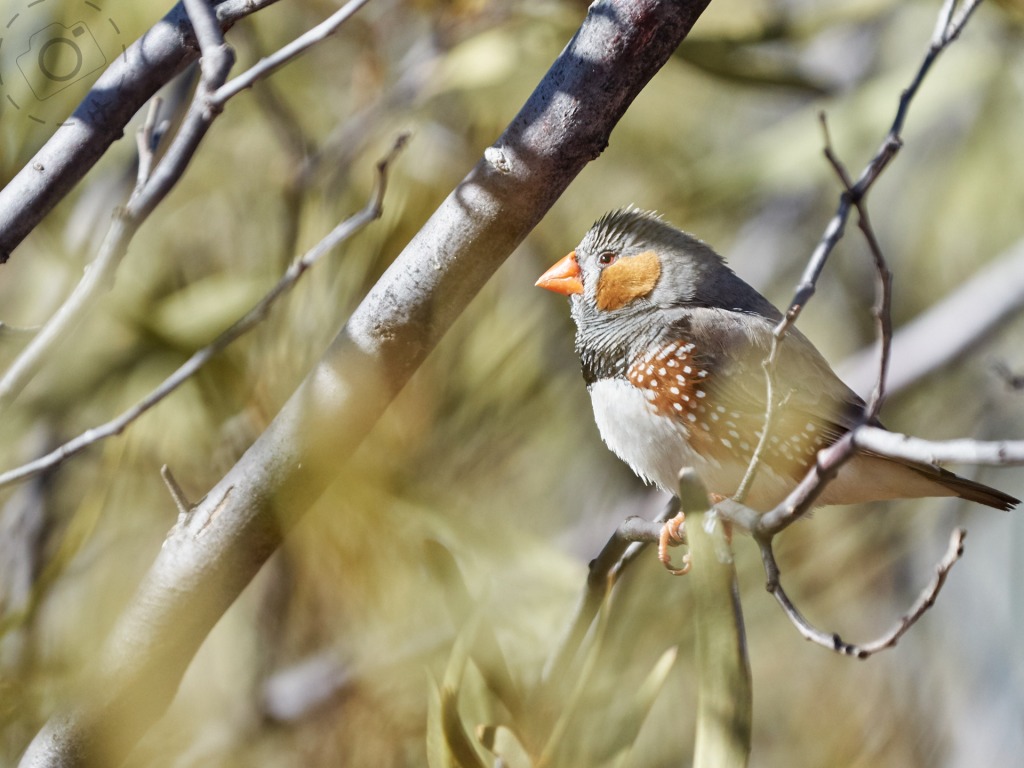
(Zebra Finch)
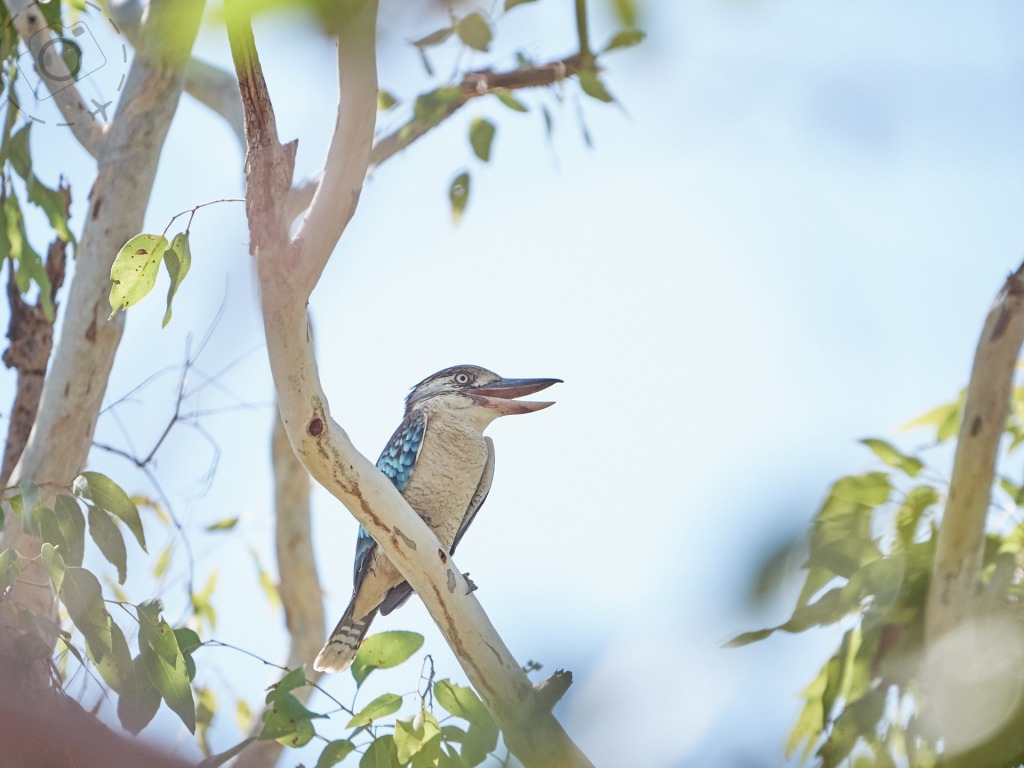
(Blue-winged Kookaburra)

(Brolga)
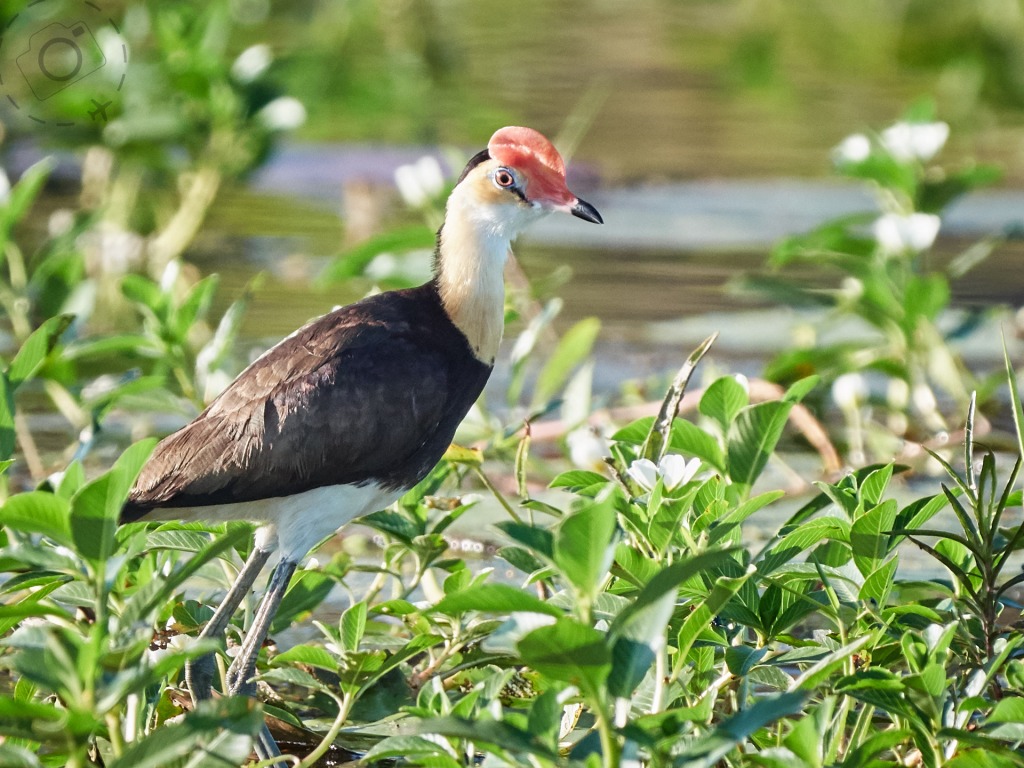
(Jacana)
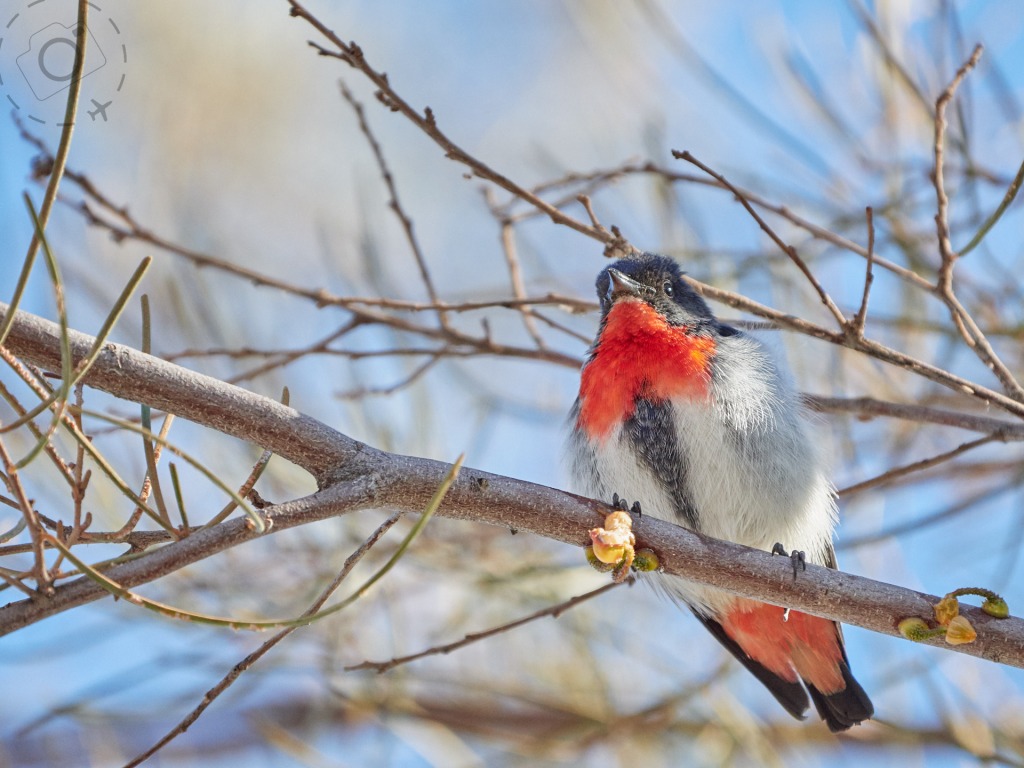
(Mistletoebird)
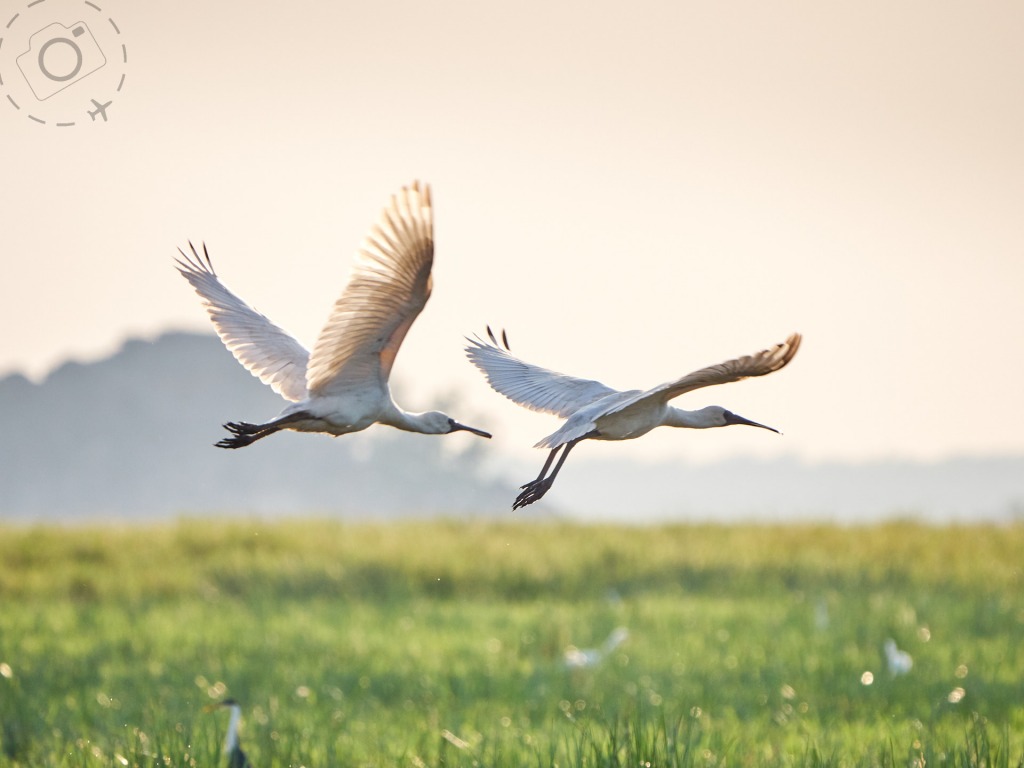
(Royal Spoonbill)
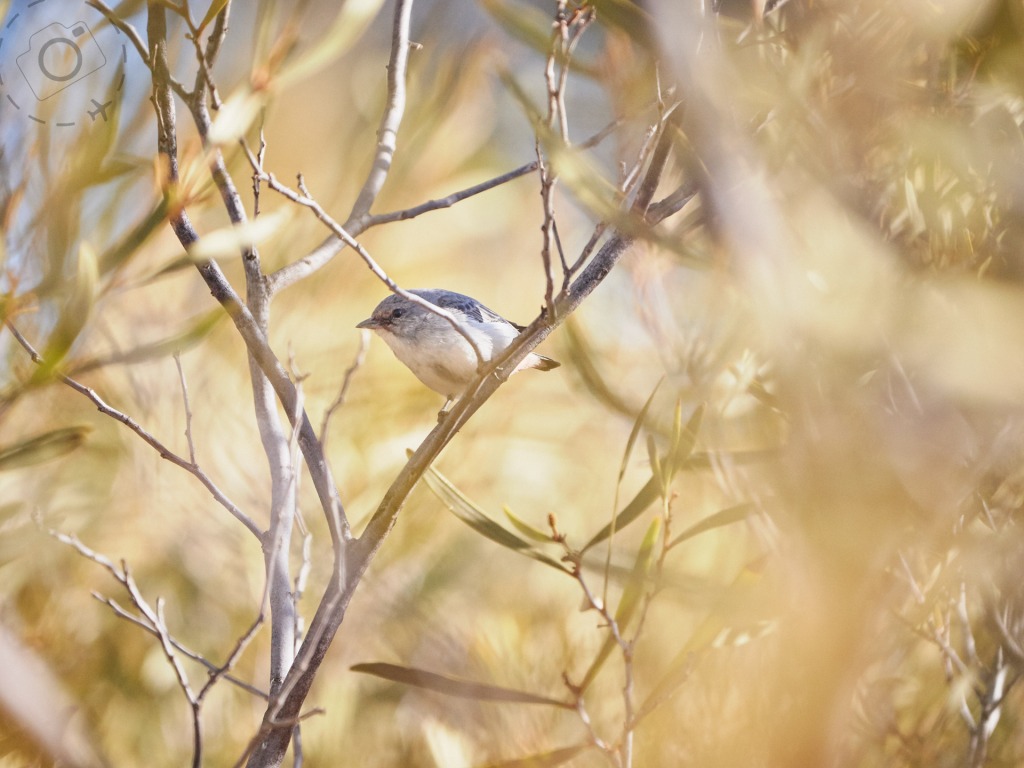
(Mistletoebird)
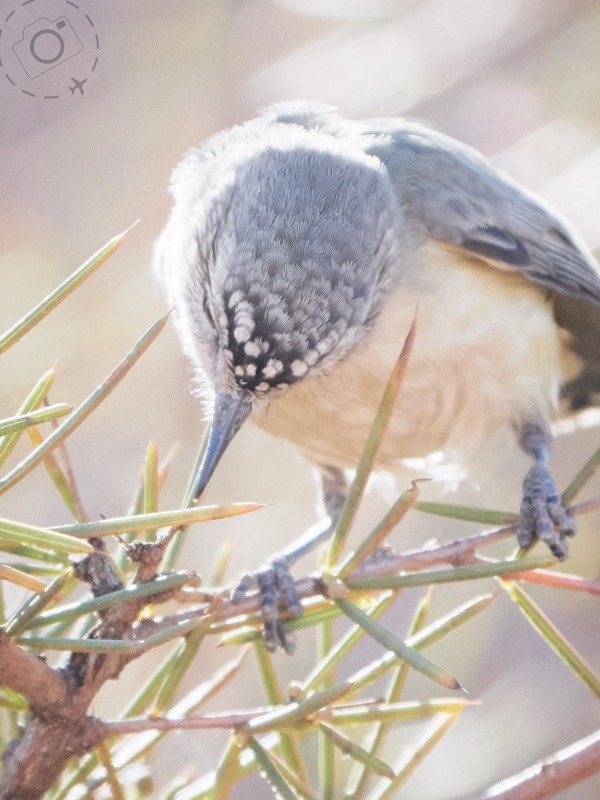
(Yellow-rumped Thornbill)

Keep Reading
Join Ewen's newsletter for monthly updates on new photography articles and tour offers...Subscribe Here