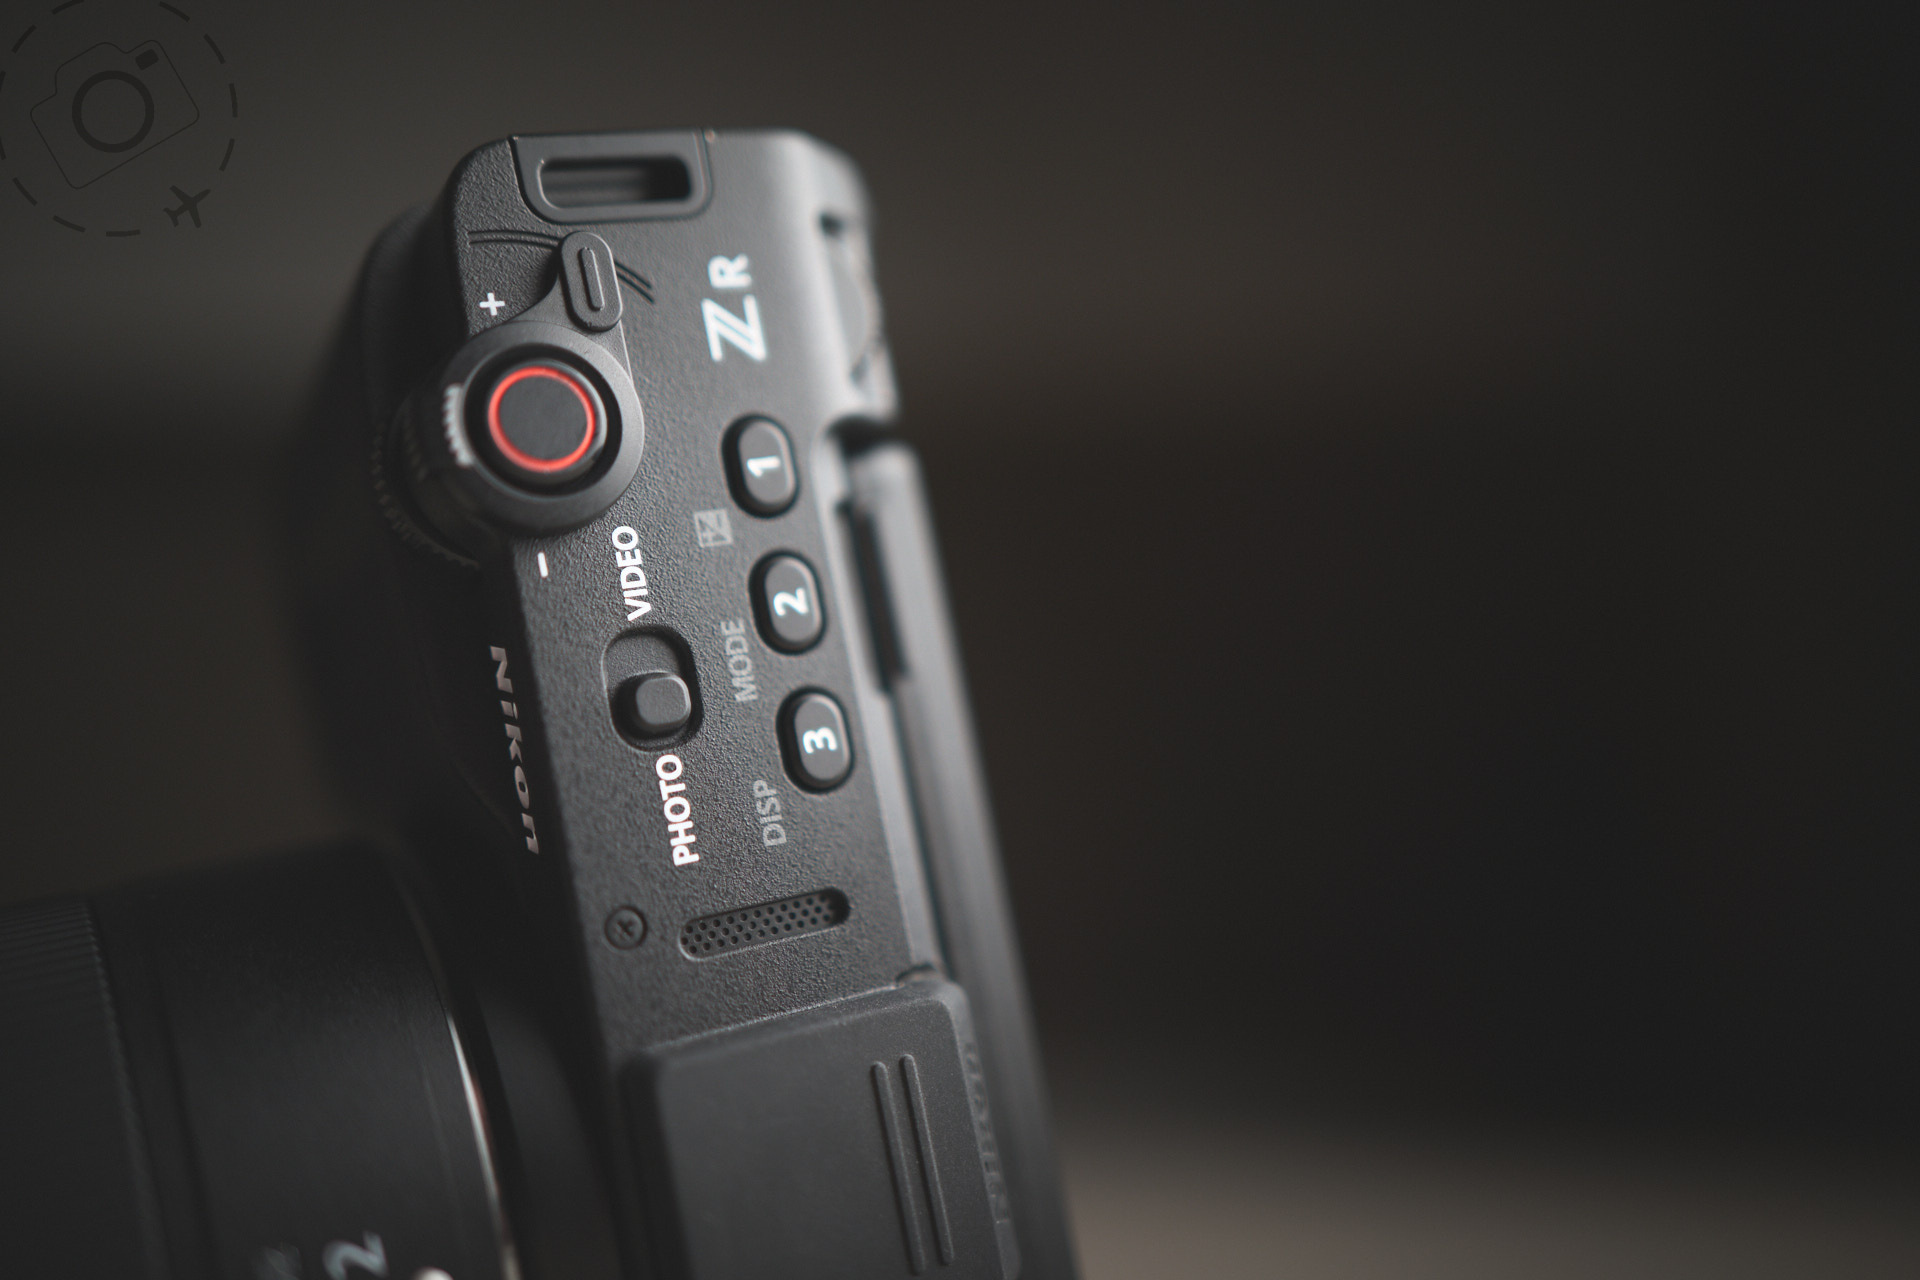


If you just want to jump to the download section, scroll down to the bottom of the article. If you want to know more about what's in my custom setup, what are "user settings" and what is the "i-Menu", then read on!
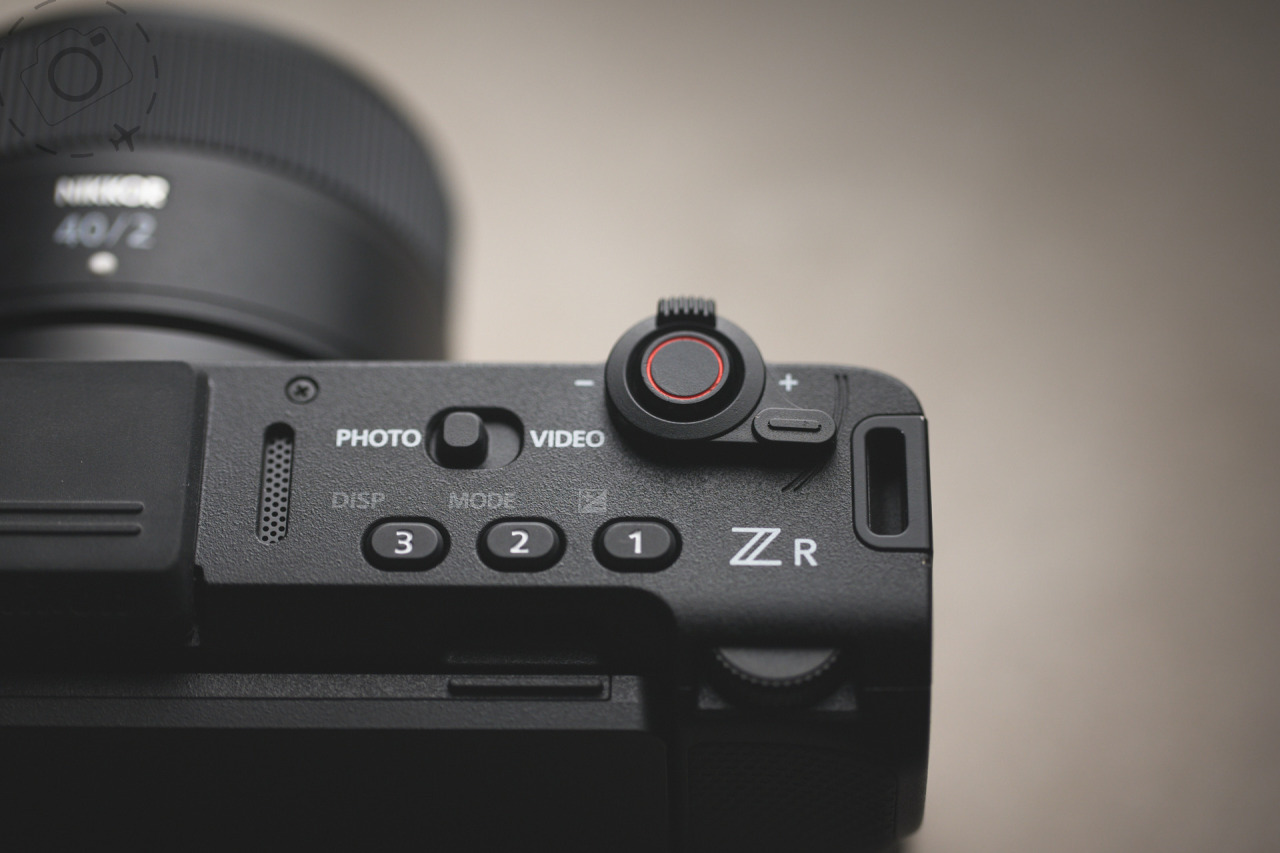
There are tonnes of great features on the Nikon ZR for stills photography, and they can easily get overlooked with all the hype over it's cine features. In this blog post I'll walk through my Stills Photography setup for this camera, the "i-Menu", and making use of those User Settings 1 2 3 and 4 to setup baseline modes for different shooting situations.
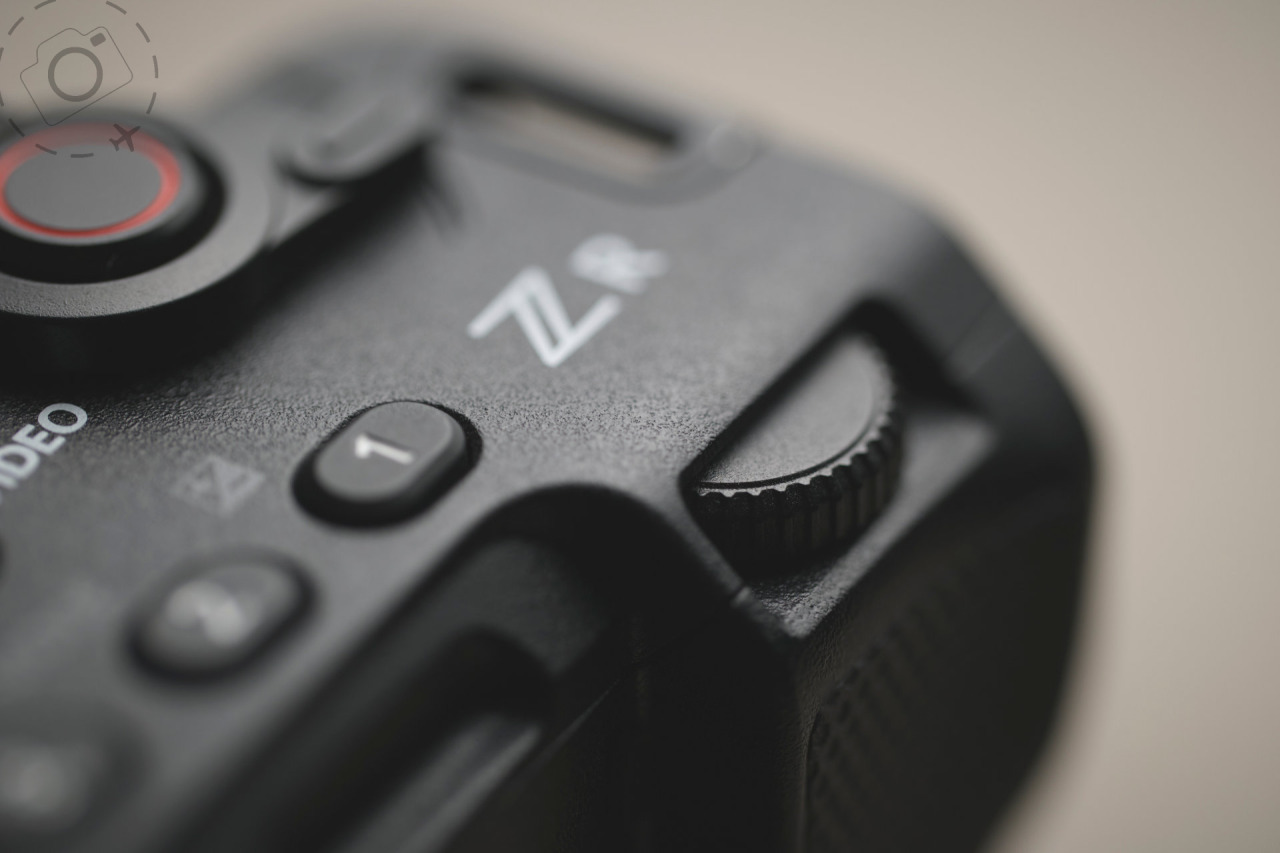
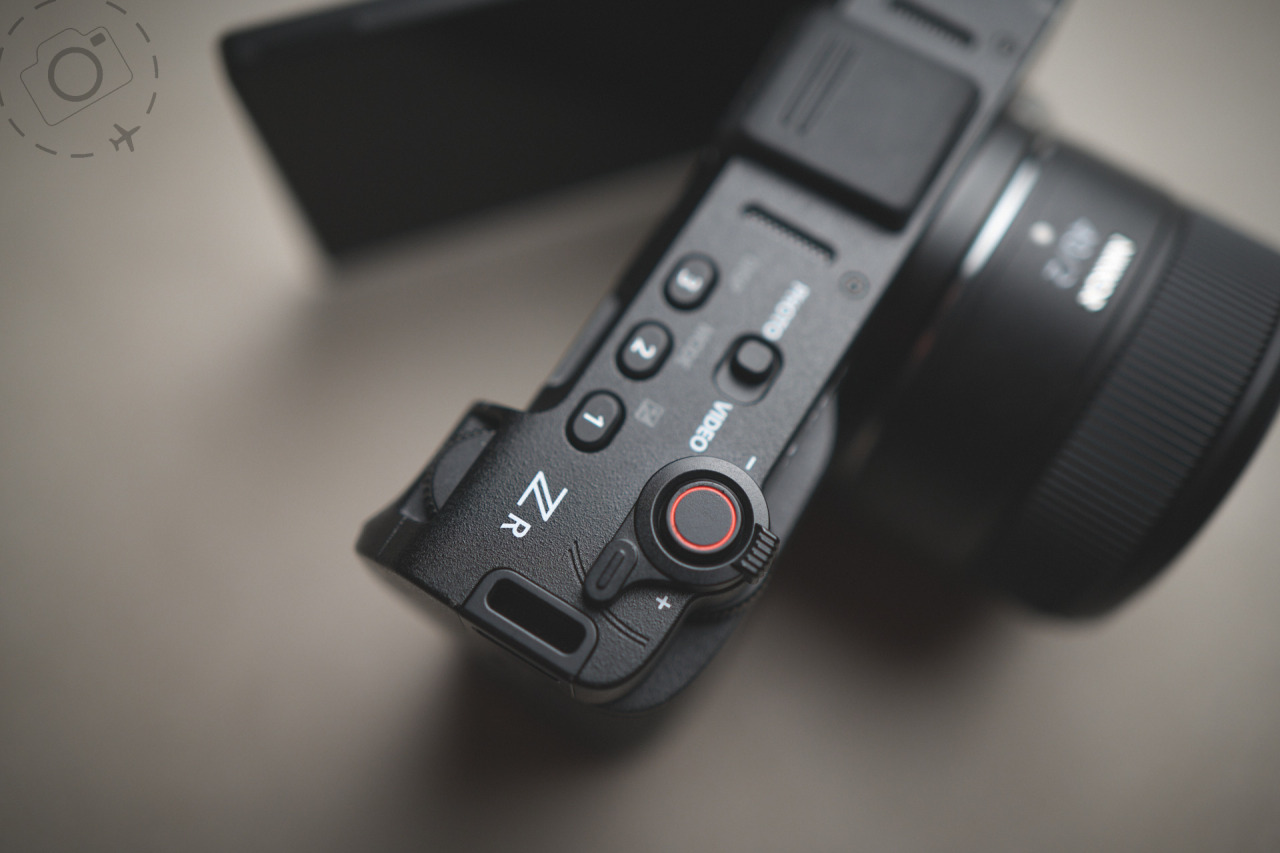
If you are new to User Settings, these are a powerful tool on the Nikon ZR to help you switch between various shooting modes and be confident that the camera is setup exactly how you want it. You can define up to four presets for stills + video, and each user setting will be instantly available in the MODE selector alongside your usual priority modes of P A S and M.
I have my user settings configured for Portraits and Still Life, Landscape Photography, Studio Flash, and Astro Photography. You can jump straight to my setup if you want, or you can start defining your own custom settings to precisely match your needs.
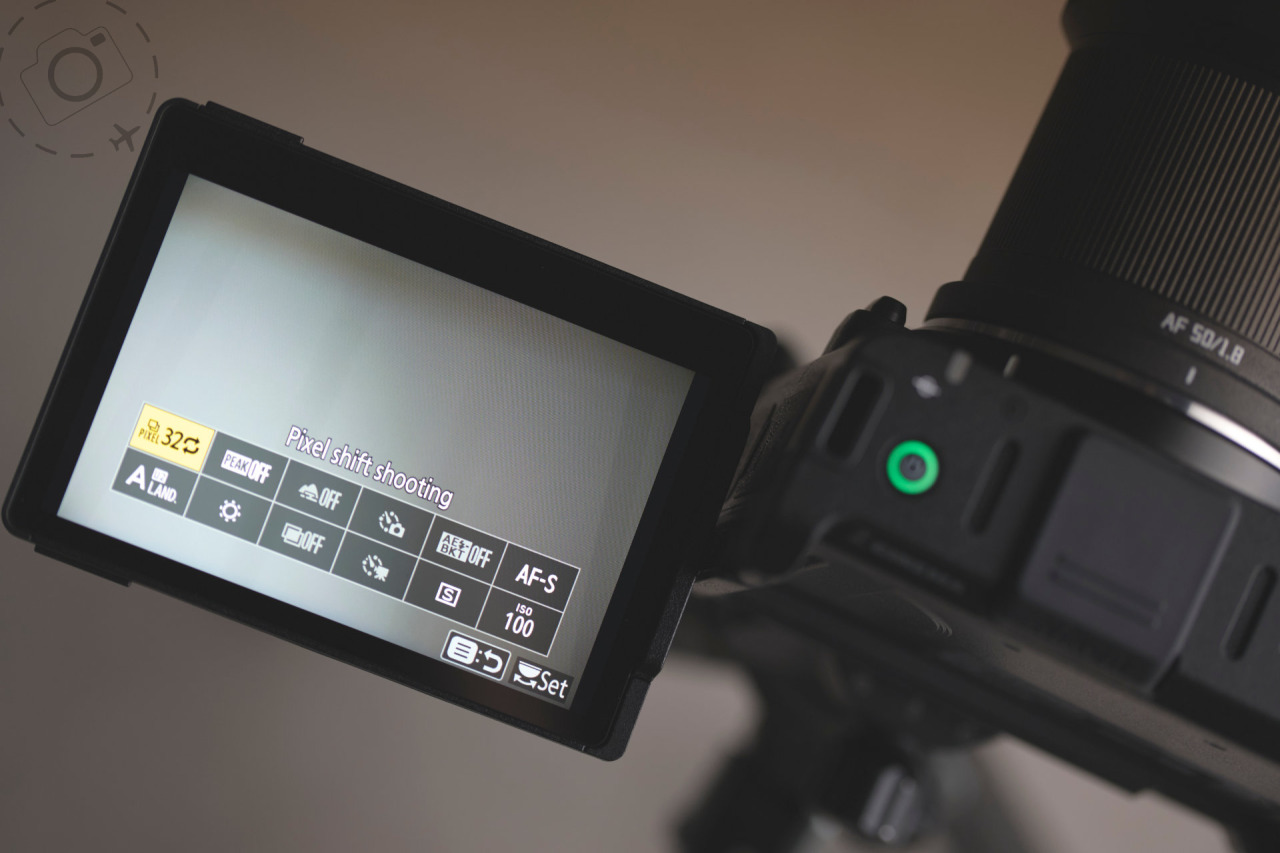
The i-Menu
As good as the video/cine features are on the Nikon ZR, they are not the headline for me. If anything, this camera is over qualified for video, with such a rich depth of RAW codecs and internal recording modes. I am first and foremost a stills photographer, so when I got a chance to make friends with the Nikon ZR it was the photo side of the camera that I wanted to master.
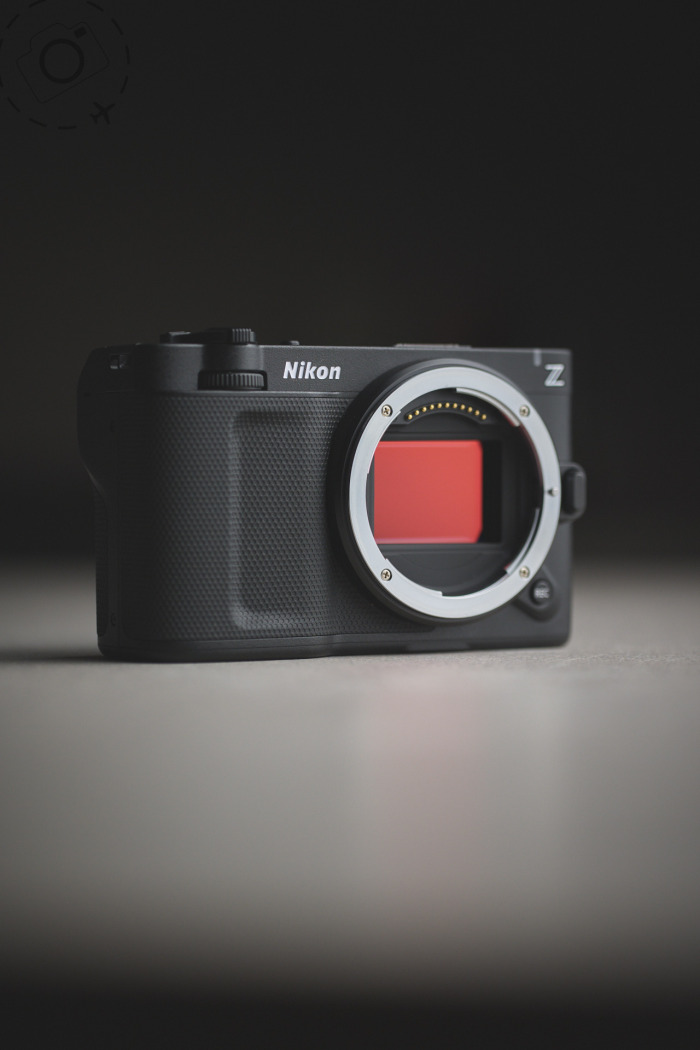
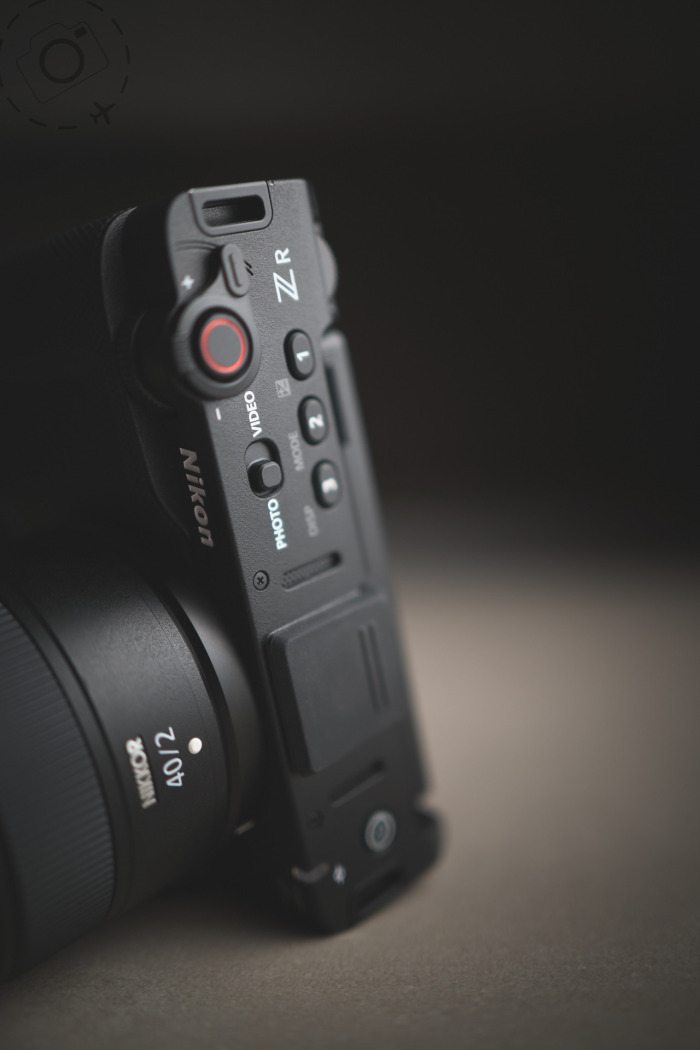
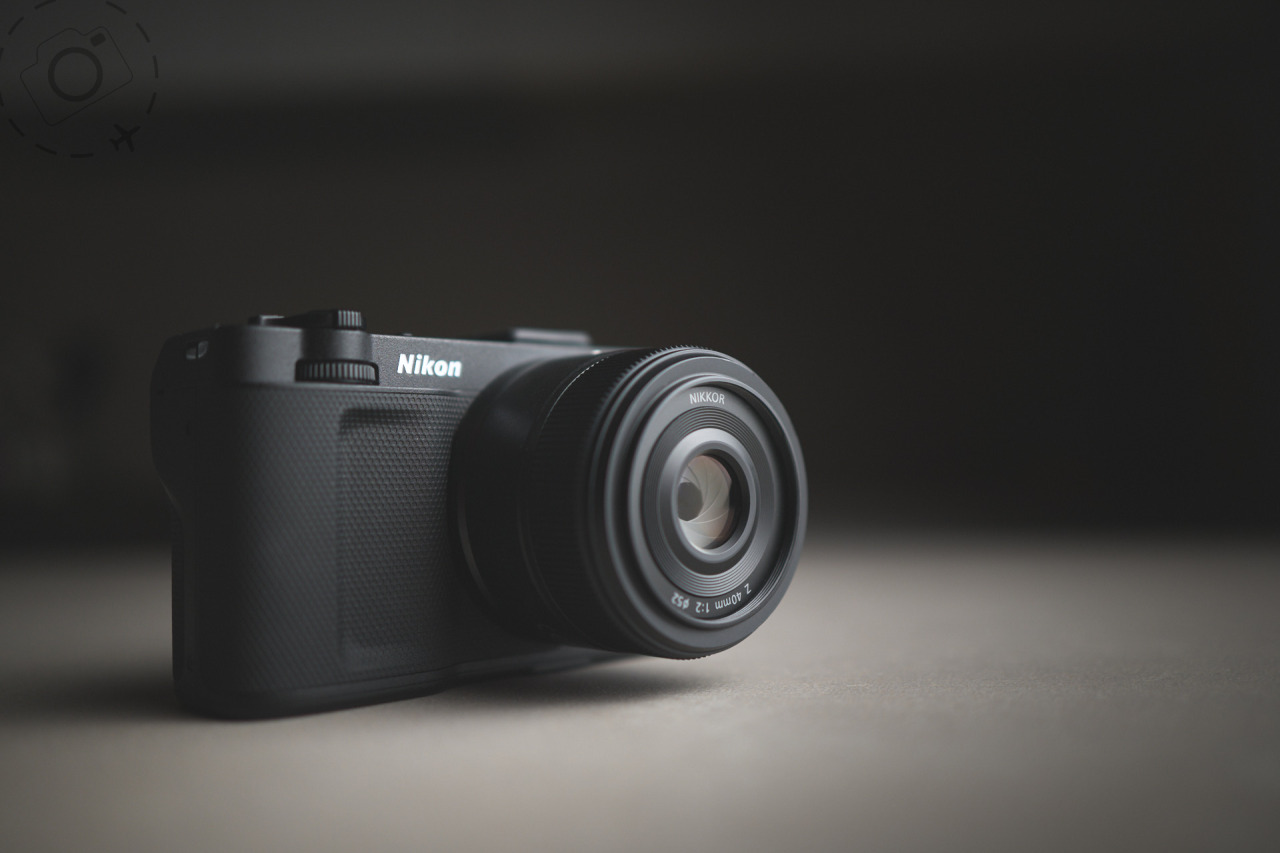
The ZR is a unique design with it's massive 4" flippy screen and no EVF. Making space for that screen has made an impact on the design, and left little room on the rear for buttons for dial. Indeed, such a small form factor allows for very few controls anywhere on the camera. Nikon's solution to this challenge has been to implement a customisable "i-Menu", that you can configure to have quick access to those features you deem most essential. Spending time to configure your i-Menu to suit your needs is critical to getting the most out of this camera.
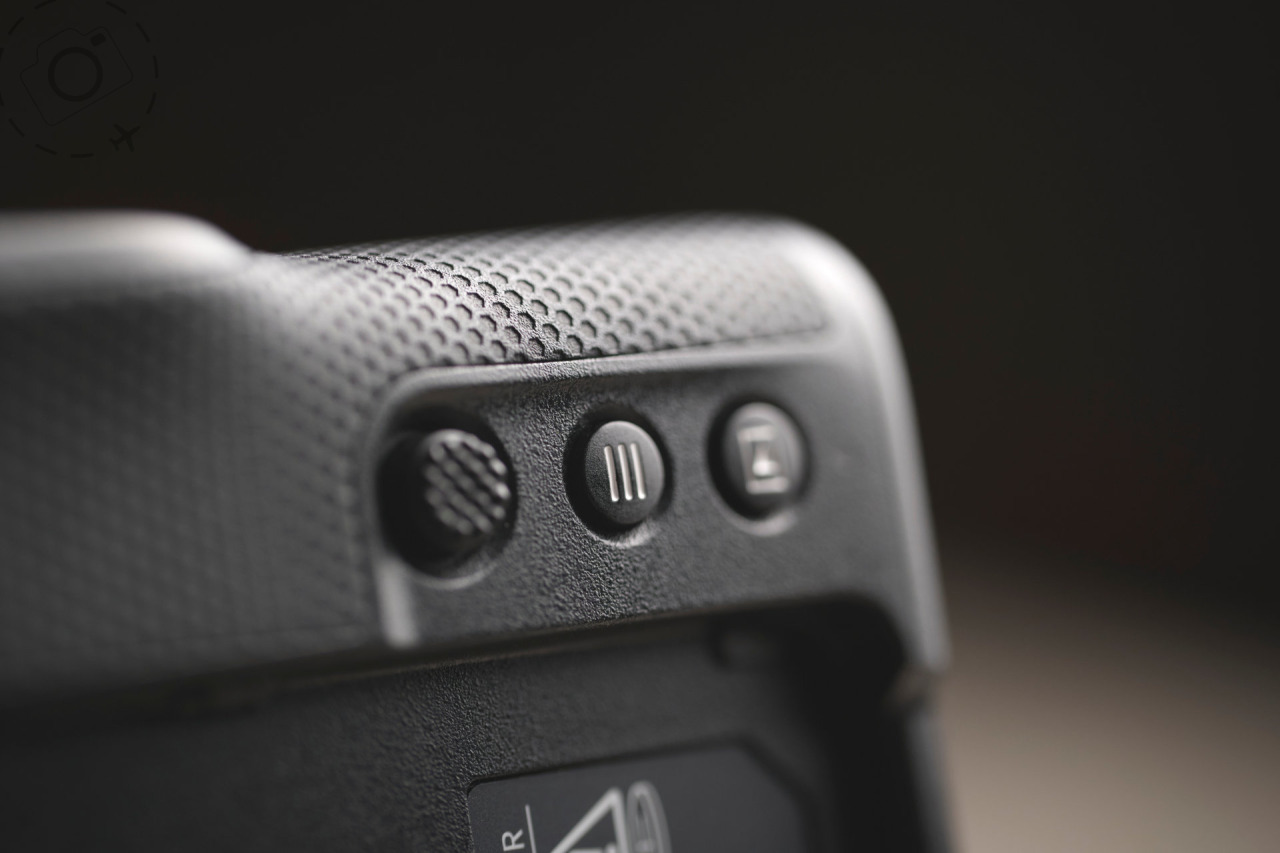
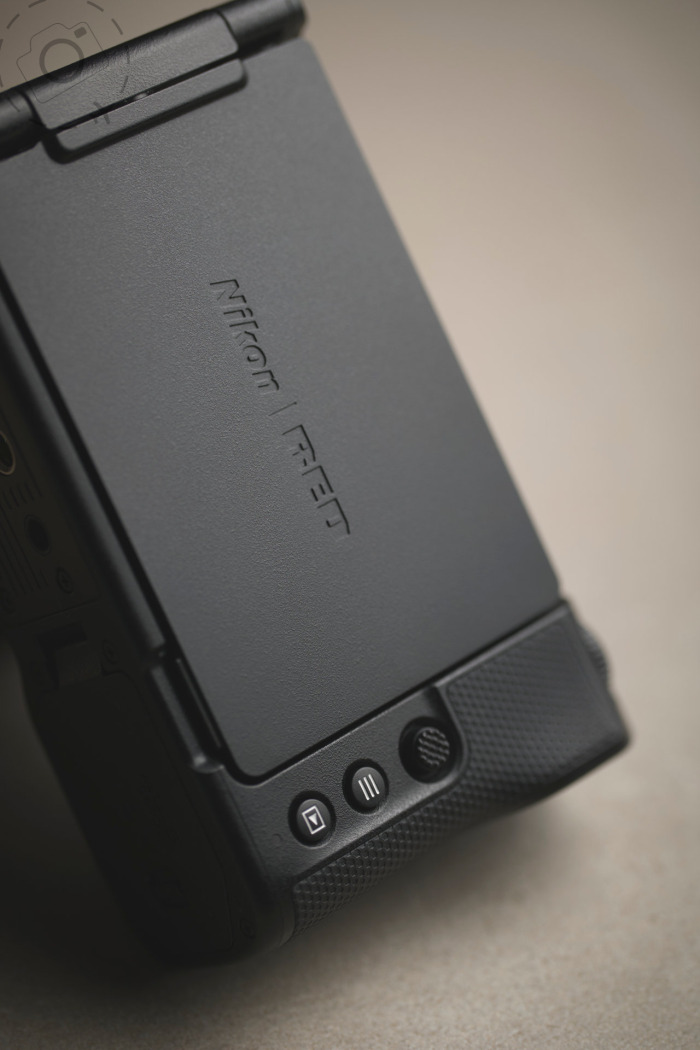
The i-Menu pops up when you tap the rear MENU button, the one with three bars on it, and to enter the full menu you have to hold down that same button for a second longer.
Editing the i-Menu is a worthwhile exercise. Everyone has their own idea of what functions are most essential to access quickly. Inside the MENU go to CONTROLS, then CUSTOMISE i-MENU. From this screen you can clock on any of the menu slots, then a choice of functions you can save into that slot will be listed.
User Settings
There are four user settings on the Nikon ZR, which pair a preset for photo and video that can be instantly recalled via the Mode Selector. Similar to the "custom settings" you find on other brands of camera, the starting point to configure a new User Setting is to first setup the camera in the mode you want to save. For example, if you want Aperture Priority at F2 with minimum shutter of 1/200th of a second, then set your mode to Aperture Priority first, configure all the details that matter to you, and THEN go into the menu to save as a User Setting 1, 2, 3, or 4.
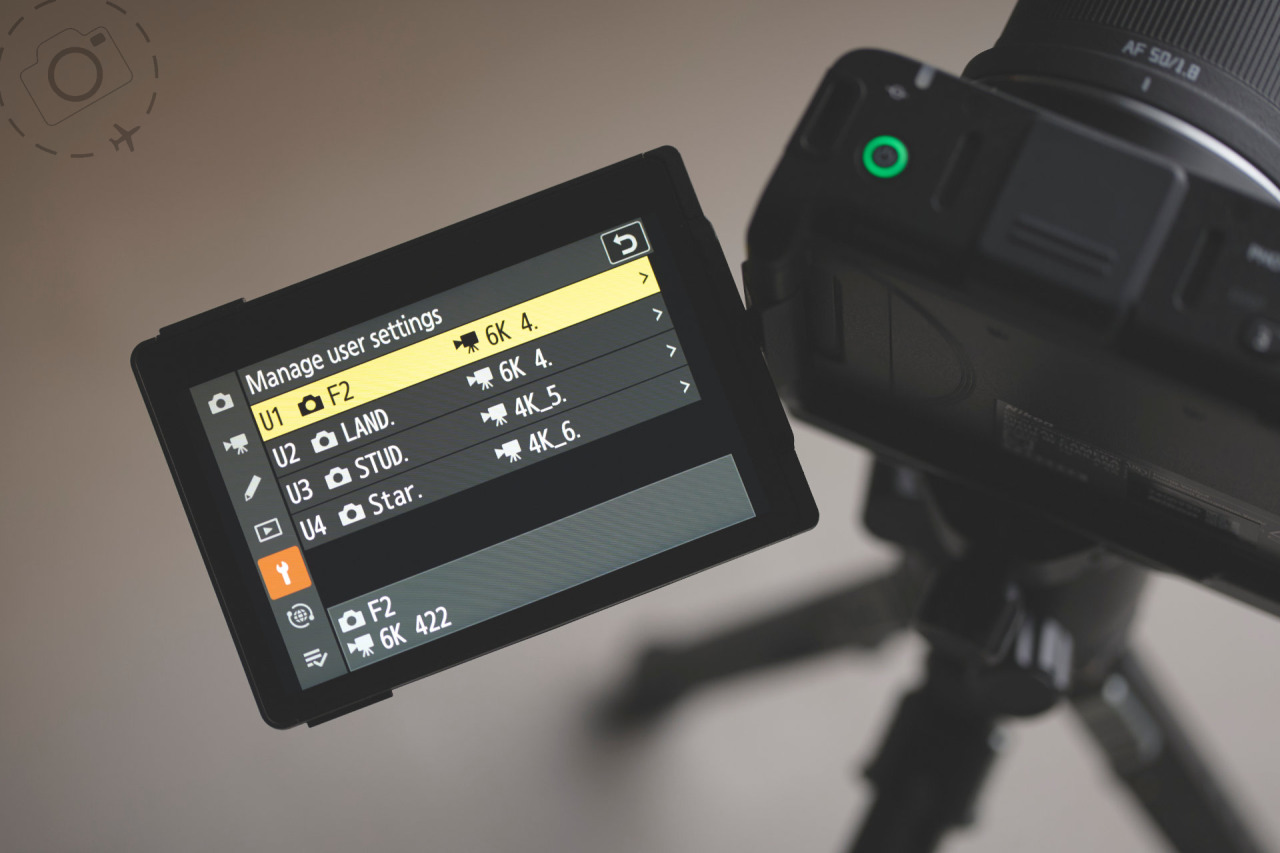
In the MENU go to the spanner icon and once inside the "Setup Menu" look for "Manage User Settings" near the top. Select which of the U1 2 3 or 4 you want to modify. Now you can select Save, then choose from either the current settings or one of the four defaults Nikon have provided. If you select CURRENT settings you have to select SAVE again. Now it's locked in. From the same menu you can also choose to rename the setting to make it easier to remember what you punched into the slot!
The User Setting will include things such as your AutoFocus setup, any exposure compensation, the picture profile, and importantly, whatever you have set in your i-Menu. That's useful, because your i-Menu setup for street photography may differ from what you need for astro photography. You can tune up the entire camera to suit your mood.
One little trap to watch out for though. When you save your configuration to U1, 2, 3 or 4, not only does the photo configuration get copied into memory, but whatever you have setup for video gets moved in as well. The four slots are paired to save both photo + video together. They are not independent.
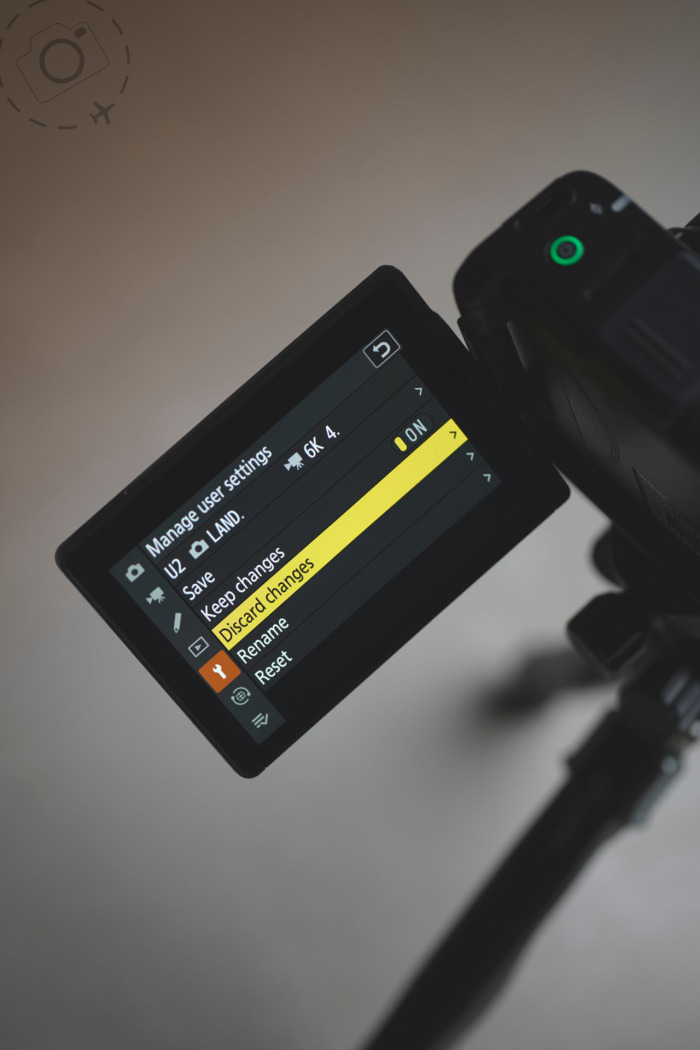
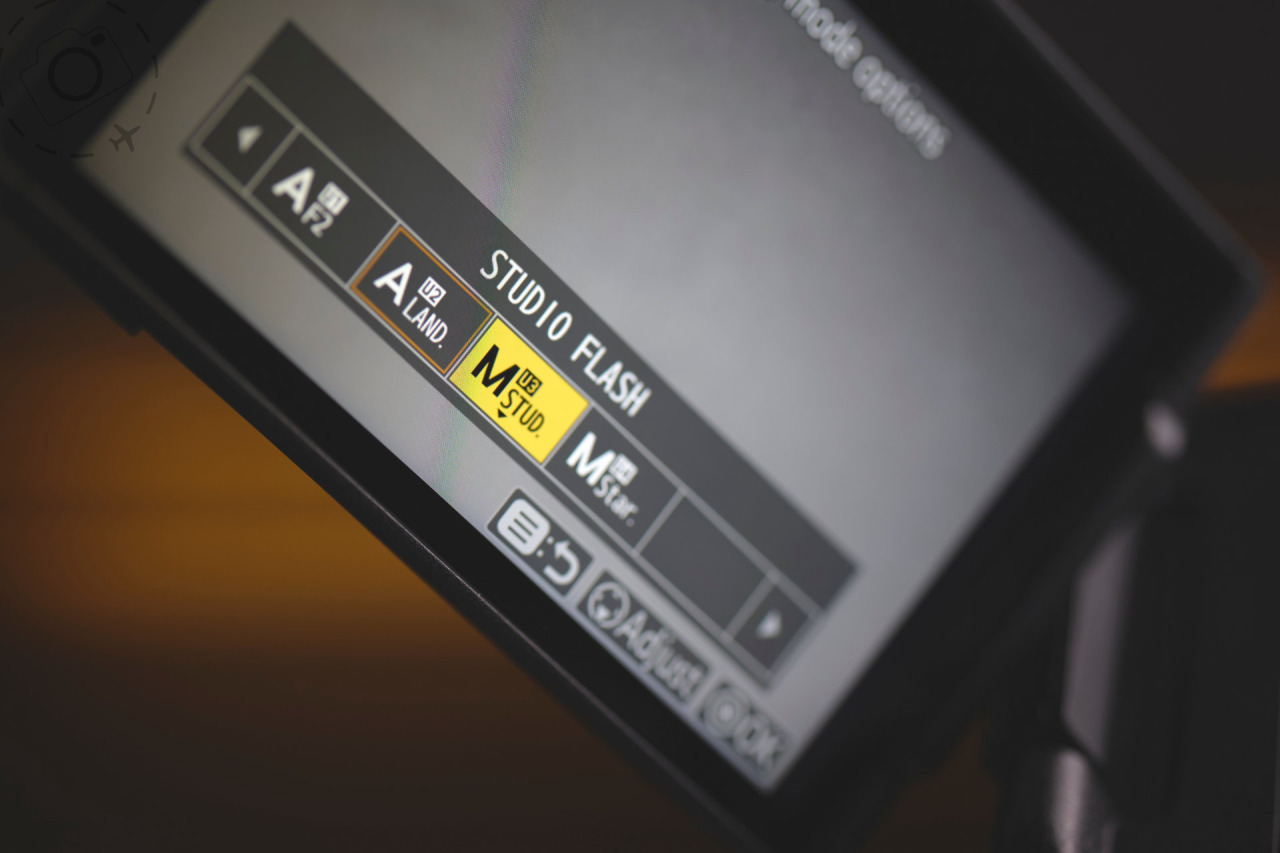
Once saved into a User Setting you can quickly access the setup my hitting the MODE button and selecting U1 2 3 or 4 instead of P A S M. Every time you switch between MODES or power off the camera, it will reset to the baseline configuration you saved for that User Setting... Unless you select the "KEEP CHANGES" option.
This is a little confusing at first, but I can see why Nikon decided to include this option. With KEEP CHANGES enabled the ZR will only reset your changes when you specifically request this. If you change the F-stop from F2 to F10 while out shooting, the KEEP CHANGES option will preserve that setup even if you swap between photo and video or power off. When you decide you want your User Setting back in place fully, just go into the menu and choose "DELETE CHANGES".
My User Settings
So what have I got punched into my setup for the Nikon ZR?
Camera Settings
- Capture to RAW only with lossless compression
- AF on auto switch (AF-S/AF-C)
- AF Area Mode on Dynamic Area (Small)
- Subject Detection On
- Vibration Reduction On
- Continuous Burst on Low (5fps)
- Touch Screen to Move Focus
- Front Rec Button = AEL Hold
- Matrix Metering Face Detection On
- Silent Mode On
User Settings
U1 - Streets & Portrait (F2)
U2 - Landscapes & Pixel Shift (F10)
U3 - Studio Flash
U4 - Astro & Stars
Please note that I have not gone to great lengths to fine tune the video setup for this camera. I do have a few useful configuration saved in, but most people will want to adjust those to suit their video workflow. For all my video modes I am recording to ProRes 10-bit 422 instead of RAW codecs, to save a little space on the CFExpress. U1 and U2 are recording 6K, U3 is back to 4K but at 50p and U4 goes a notch higher to 60p.
My custom setup is really tuned for stills photography, not video!
Save & Load
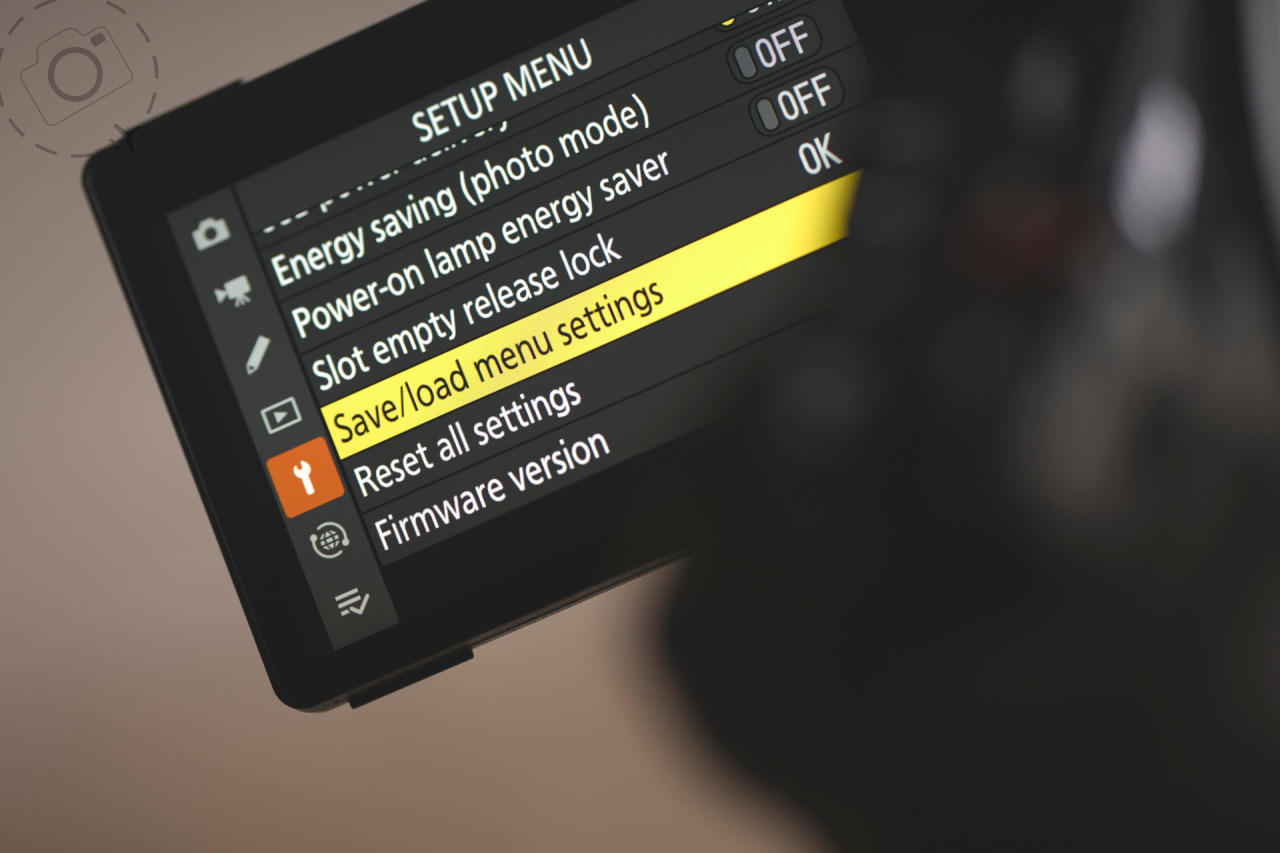
The Nikon ZR has a rudimentary feature to allow you save or load your entire configuration to a card. It can only handle one data file at a time, and there's not much feedback in the User Interface to let you know what's happening. It's basic, but it works.
My suggestion is to start by making a copy of your existing configuration, so you have the option to roll back to your original camera setup instead of mine. Step by step should look like this:
1. Go into the MENU and look for the spanner icon, and in that SETUP MENU near the very bottom you will find "Save/Load Menu Settings". Select SAVE. You don't get any confirmation or feedback here, but a file will have been created on the memory card. When I tested this the filename used was NCSET017.BIN.
2. Make a copy of that CamSet data file on your computer, and keep it safe in case you decide you don't like my custom setup and want to roll back! Now that you have a backup of your existing setup, you are free to experiment with mine.
3. Download my CamSet data file (link below) and copy that version of NCSET017.BIN onto your memory card.
4. Return the card to the camera, and go through the menu again to LOAD instead of save. Once again, you won't get any feedback or confirmation that this has taken place, but if you look at the User Settings in the mode selector, you should see the names of my custom settings.
And we're done!
Download my CamSet for Nikon ZR
https://ewenbell.com/uploads/nikon/NCSET017.BIN

Keep Reading
Join Ewen's newsletter for monthly updates on new photography articles and tour offers...Subscribe Here