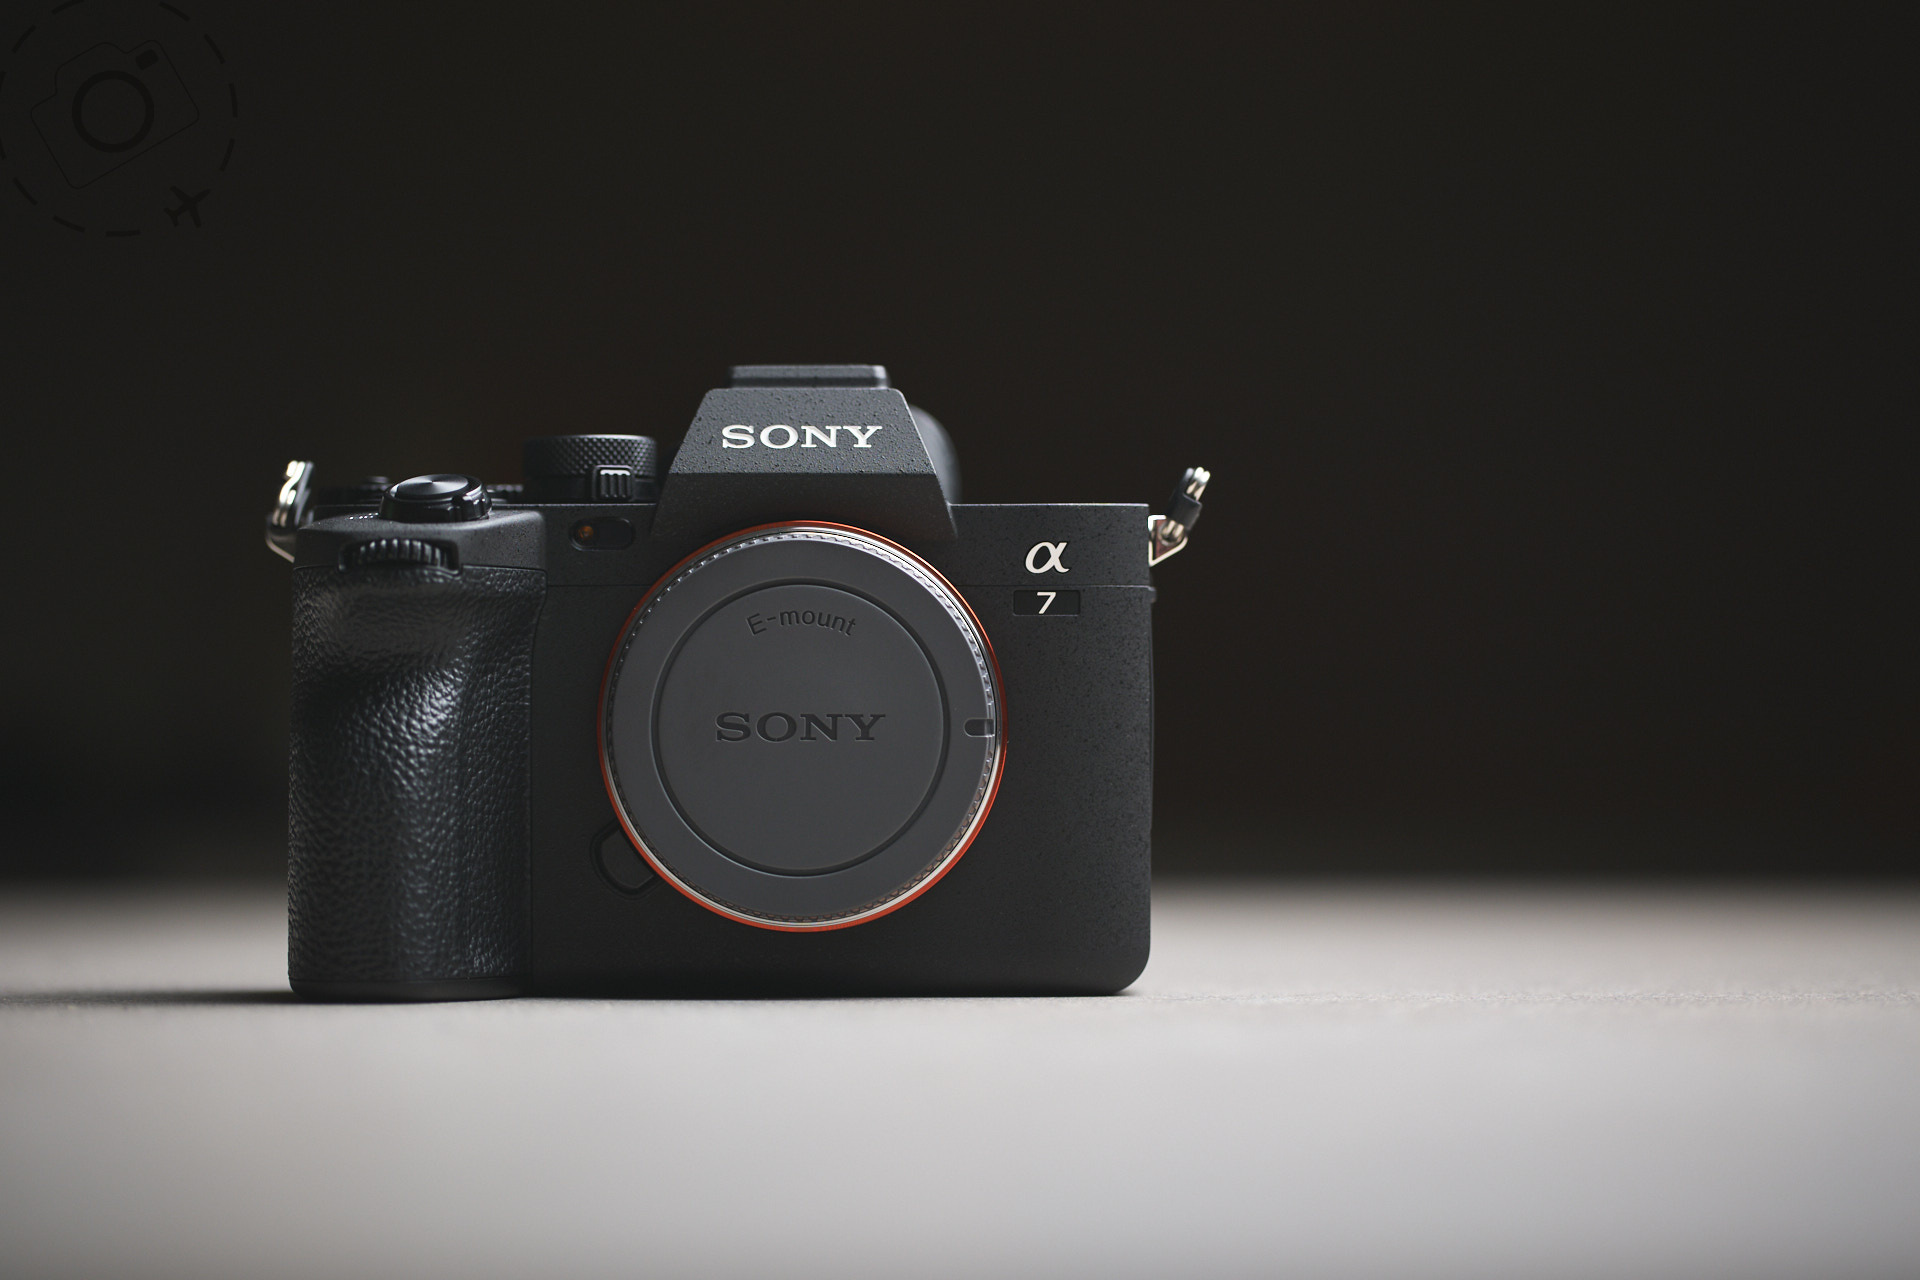


If you just want to jump ahead and download my setup, scroll down to the bottom and look for the section named "Loading My Setup". But first, I'm going to outline here what's in my setup and how we got there, plus run through how to tweak these settings for yourself.
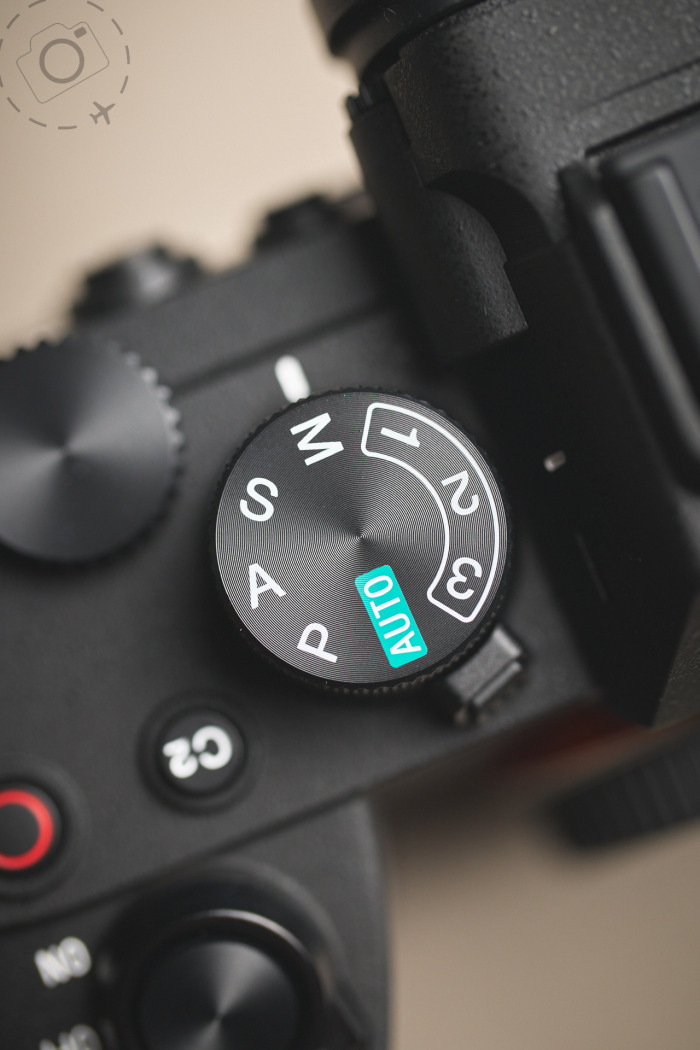
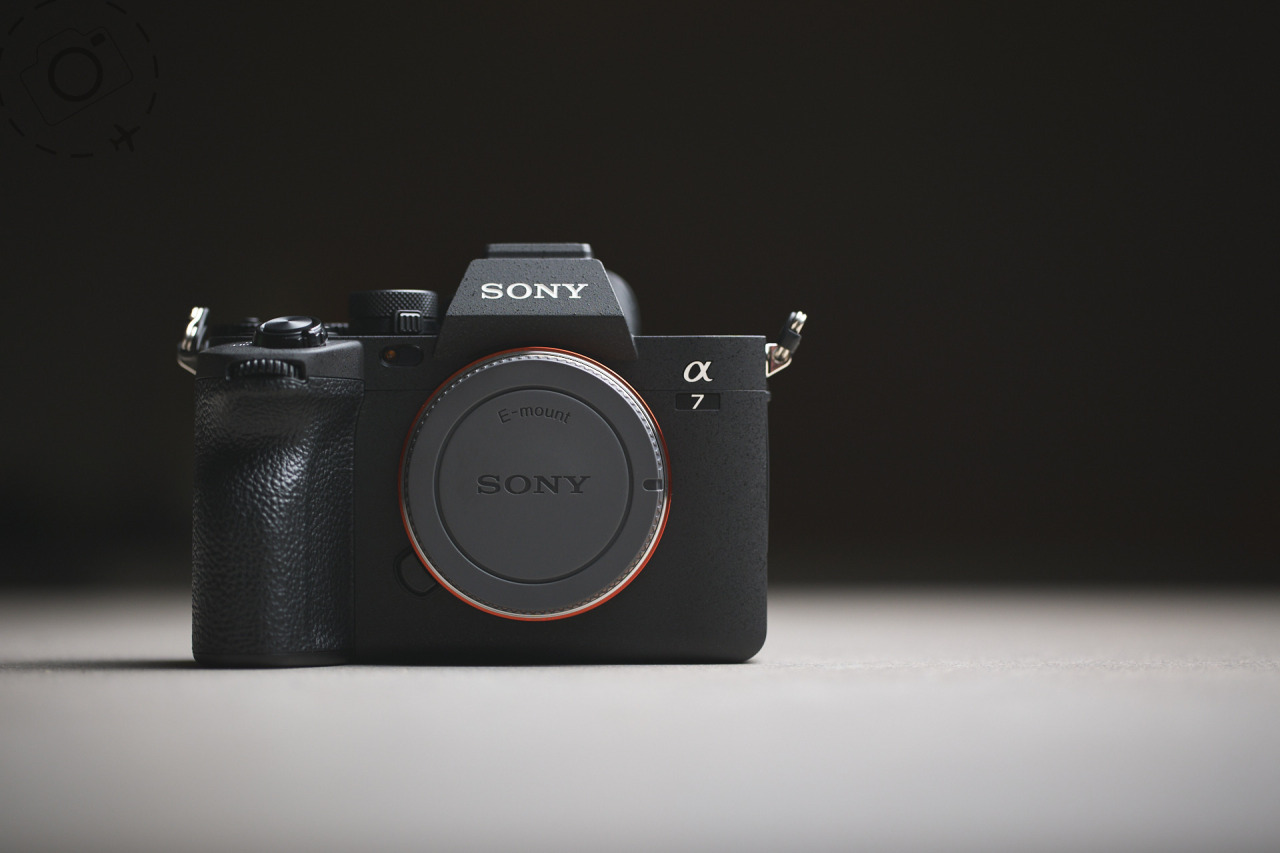
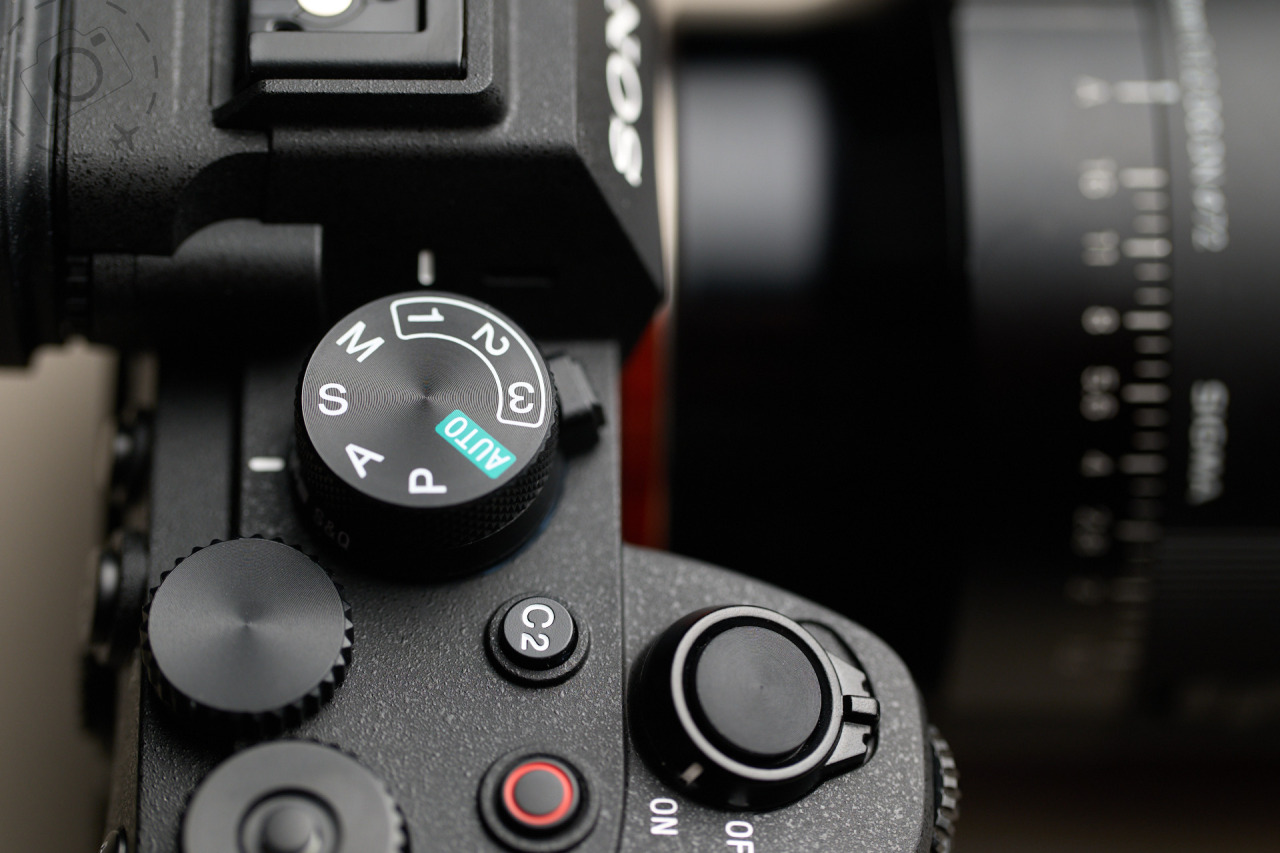
THE MODE DIAL
One of my favourite features on any camera is the ability to shoot with custom modes. Once stored into the custom settings you can instantly jump to any of your preconfigured setups. This leaves you free to experiment with the PASM modes on the dial, knowing that you can roll back to Custom 1, 2 or 3 and instantly be ready to capture with a known configuration. No surprises.
The Sony A7IV has a selection switch to set the camera into Stills, Movie or S&Q modes. For each of these camera modes the custom dials 1/2/3 can be configured with presets.
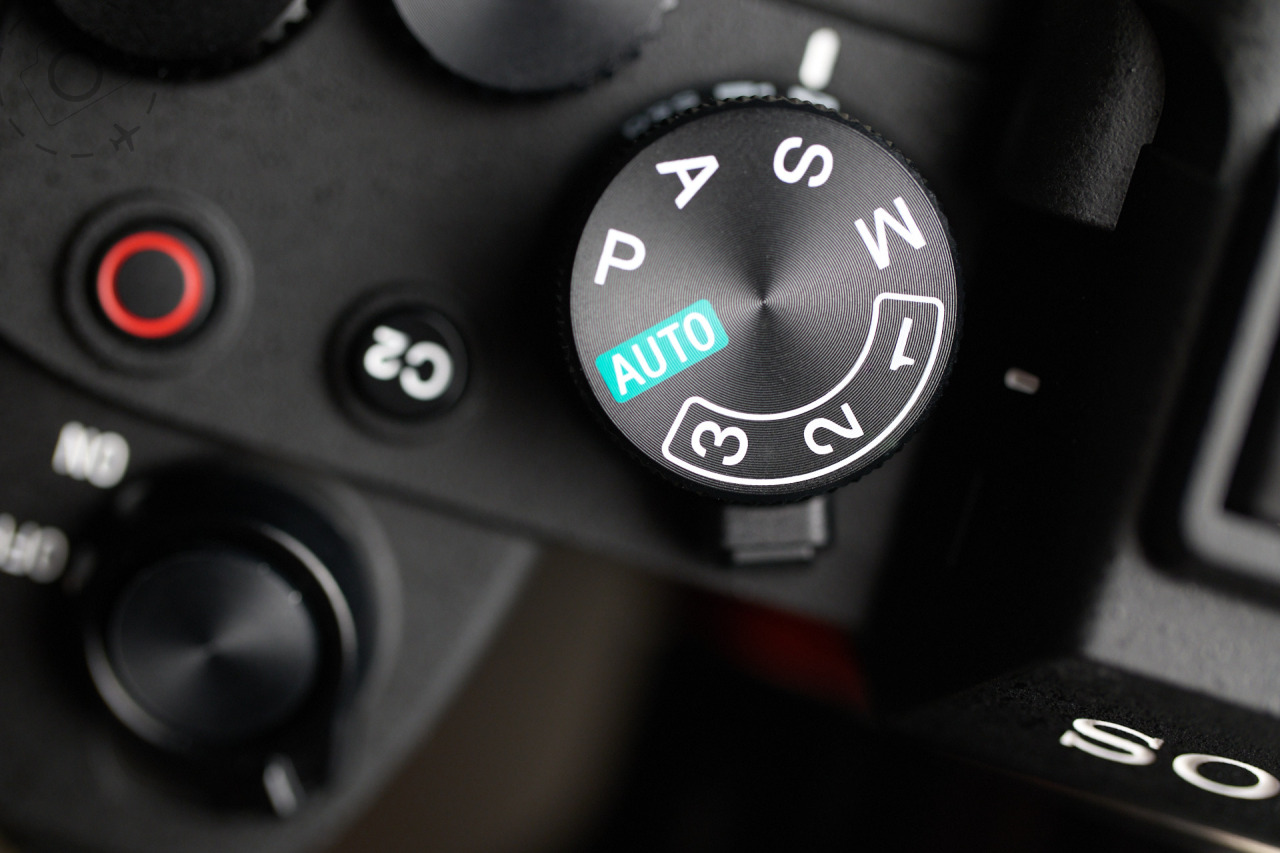
Here's an outline of my custom settings for stills:
STILLS – CUSTOM 1
Still photography shooting with a wide aperture: F2 is my happy place for portraits, food photography and travel. I do most of my photography with Aperture Priority at F2 and employ AutoISO with a useful Minimum Shutter like 1/250th of a second. The AF setup is very simple, with a small zone that we can tap on the screen to relocate as needed. We use this a lot.
I've also repurposed the video button to give immediate access to changing that Minimum Shutter. When I want to shoot video, I change the camera mode selector to video where all of my preferred video settings are now in place.
STILLS – CUSTOM 2
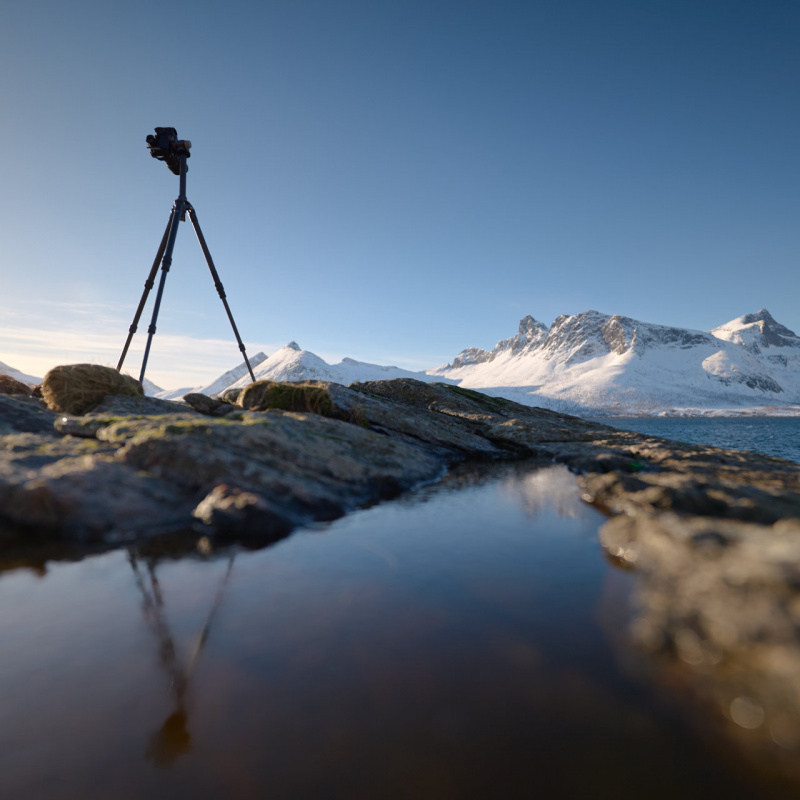
Tripod work: When shooting landscapes or architecture I'm typically working on a tripod. I want lots of depth of field so Aperture Priority at F8 is my preference. I usually capture at the base ISO and I like to have a 2 second delay to minimise any impact from hitting the shutter.
STILLS – CUSTOM 3
Flash Setup: We still shoot with a classic studio setup every so often, with flash strobes to light up a large scene. We use a simple radio trigger and fully Manual exposure. Our baseline is an aperture of F2 and and a low-speed sync at 1/125th of a second. Typically we're using the USB connection to shoot tethered when working flash in the studio.
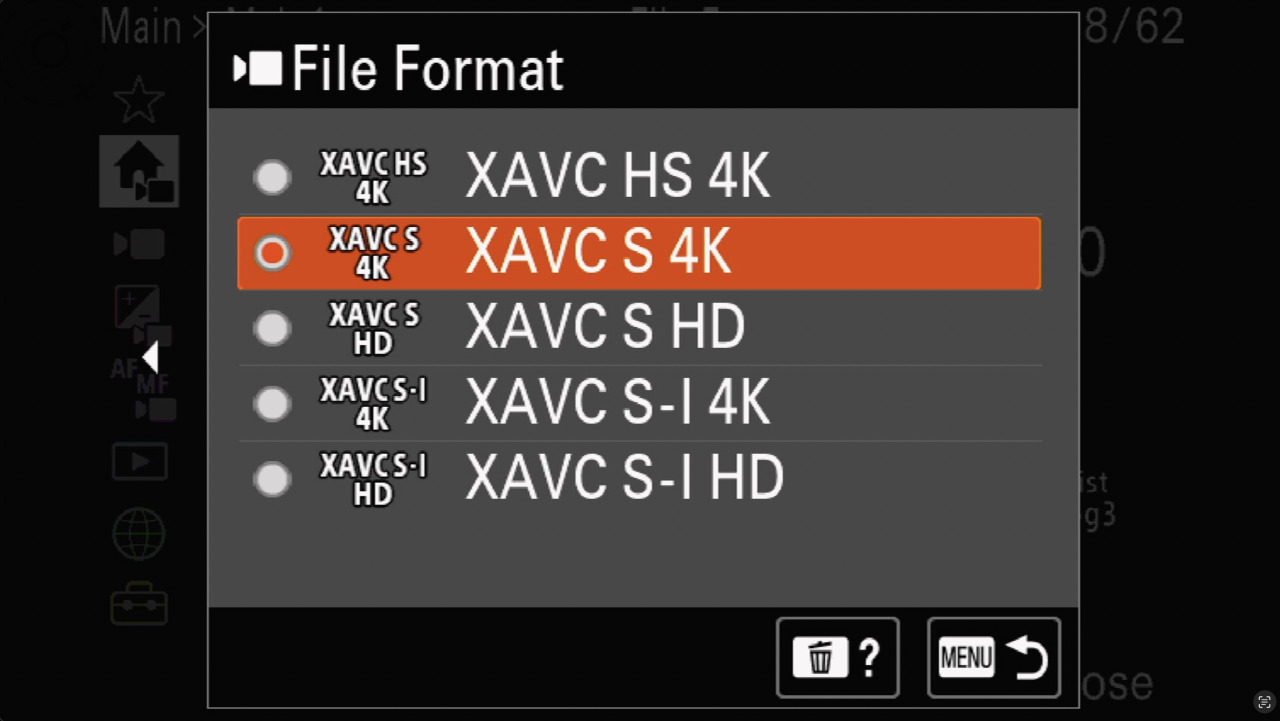
Movie and S&Q settings will vary between PAL and NTSC regions. I have provided CamSet for both in the download sections. For PAL regions my default frame rate is 25fps, and for NTSC it will be 30fps. I shoot all my video in log gamma and use Davinci RCM for color management in the edit. This delivers maximum dynamic range and color fidelity when shooting 4K 422 10-bit and recording to XAVC-S file format.
When shooting in SLOG-3 the exposure compensation is lifted to +1.7 stops. If you've never shot in log gamma before, and this is all new to you, then I strongly suggest you watch a few videos about shooting and editing in SLOG. It's a powerful technique but it is extra work to achieve that professional finish.
MOVIE – CUSTOM 1
4K SLOG3 in Aperture Priority: On the A7IV you can expect a data rate of around 140mbps, making it very efficient compared to RAW video formats or ProRes. I have the stabe dialled down to minimise cropping.
MOVIE – CUSTOM 2
4K SLOG3 in Shutter Priority: This is the same as C1 but the shutter speed is set to deliver 180° shutter angle for smooth footage. In bright conditions an ND filter will be required to keep the aperture in check.
MOVIE – CUSTOM 3
4K SLOG3 in Shutter Priority + Max Stabe: This is the same as C2 but the stabilisation is dialled up to maximum settings to keep hand-held movement as smooth as possible.
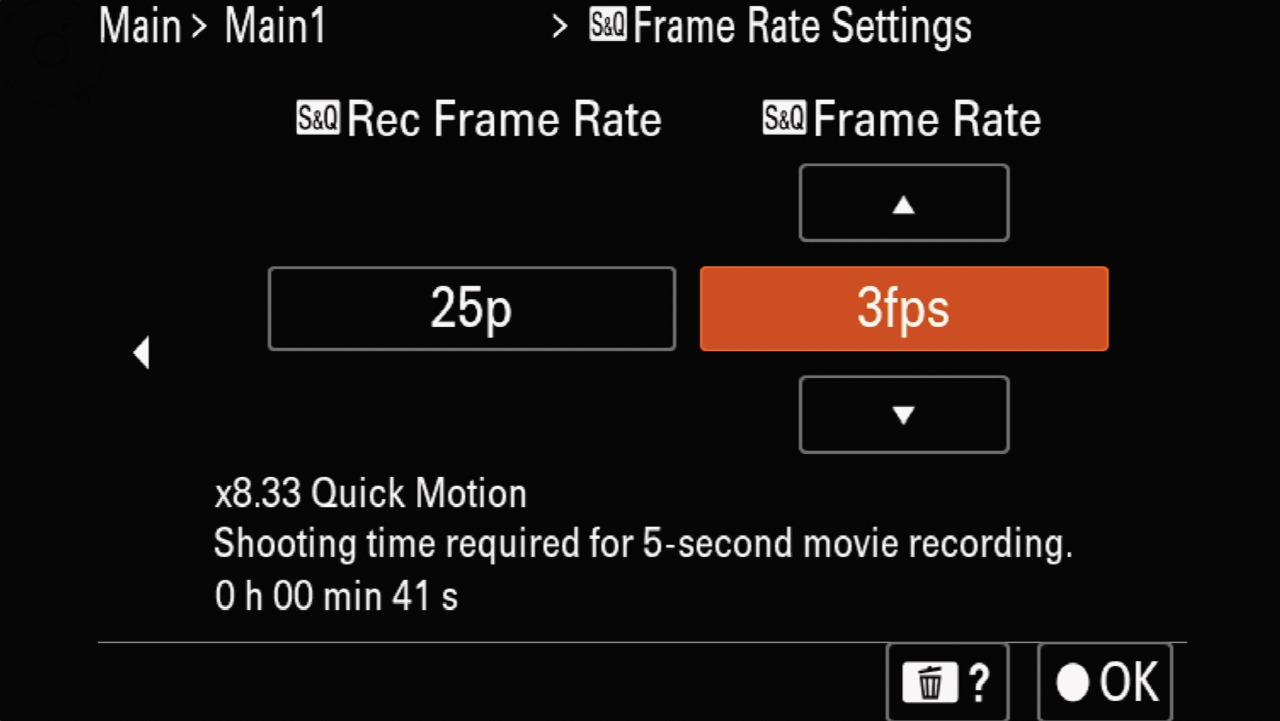
S&Q stands for "Slow & Quick", a shorthand way of saying the movie modes where the capture frame rate is less or more than the recorded frame rate. If recording at 25fps but capturing at 50fps, you end up with 2x slow motion from the higher speed capture. On the opposite end of the scale, capturing only 1fps but recording at 25fps is how you create a timelapse at 25x reduction.
S&Q – CUSTOM 1
High Speed Video: Shutter priority is used to maintain a 180° shutter angle. Stabe is set to max. Data rate is maximum at 140mbps using the XAVC-S file format in 4K 10-bit 422. Note that any S&Q setting on the A7IV requires a Super35 crop of the image.
S&Q – CUSTOM 2
High Speed High Data: Same as C1 except the XAVC-HS file format is used and the data rate lifted to 500mbps. This requires a suitably fast CFexpress A memory card, and cannot be used when recording to SD.
S&Q – CUSTOM 3
Timelapse Movie: Instead of capturing high speed video for smooth slow-motion, this setting captures at 3fps for playback at 25fps (4 frames per second for 30fps recording in NTSC region). You may need an ND filter to slow down the shutter to get a smoother effect for timelapse.
MAKE IT YOUR WAY
Hopefully my settings are a little bit useful to you, but the real joy of custom settings is simply being able to modify them to suit your needs. Everyone is different, and you can setup your camera to be different too. You might want to make your Stills C2 a baseline for bird photography for example, or Stills C3 for shooting the Milky Way.
There are two ways to think of creating a custom setting. You are either modifying one that already exists, with a few adjustments, or starting fresh with something new in PASM section of the mode dial. It's a similar procedure either way.
Step 1. Set your camera with whatever mode and settings you plan to store. For example, you could start with one of my settings, like C1, and change a few things around. Maybe use a B+W preview? Maybe have very high speed continuous burst? Maybe turn off the human-subject detection? Or roll around to one of the PASM modes, such as Manual Exposure, and just configure the settings to what you prefer.
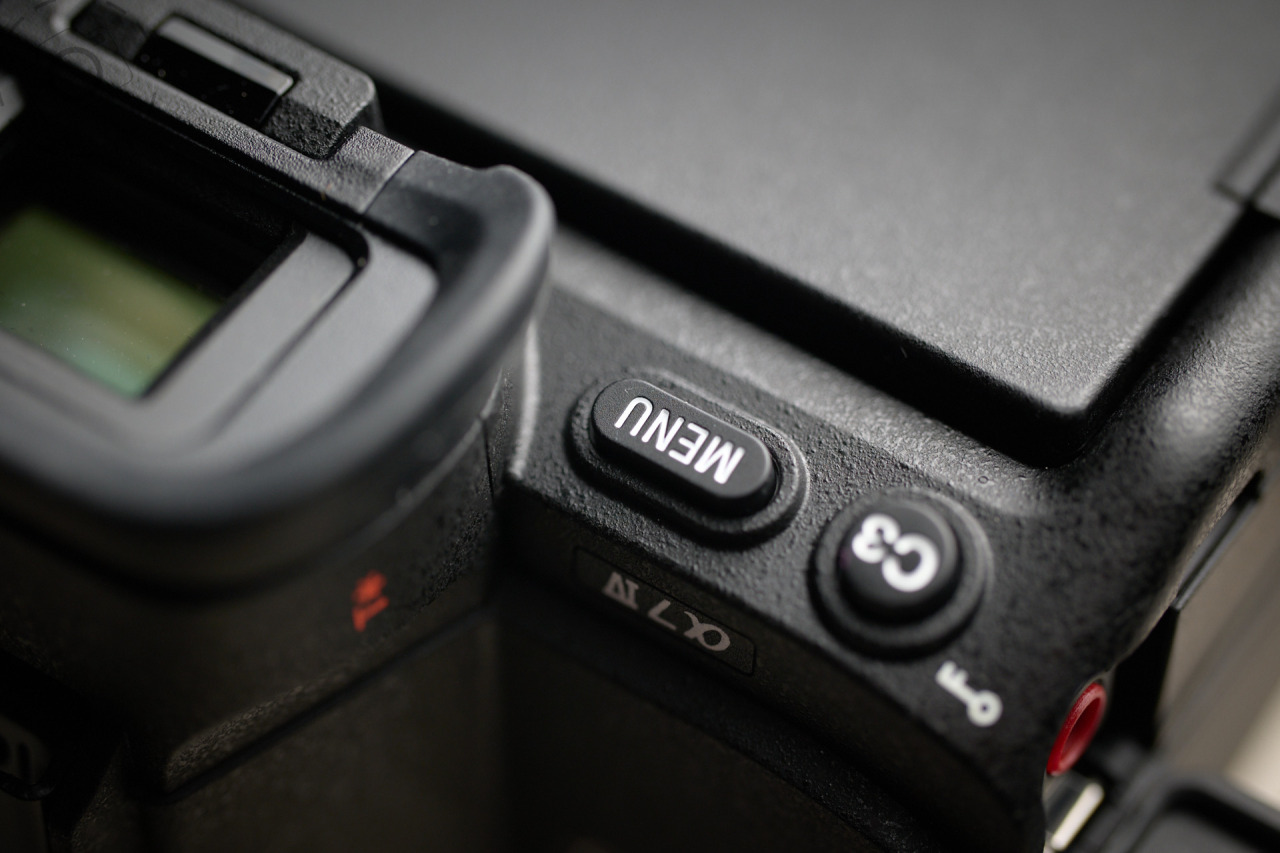
Step 2. Register that setting via the menu. This is pretty simple once you know where to look. It's nested away in the menus, but I have saved "My Menu 1" to "Camera Set Memory" so I can find it easily. Select which of the slots you wants to save to (1 2 3) and you're done.
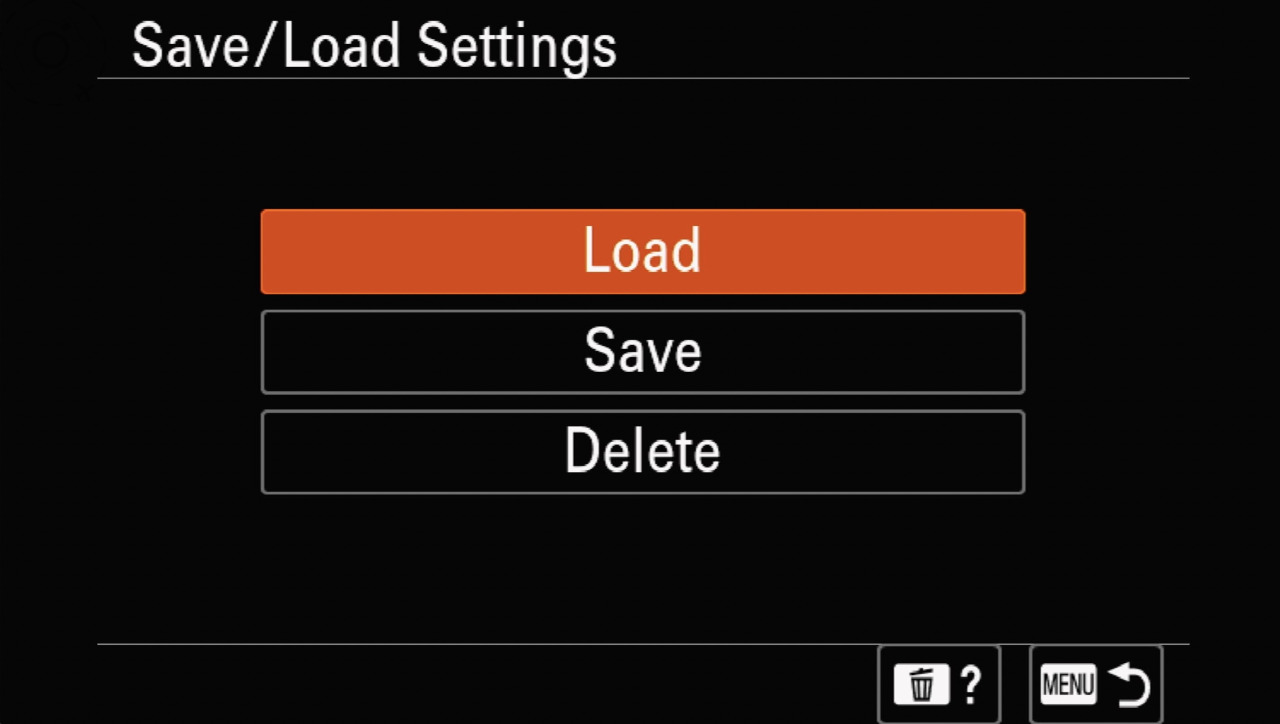
Step 3. This is optional but is very handy if you have two camera bodies, or if you want to share your setting with a friend. You can save a copy of the entire CamSet to a card and then move that to another camera.
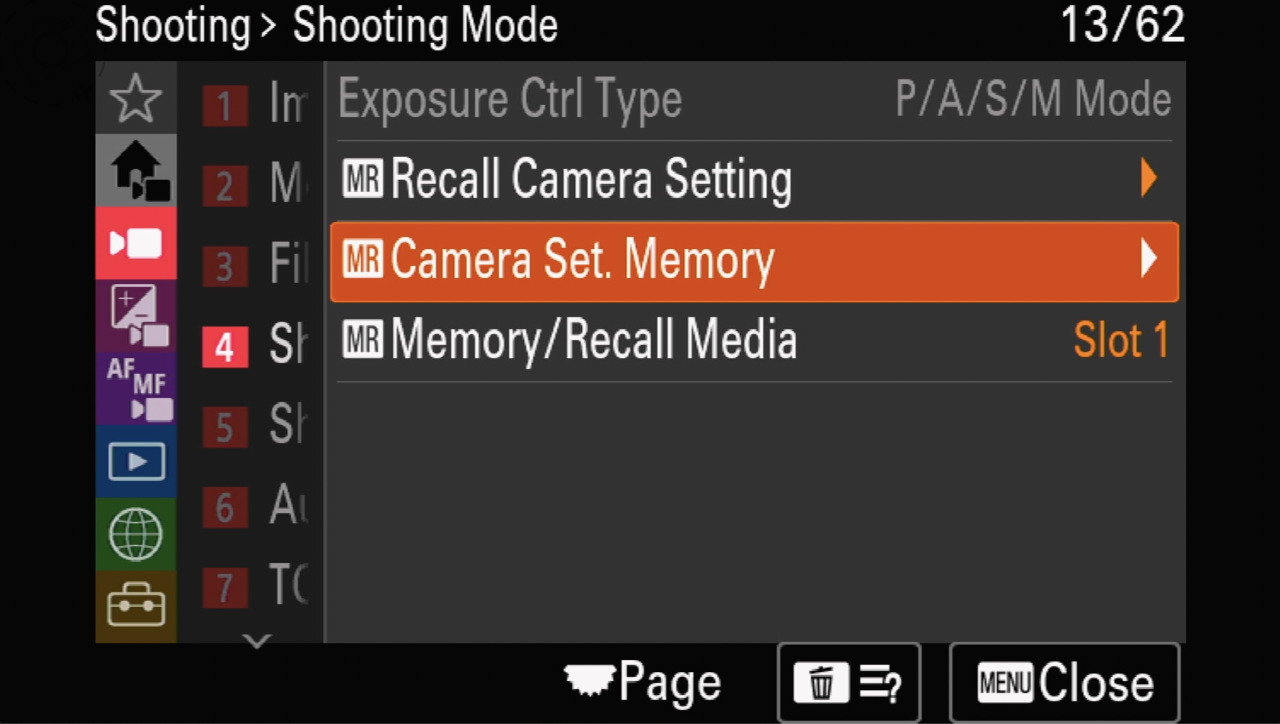
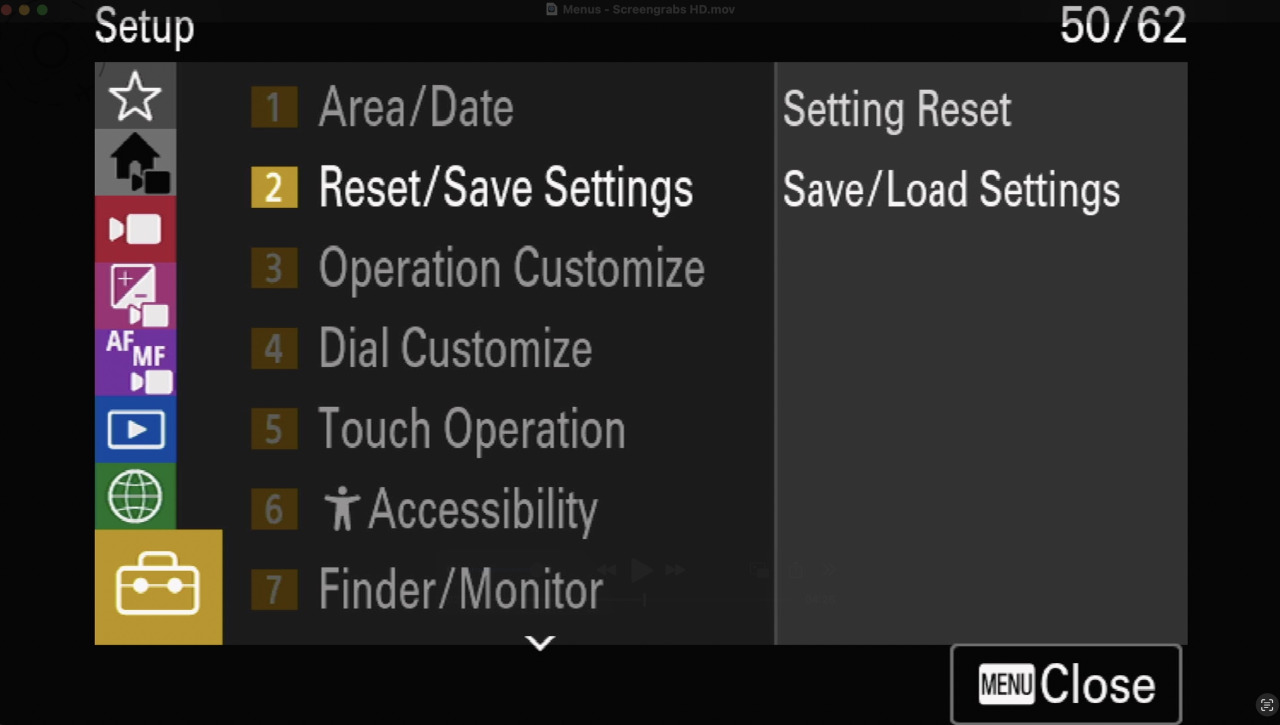
It's also possible to save custom settings to your memory card instead, but these would be loaded through the menu when required, rather than direct access in the mode dial.
THE FINE PRINT
My CamSet turns off touch-to-track in favour of placing the focus where I want. This cannot be modified within the custom settings, which is a shame really. Once the touch-settings are selected in any mode it gets applied to every other mode regardless. This is one area the custom setup on Sony cameras could be better. I would like to use tracking when shooting video, but not for stills. That's not an option under the current firmware, it's all or nothing. Likewise for Gamma Display Assist.
This is universal across stills and video, which really makes no sense. Nothing inside the "Setup" section of the menu (the yellow section) can be saved into a custom memory.
You also cannot save your current CamSet to a card while you are in a custom setting. I think this is pretty weird. You have to roll the mode dial out to one of the PASM modes first, and then you can save or load CamSets.
LOADING MY SETUP
Click below to download a zip file that contains both my PAL and NTSC versions of CamSets:
https://ewenbell.com/uploads/Sony/Sony-A7IV-EwenBell-CamSet.zip
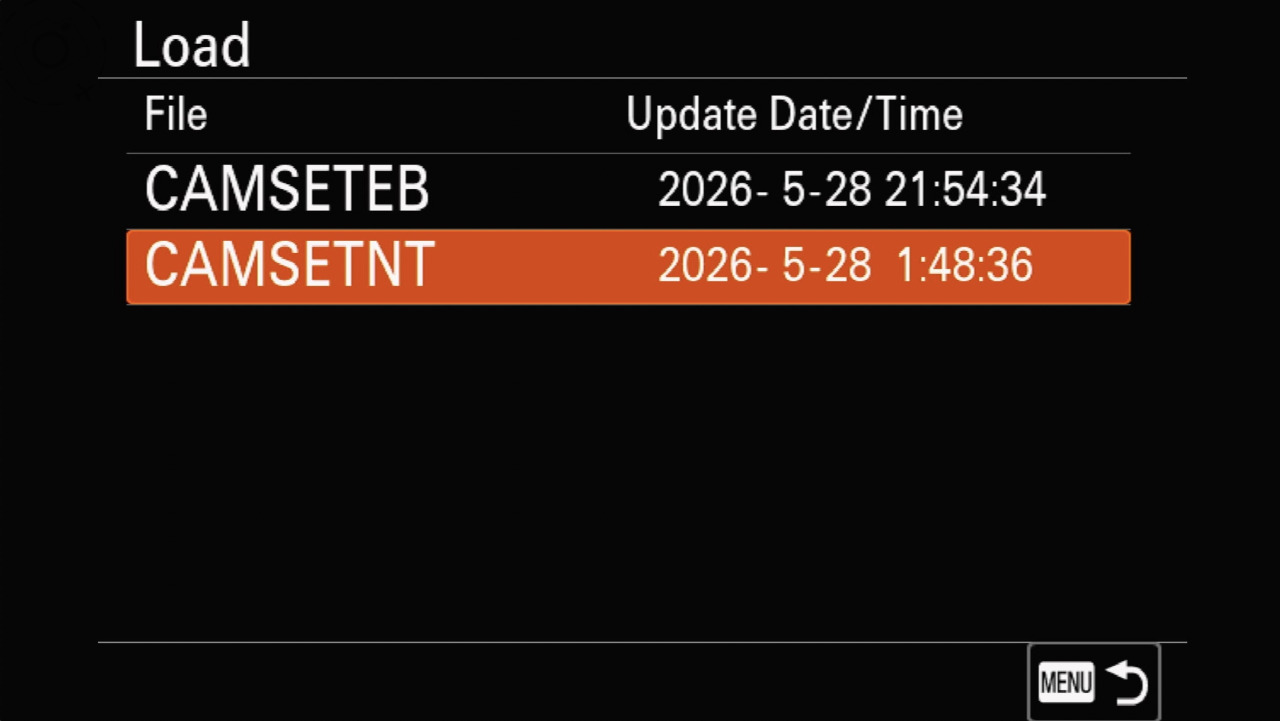
CAMSETEB.DAT = My custom setup for PAL
CAMSETNT.DAT = My custom setup for NTSC
Step 1. Download the zip file, copy onto your SD or CFexpress card and expand the zipfile. It will create all the necessary folders.
Step 2. Make a copy of your own camera settings, just in case you decide to rollback.
Step 3. Select LOAD from the menu as follows: Setup > Reset/Save Settings > Save/Load Settings > LOAD and then choose either the PAL or NTSC CamSet.
And that's it!

Keep Reading
Join Ewen's newsletter for monthly updates on new photography articles and tour offers...Subscribe Here