The main hurdle to shooting the stars is seeing them. Most of us live in urban environments and we simply never see the full spectrum of celestial inspiration above us. Once you escape the light pollution of our cities the art of shooting stars becomes an attainable pursuit.
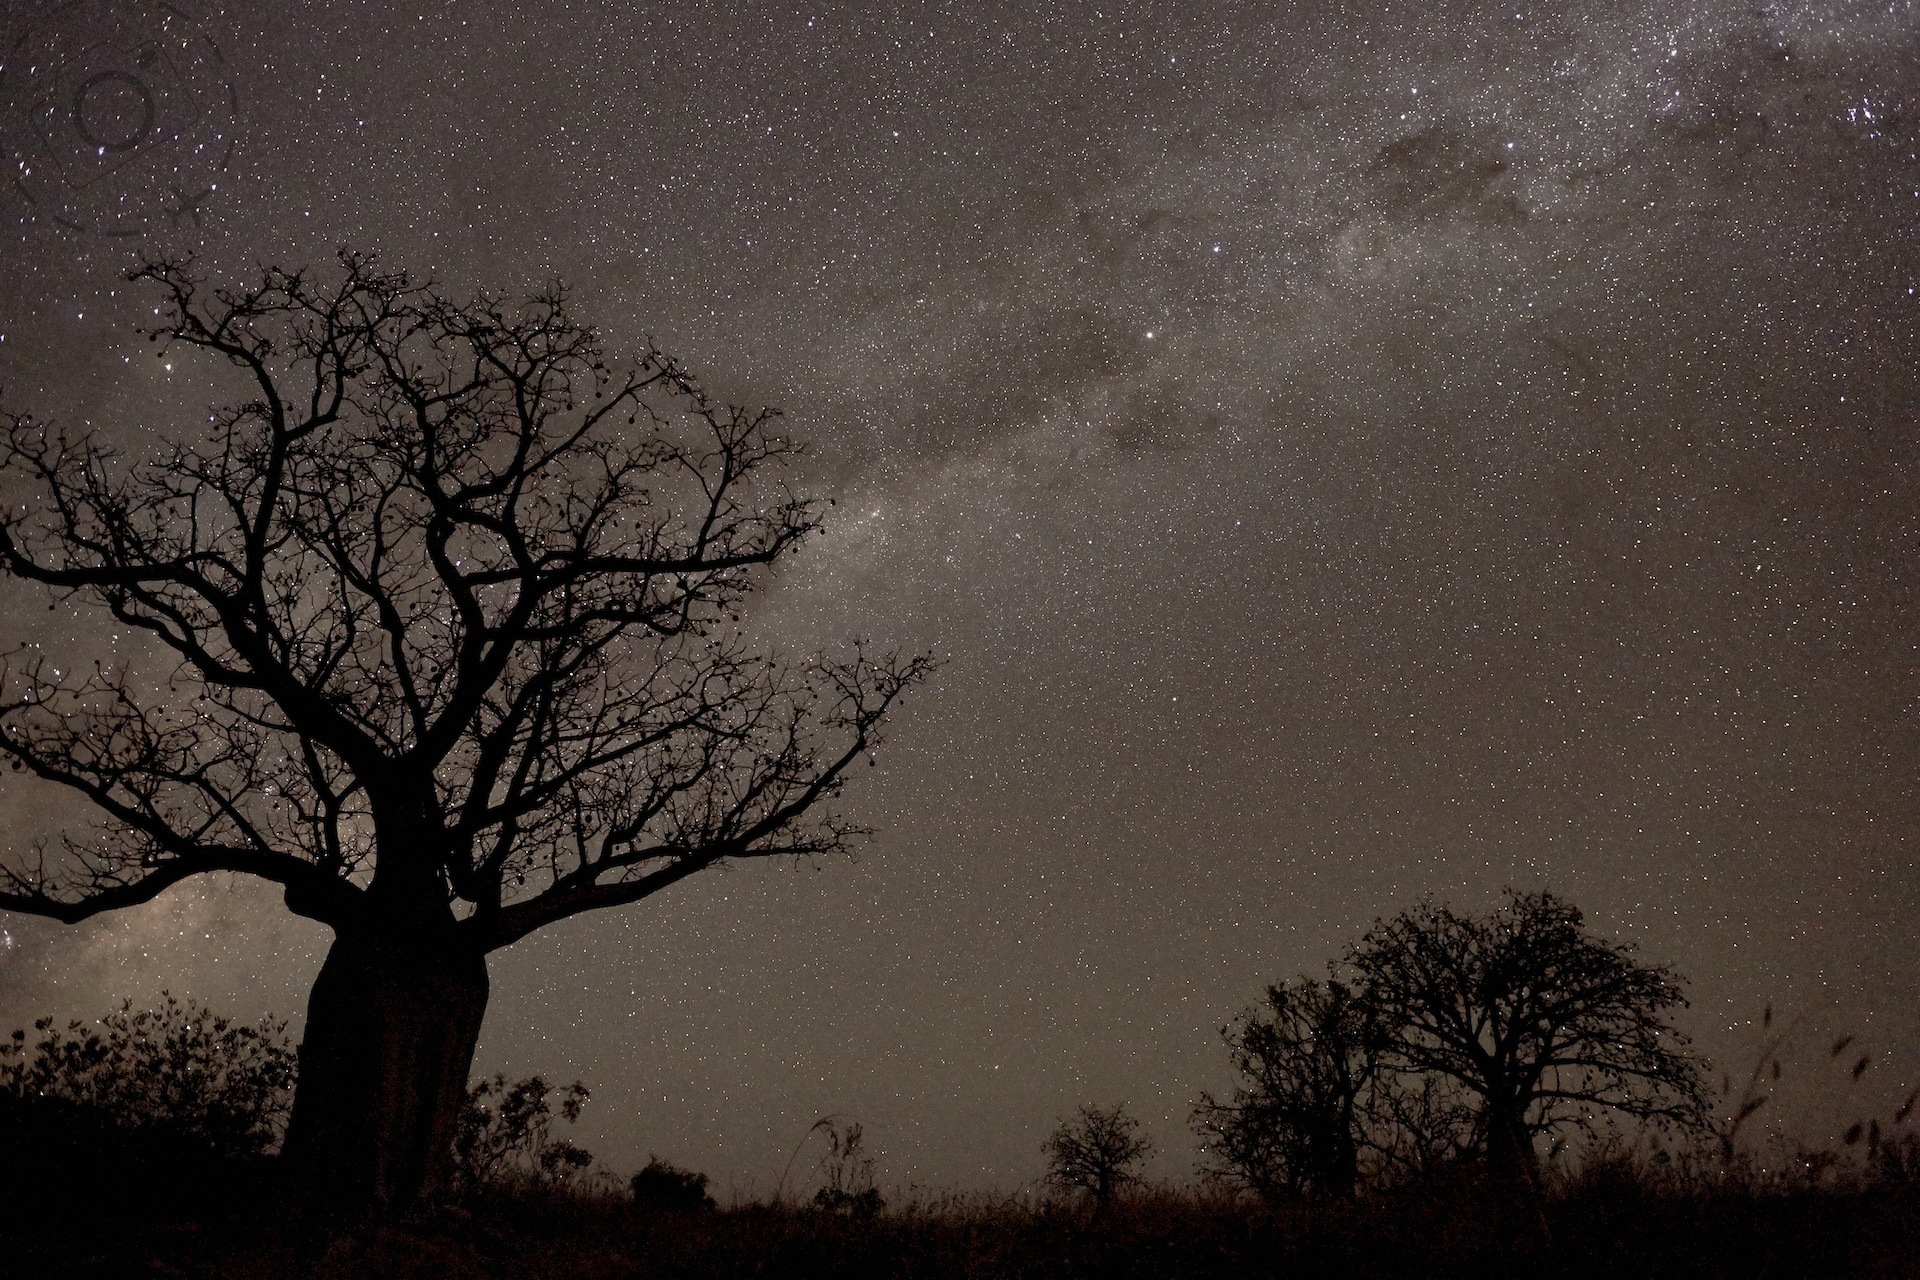
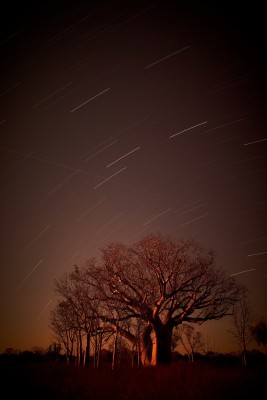
We headed into the Australian Outback in search of empty landscapes beneath the brilliant Milky Way, and then further north-west again to Bullo River Station to mix Boab Trees with the night sky. In each case we're getting unspoilt landscapes and low rainfall climates, a good mix when shooting for the stars. Any landscape photographer would enjoy the Australian Outback for beautiful colours and amazing geology, but an ample supply of foreground subjects to help build compositions are an added bonus for us.
In this guide to the stars we explore two basic techniques, Galaxy Maps and Star Trails. In every instance we're shooting stars with the camera operating in fully manual settings for exposure and focus, and have the camera locked down to the tripod.
The Frozen Galaxy
The technical aspect of shooting stars is really a dance between light and dark. Stars are not very bright, but they are brighter than the empty spaces of the universe. We're looking for an exposure that yields just enough detail in the stars without opening the shutter for so long that the movement of the stars becomes apparent. Ten seconds is a good limit to aim for.
Combining the finest of current DSLR technology with a very fast lens gives you access to some short exposure lengths. An aperture of f/2 is ideal for star work, but unless you spend more on your lenses than your camera body this wont be easy to achieve. Plenty of good lenses at reasonable prices offer an f/2.8 aperture though, plus you wont need an autofocus system to capture the galaxy so those older manual lenses may have some appeal at last.
A wide lens is essential here. 24mm is the minimum wide angle you want, otherwise you're missing half the show. 16mm wide angle is ideal for your full frame camera. Most DSLR cameras sold in Australia are partial frame anyway (APS-C format) so that same 16mm lens will effectively shoot 24mm of wide angle. If you own an APS-C dedicated lens that zooms to 10mm wide, chance are it wont get anywhere near f/2.8 and you're going to get very slow shutters as a consequence.
Wide and fast is your goal, and somewhere between 16mm and 24mm at f/2.8 or wider is perfect.
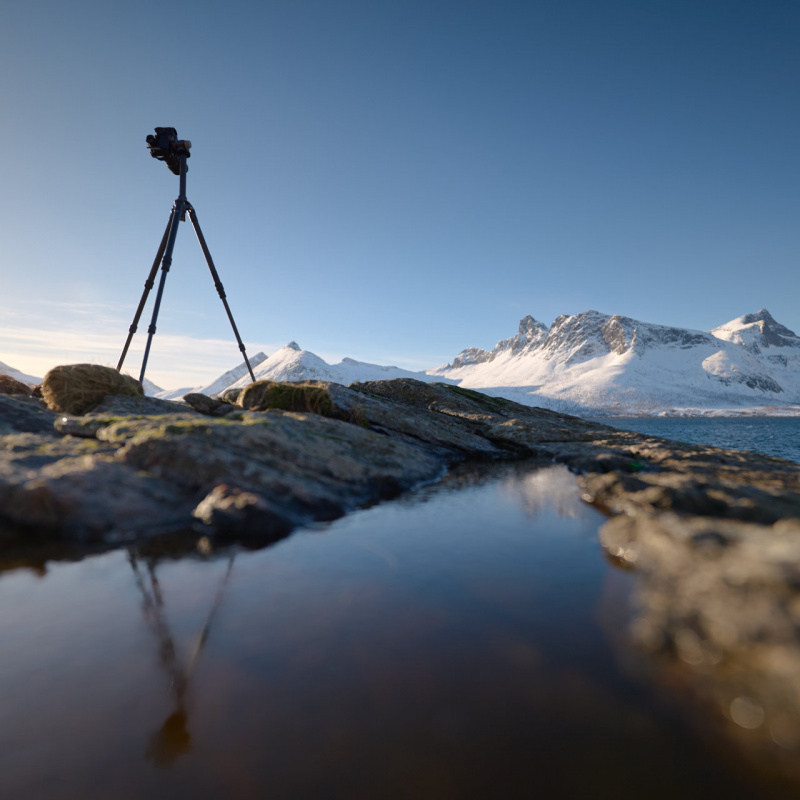
Tripod work is integral to shooting stars, and we recommend something sturdy in favour of portable. A good balance is a rig like the Manfrotto 190 series (rated to hold 5kg of total weight) or 055 series (rated to 8kg), each offering good extension and a very sturdy frame when standing tall. They are also easy to pack in your luggage and able to take a few big knocks.
Now we're ready to shoot. We start with a baseline of f/2.8, 10 seconds and ISO cranked all the way to 6400. If you have a wide lens that shoots f/2 then go all the way, as the brighter your capture the less work you will need to do on the RAW file later. With a few test shots in the can you can start to pay attention to focusing with the aperture wide open and extracting composition from the varied features of the night sky.
Mapping the Milky Way
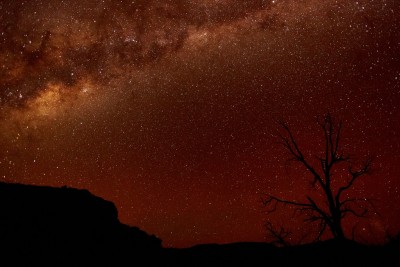
There's a lot more detail in the Milky Way than you might have imagined. To the naked eye the detail is stunning, but through the lens you get an even greater appreciation for how busy the galaxy really is. Shooting bright exposures dig out the less intense stars, revealing the crowded landscape that exists between the more familiar constellations. There's so many stars contributing to the mosaic that in a few patches where the density thins out you get notably dark holes to aid composition.
Composition is what makes this kind of photography so fascinating and rewarding, and once you start spending some time beneath the stars you'll appreciate the character of the Milky Way in our southern skies. As the night progresses the Milky Way moves through the sky and it's relationship to the horizon varies. Here lies opportunity for composition - to bring the earth and sky into connection.
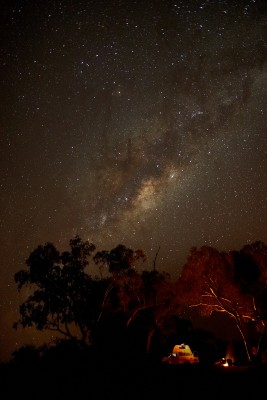
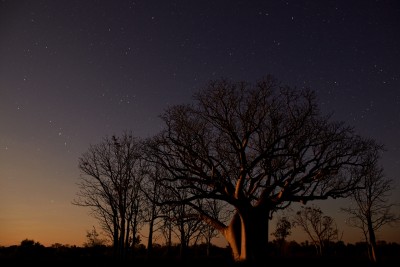
Silhouettes are perfect for shooting the night sky, because the true black from the outline of a dead tree emphasises the busy detail of the stars. Adding a little light to your foreground, with torches or campfire for example, can illuminate some complimentary details. It's easy to add too much light of course, and you can kill a few hours tinkering to get the balance right.
Focusing Blind
One of the most difficult challenges of shooting stars is getting your focus right. Throwing the aperture wide open gives you little room for error. If you hope to print your images at a reasonable size the sharpness of the scene will become very evident.
Your autofocus system wont help you much here. Manually focusing a lens in total darkness, against an amorphous subject several million lightyears away, is tricky to say the least. In theory you simply focus on infinity and start shooting. Infinity, however, is rarely found at the precise end of the focus ring, instead most lenses are capable of picking a point beyond infinity. This is no good for f/2, so you have to get it right on the spot.
Neither can you rely on the infinity mark indicated by your lens, as even a professional lens won't be accurately calibrated for this purpose. Instead you have to do a little experimentation to get the focus right.
Set up a test shot and roughly balanced exposure, and try a series of frames with the focus set at small steps away from the infinity mark. On the rear screen compare the frames side by side at high magnification. You won't necessarily see one frame being 'sharper' than the others, because you're looking at a bunch of bright points against a dark sky. What you look for is the brightness of those spots.
The less focused your image the broader the starlight appears to spread, creating an illusion of a brighter star. You're looking for the setting that returns the most narrow point of light for each star.
The overall effect appears to be a less bright image, but the stars will be represented by more precise points of light with less haze around each of them. Running through this process in the dark requires a small torch. Your status screen might be illuminated but the focus indicator on your lens wont be. Remember, you're aiming for clear skies and a moonless night and while the Milky Way may be full of colour and light, your camera will be sitting in total darkness.
Follow the Trail
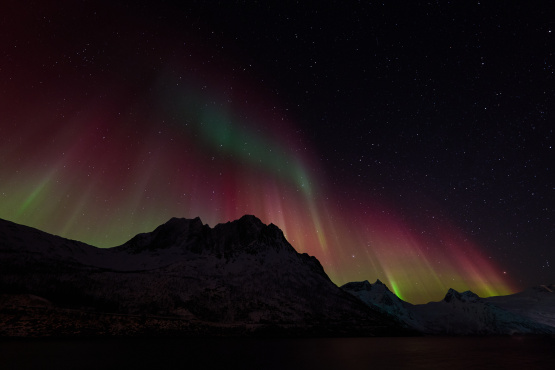
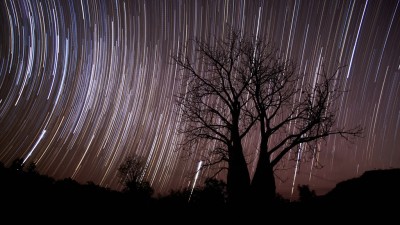
Once you get a handle on mapping the galaxy the next step is to chase a few star trails. You don't need to push your gear to the same limits for this effect, because you want to drop out most of the lesser stars and let only the brightest come through.
The essence to great star trails is stacking your frames. Instead of trying to bag the perfect trail in one single shot, you're aiming for a set of frames that will stack together later and reveal the full arc of the sky. There are several software solutions available, and they're very easy to use. If you shoot RAW, just gather your frames, process them together into JPG files and direct those JPGs to your image stacking solution. It's a little bit of extra work for a lot of extra effect.
What you're shooting for with trails are a series of frames that last for several minutes. If the frames are too long the sky gets too crowded with trails and the effect is overwhelming, plus the exposures from start to finish may actually shift when shooting close to sunset or moonrise.
As a baseline we recommend exposures for 3 minutes at an aperture of f/5.6 and ISO 1600. Ten of these exposures will reveal half an hour worth of star trails, enough to see the arc.
It's worth locating the polar star in the sky, not far from the Southern Cross constellation, and consider building your composition around it. The wider your lens the more drama you can reveal as the trails rotate around a clear point. With a longer focal length you might also pull out a narrow band of sky in between the poles, where the stars move very fast but in a straight line overhead.
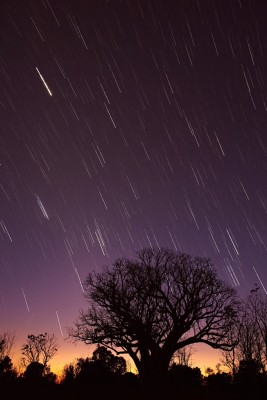
Composition for trails falls into a similar category as the galaxy maps, where you can work in some silhouettes or foreground lighting to add layers to your shot. Trails demand contrast to reveal the true character of their progression, and there's nothing like a lovely old tree or a house on the horizon to bring context and character to the shot.
For one more trick you can snap a galaxy map at the beginning of your trail, followed immediately by the series of frames to be stacked. When combined your trails each gain a nice starting point, like the dab of a paint brush. Alternately, leave a short pause of 30 seconds between your last two stacking frames to create a gap in the exposure, resulting in a 'head and tail' impression when the final image is stacked.
Getting Over The Moon
Getting all the way out to Alice Springs and driving for a few hours into the wilderness is only half the job. You also need a moonless night to make the stars come out. Check the moon phases online to see when the moon is rising and setting, and make sure the evenings you dedicate to escaping the city are the right nights. If the moonrise is scheduled for midnight, you'll have lots of time to tinker before hitting the hay.
Once the moon approaches the horizon it not only scatters light across the atmosphere, but any foreground elements you wanted to silhouette also begin to expose. Once you get a handle on shooting galaxy maps and star trails you may want to embrace the potential of moonlight to add extra elements to the scene. But it takes a lot of practice and you can lose a lot of sleep experimenting. My advice is to get to know your stars before you greet the moon.
http://moonphases.willyweather.com.au
Shooting with a hint of moonrise or sunrise can add some extra play to your images. A spread of sunbaked tones with the stars bursting out of the dark regions works nicely provided the stars are still the main focus of the shot. It doesn't take much light to wipe out an entire universe.
Moonrise is much more gentle for compositions. While the reflected light of the moon sits low on the horizon your foreground gets illuminated without losing all of your star details. By shooting across the moonlight you get dramatic light on the landscape rather than just flattening out the scene.
The hard part when integrating a hint of the moon and sun is preparing the exposures for stacking. Ideally you want each frame to have the same balance of exposure, contrast and colour warmth. As these strong light sources move through the sky all these variables will change quickly. Some careful tweaking of your images is required before stacking and often you need to adjust your camera settings in the field to compensate for increasing or decreasing light as well.
Star Processing
Having bagged a series of frames in the night air you'll be ready to drop the RAW files onto the desktop for processing. Adjusting the exposure on your RAW files can help establish the right balance of darkness and detail, depending on your preference for a busy sky or sparsely populated trails. You can also tweak a little tone to add mood to the scene, angling for warmer hues to give a sense of drama or cooler colours to emphasise the isolation.
With a series of processed JPG files collated you can employ features of Photoshop to stack them into a single image, using the transparency option to make each frame 'brighten only' when stacked on top. Each section of star trail is brighter than the black sky below it, and hence the multiple frames link together to form the continuous trail. Stacking this way limits the noise from your DSLR sensor and makes it easy to achieve a true black.
If you're not a Photoshop use or just want a simpler tool for the job, I can recommend a piece of freeware called StarStax, available for Windows, Mac and Linux. StarStaX is a neat bit of software written by Markus Enzweiler and does the job better than most. Quality and simplicity. Just point the program at your series of files and let it generate the final combined image. All images shown in this tutorial were processed using a free download of the StarStaX application.
http://starstax.net
One additional feature in StarStax, for the technically minded, is the ability to incorporate a dark frame and cancel out any hot pixels or noise from an empty frame. Add one more exposure to your process with the lens cap on, and use this as your dark frame reference.
Because the most common stacking algorithms simply bring through the brightest elements of the advancing frame, this technique lends itself to combining frames taken in varying light conditions. Including some faintly lit landscapes with your elegant trails or gigantic galaxies makes for a rich result, if you have the time and patience to leave your tripod in place.
Experimenting with the stars is above all a game of patience, but the galaxy is your reward.
Baseline for Galaxy Maps
24mm Lens
f/2.8
6400 ISO
10 second single exposure
Baseline for Star Trails
24mm lens
f/5.6
1600 ISO
3 minute exposures repeated 10 times... or go harder and roll for two hours instead of just 30 minutes.
Ideal Conditions
Moon free skies, a cloud free night and somewhere very far from city lights. My favourite time for shooting is soon after sundown to add a little warmth in the sky, or right on moonrise to add a little side light to the foreground.
Mirror Bounce
Get to know how your mirror lockup system works on your camera. You'll want to remove the bang and clang as the shutter and mirror slip into place before shooting exposures in the realm of 1 second. For very long exposures, 30 seconds or more, the mirror bounce wont matter so much.
RAW Universe
Shooting stars pushes everything to the limit, so make sure you're working with RAW files so you can optimise the images later. Noise wont be as bad as you imagine because the light being captured is largely monochromatic and your hot spots get lost in the galaxy anyway. Bringing up detail in underexposed areas will be a major benefit from shooting RAW, and helps to overcome limitations on slow lenses.
Timer Travel
A useful bit of kit for capturing star trails is an interval timer. Instead of a regular cable release, these electronic timers can be set to capture the number of frames you want, for the duration of exposure you want, one frame directly after another. Make sure you test the configuration and execution of the timer before you head outdoors, as they are tricky to setup even with the lights on.
Checklist before you head into the night
- Test your timer remote and program the shoot sequence in (eg, 40 frames x 3 minutes).
- Make sure you practice driving your timer remote in the dark; to power it on, activate the screen light, start and stop your timer sequence.
- Check your tripod mount and have it tightly locked in place.
- Give your lens a final clean to ensure it's free of dust and finger prints.
- Deactivate the long exposure noise reduction mode.
- Deactivate the rear preview and turn off the rear screen.
- Fully charge camera and timer batteries, and pack a spare of each.
- A camping chair and nibbles so you can settle in for a few hours.
- Check the moonrise and sunset times to ensure you'll have dark skies during your shoot window.
- Visit the location in daylight before you start shooting to pick out a composition in daylight

Keep Reading
Join Ewen's newsletter for monthly updates on new photography articles and tour offers...Subscribe Here
